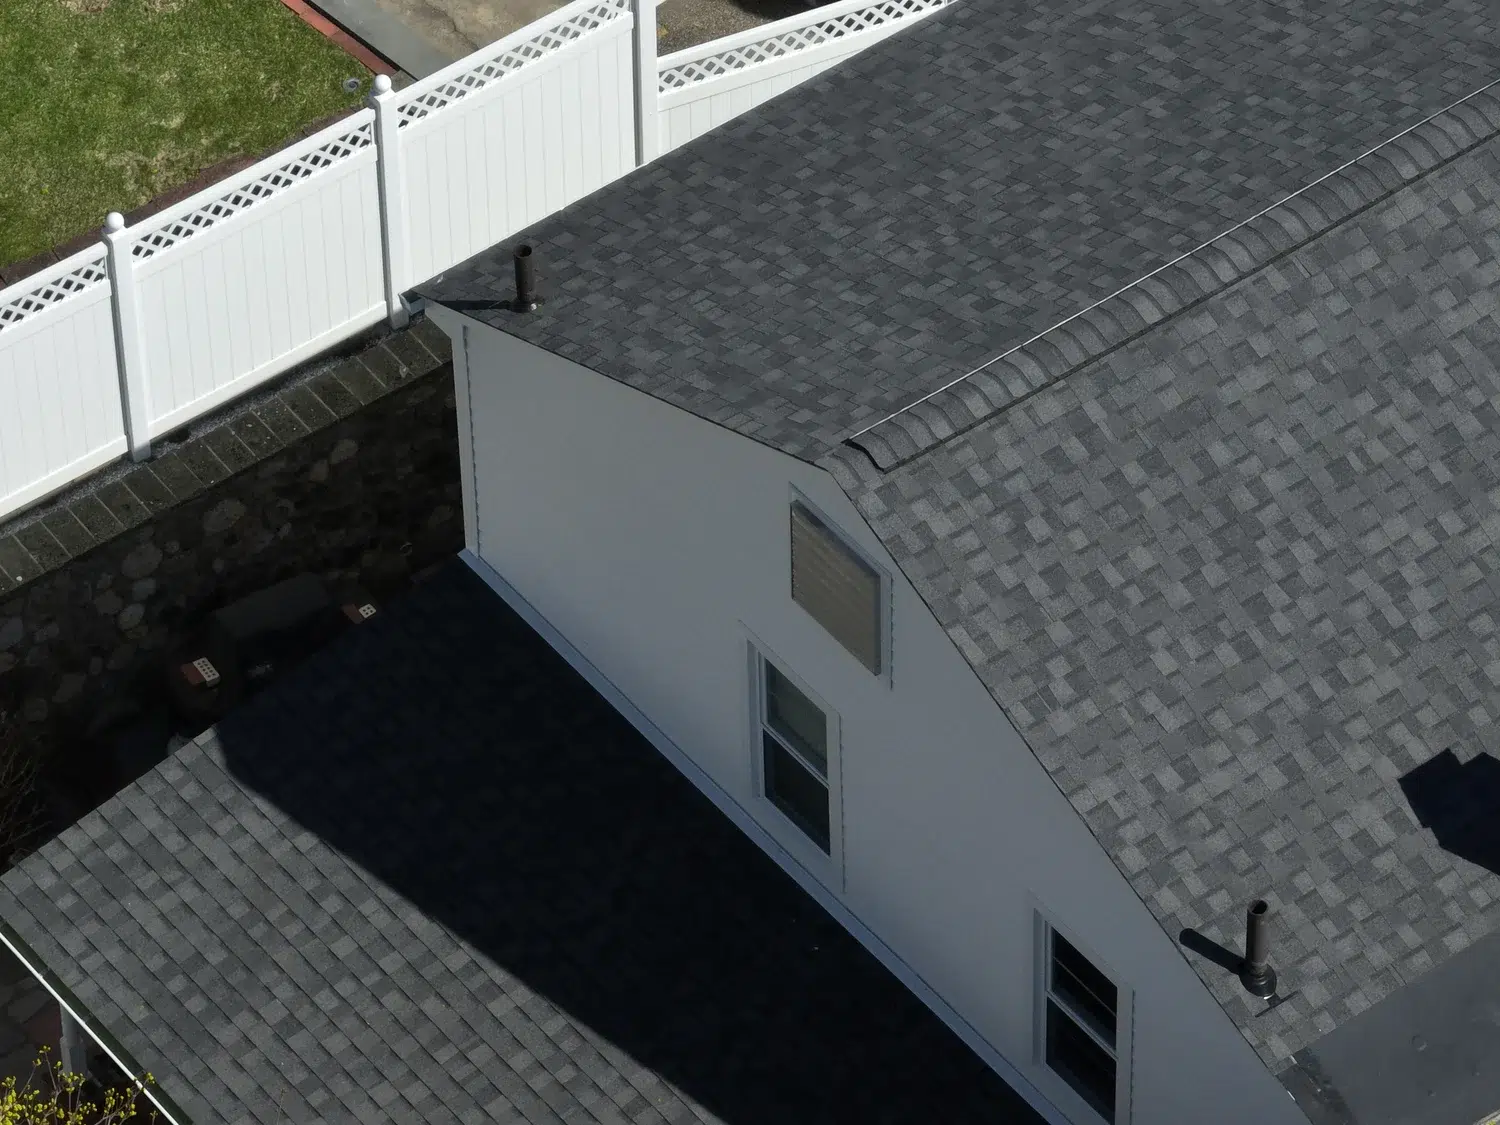
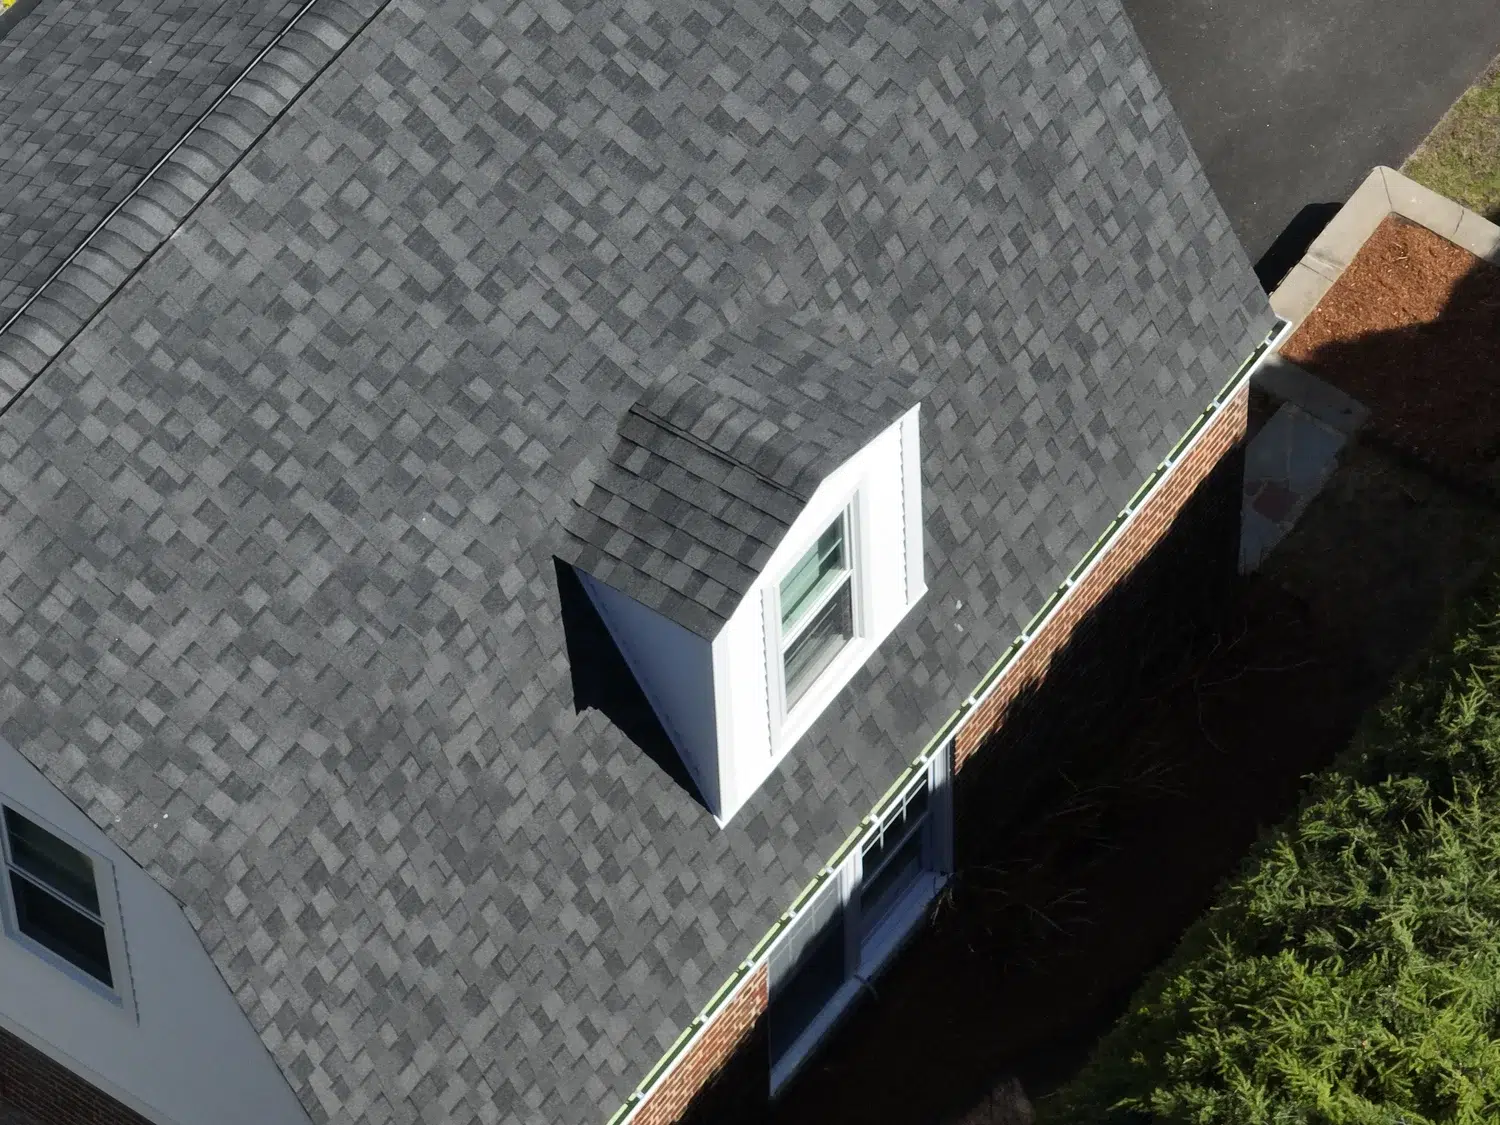
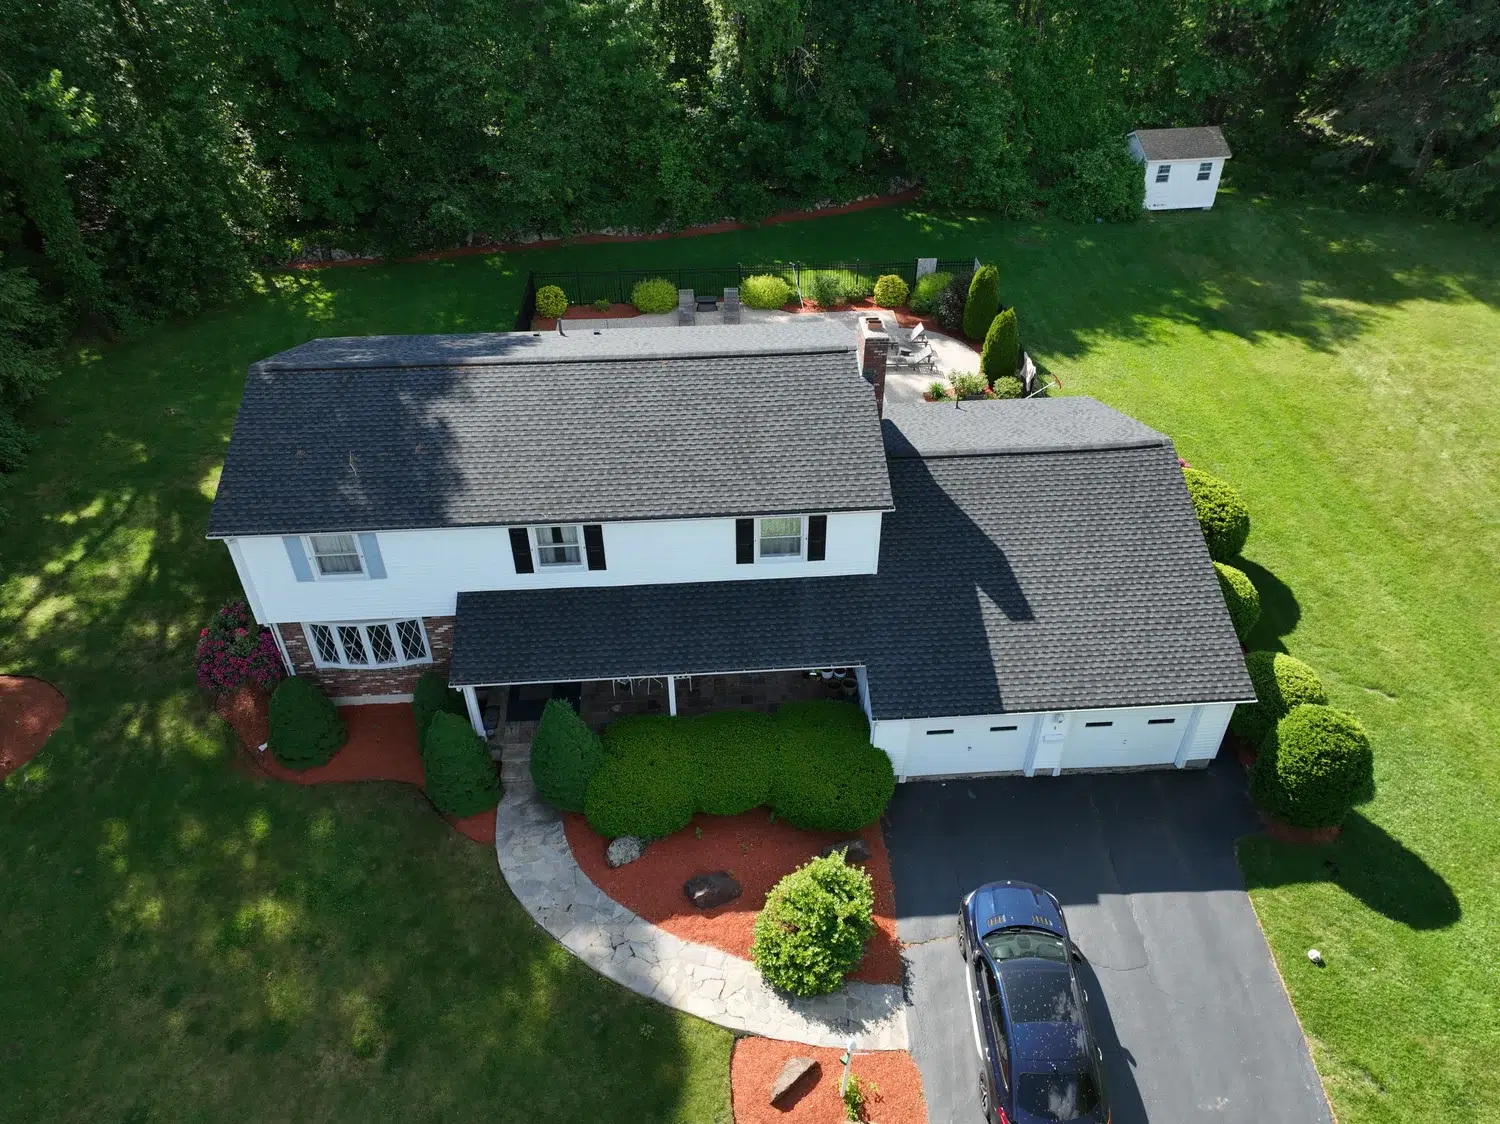
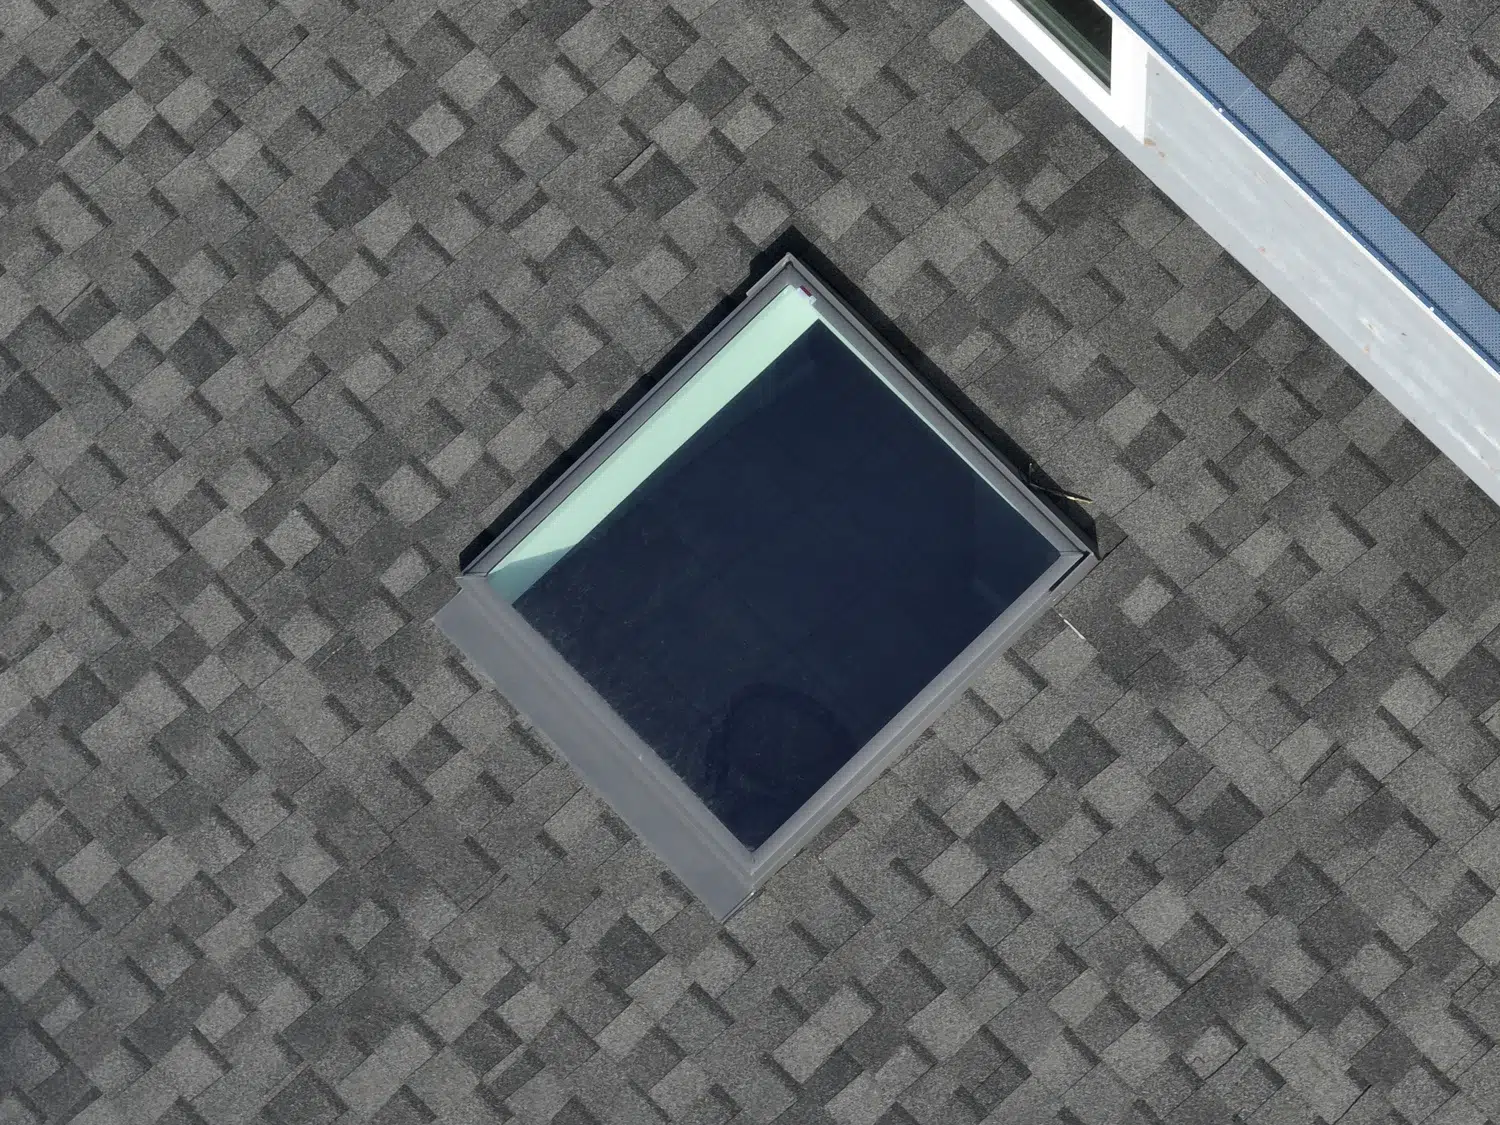
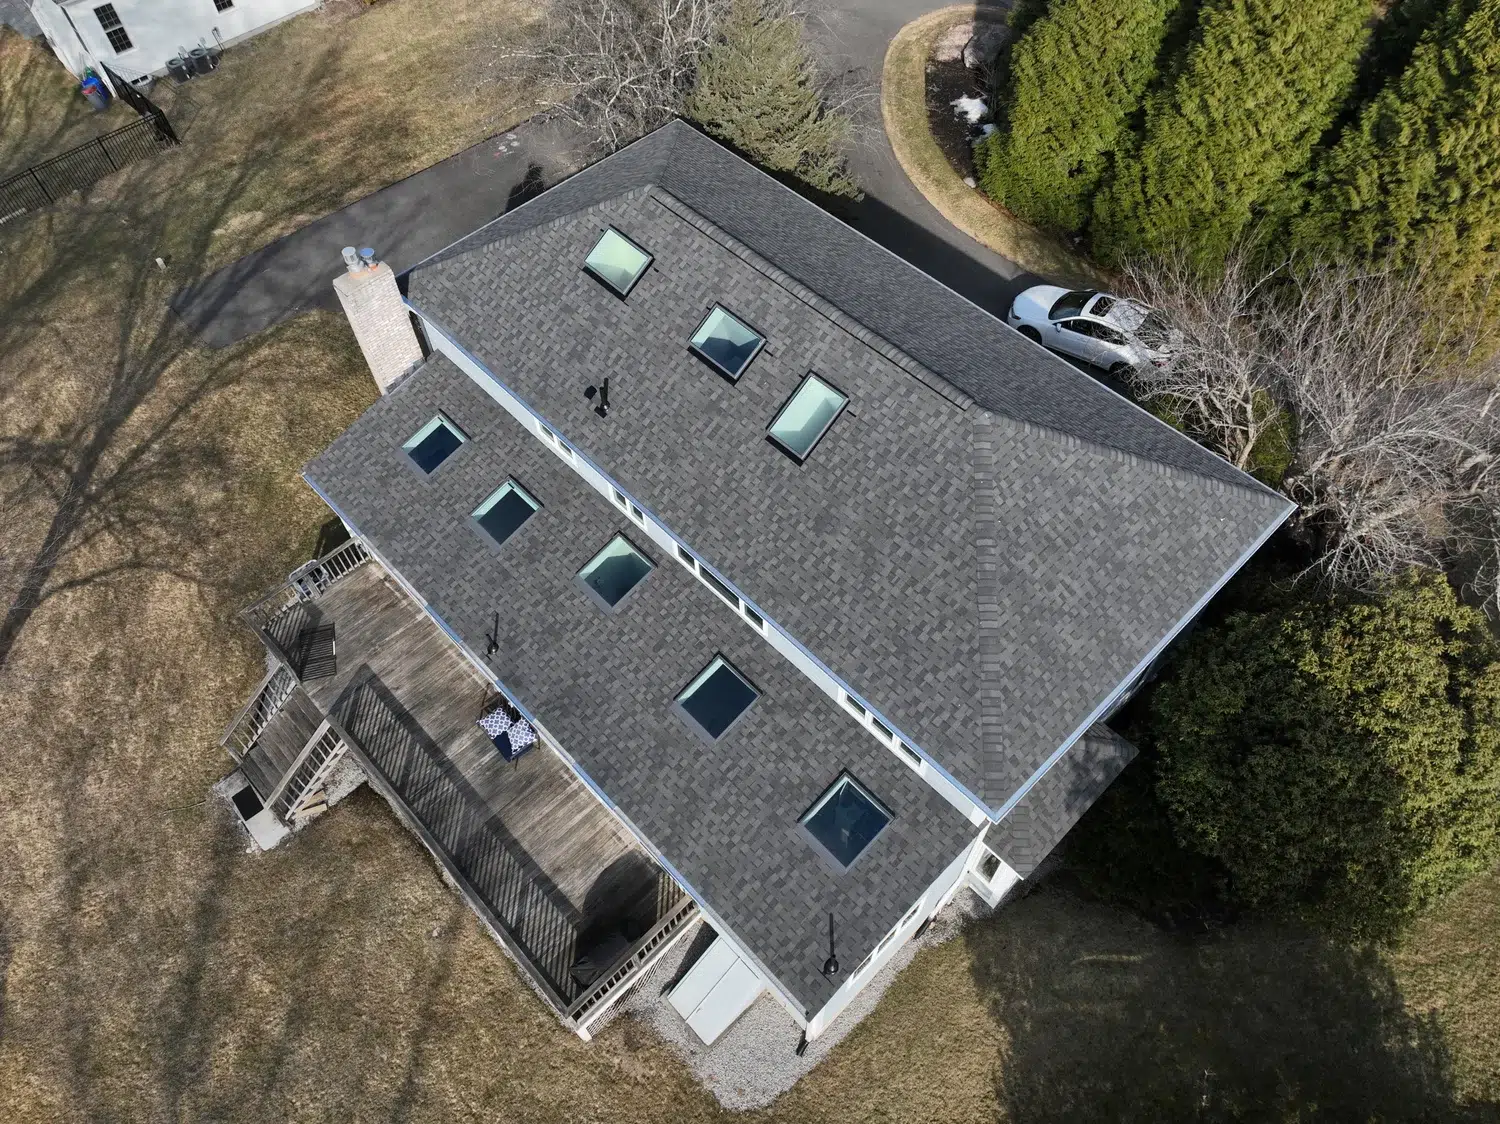
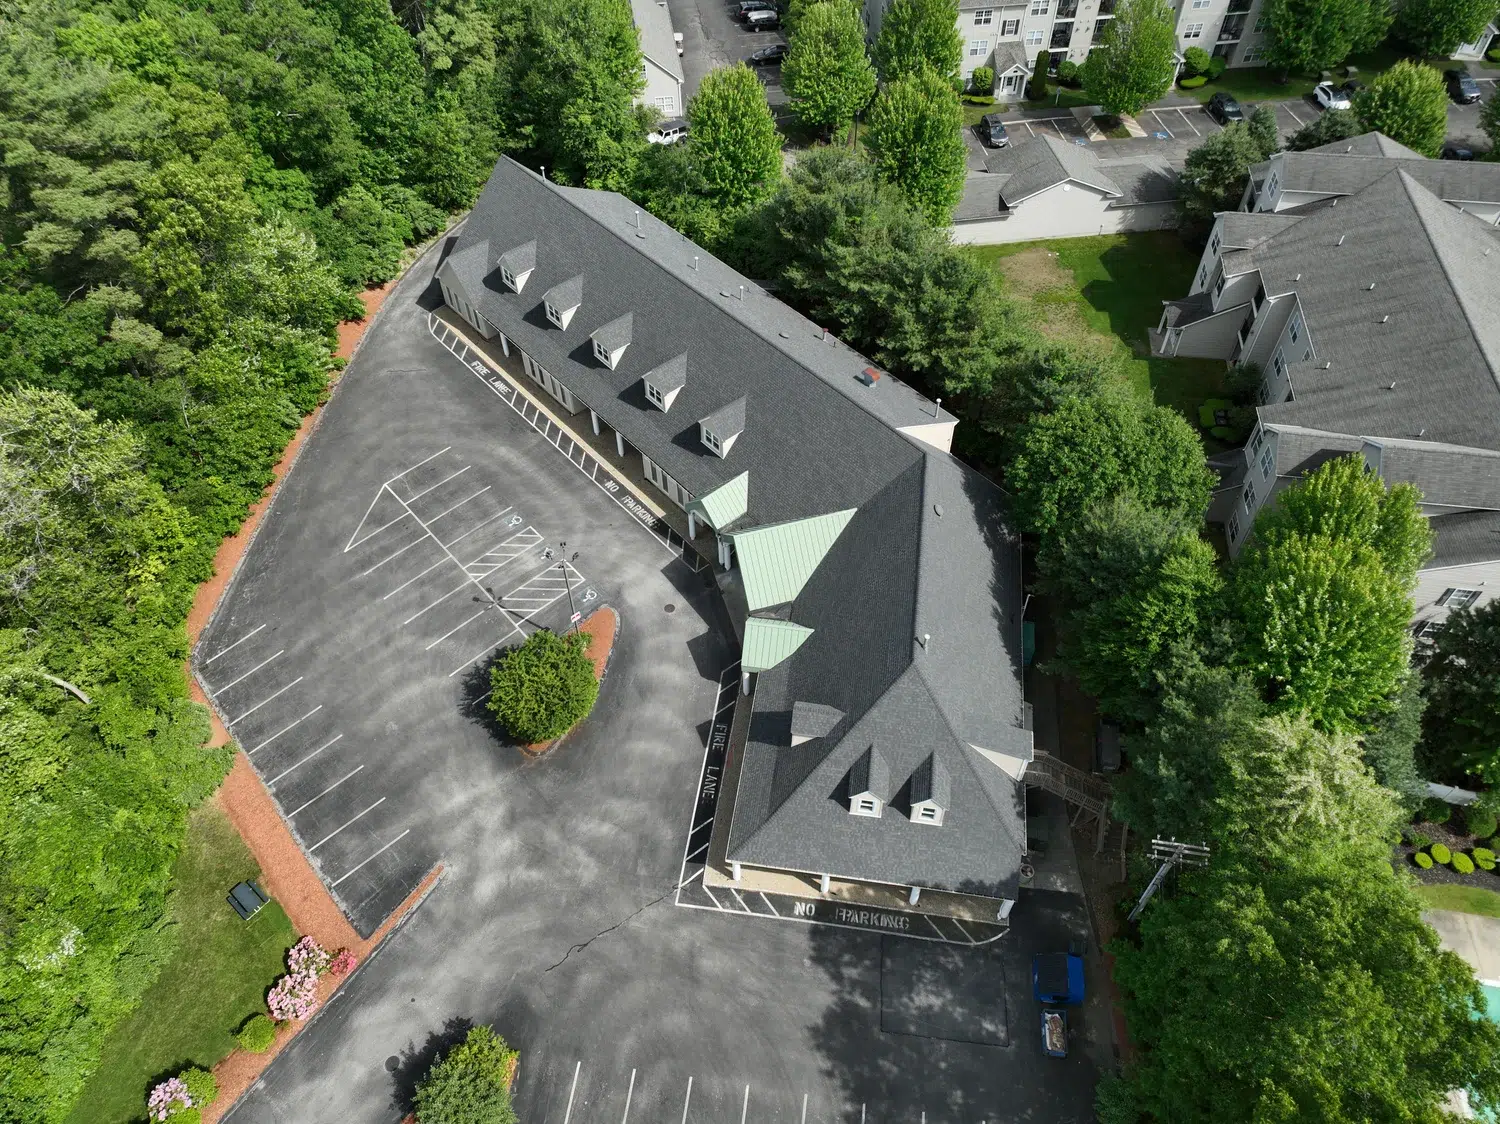
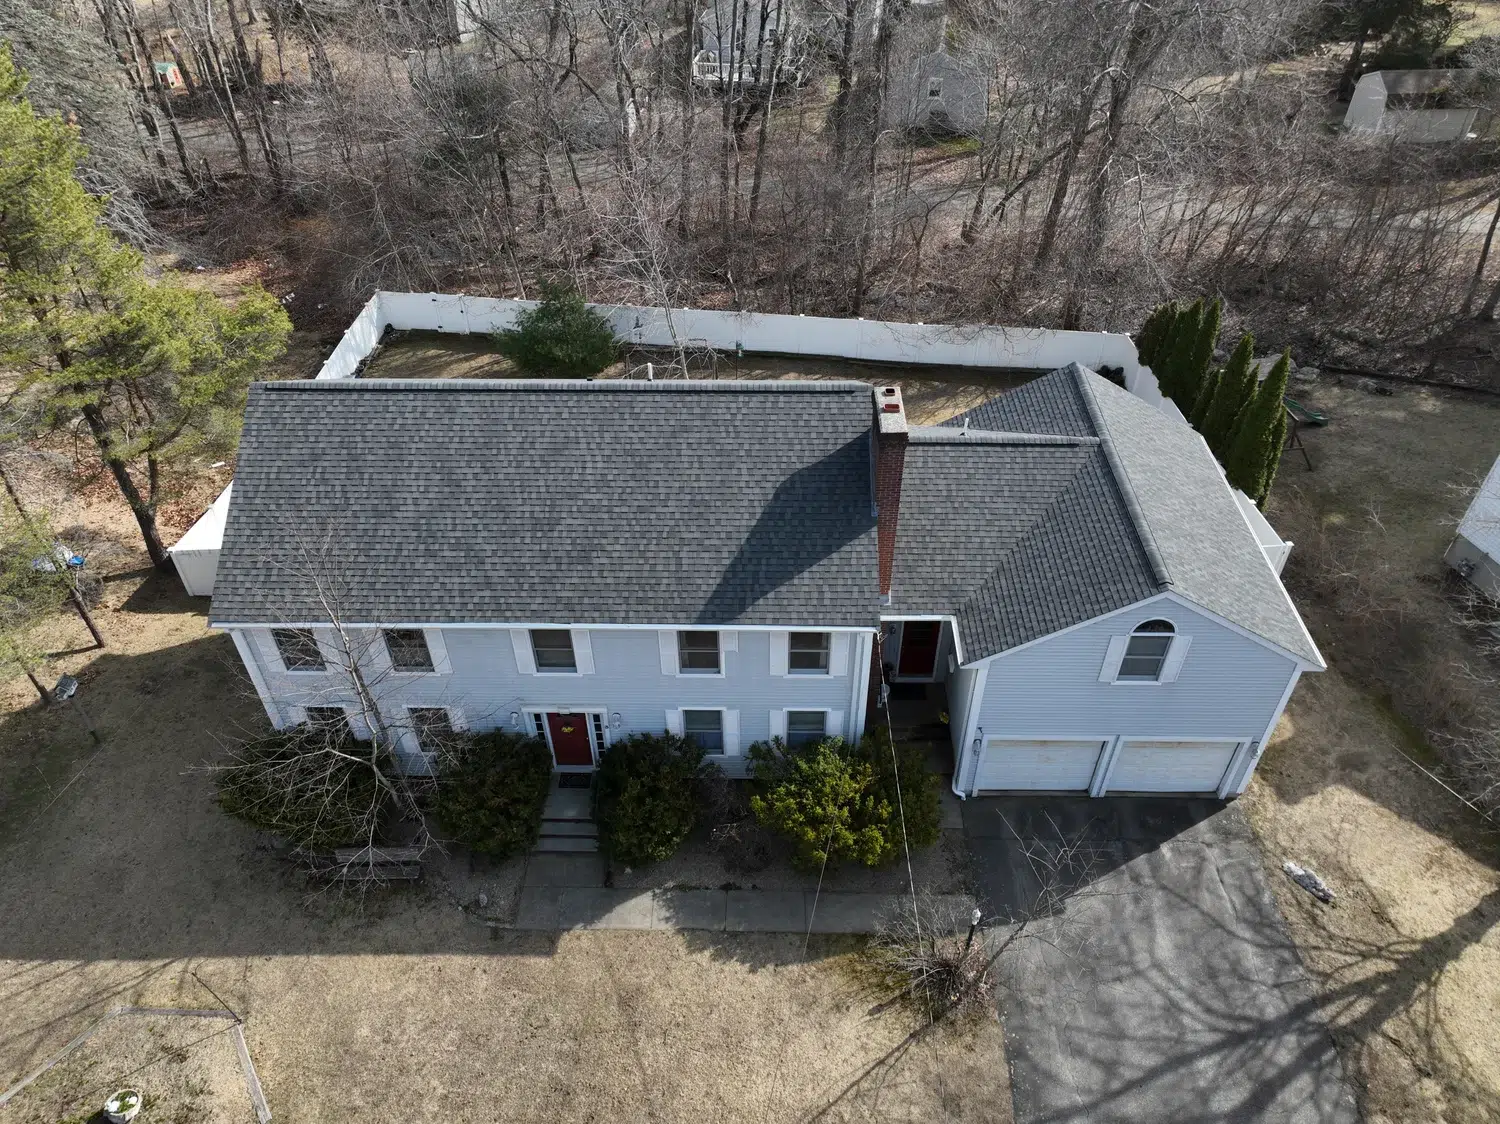
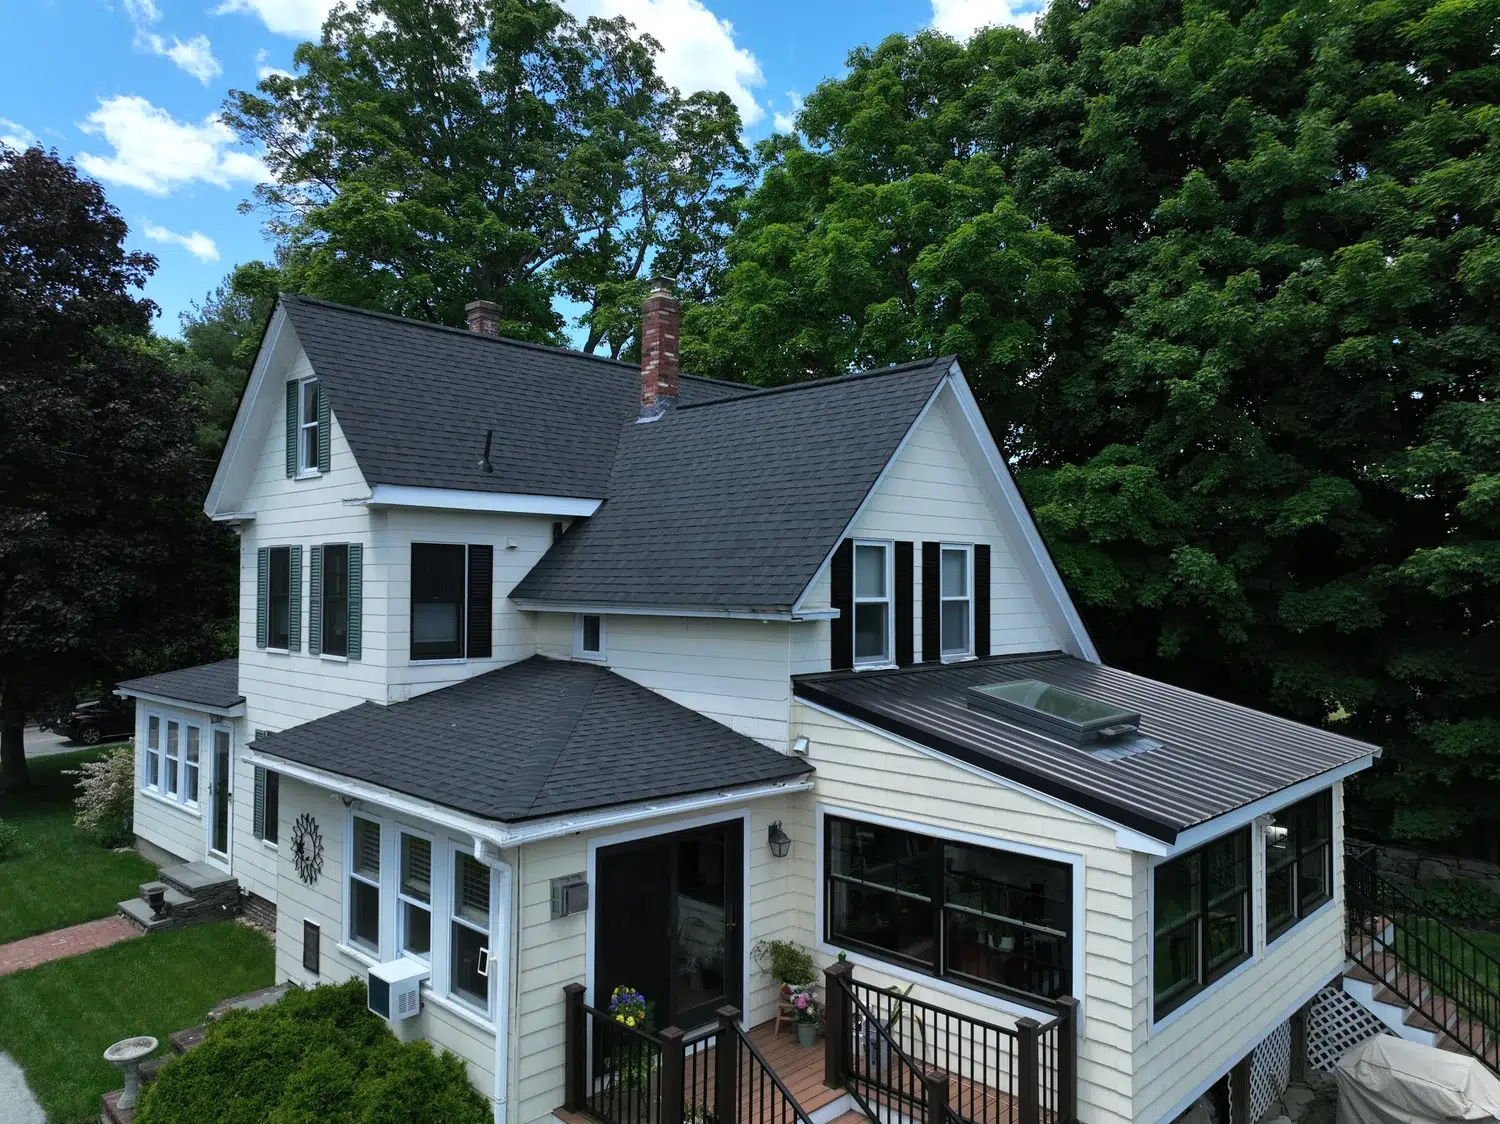
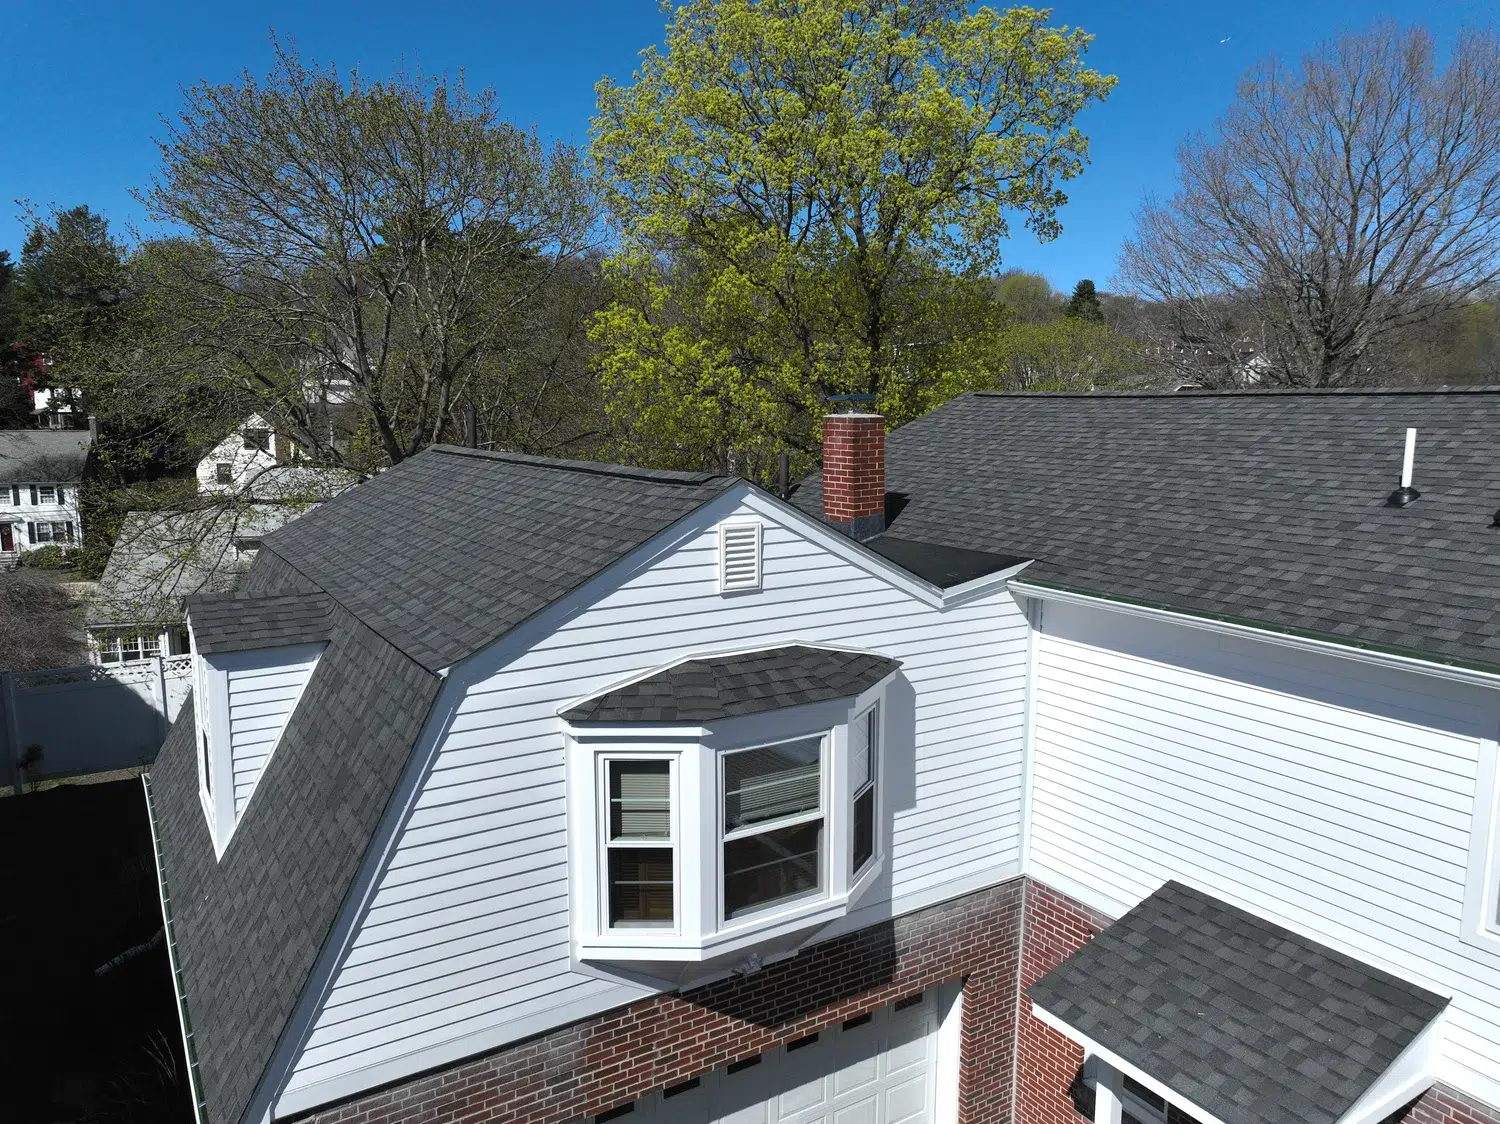
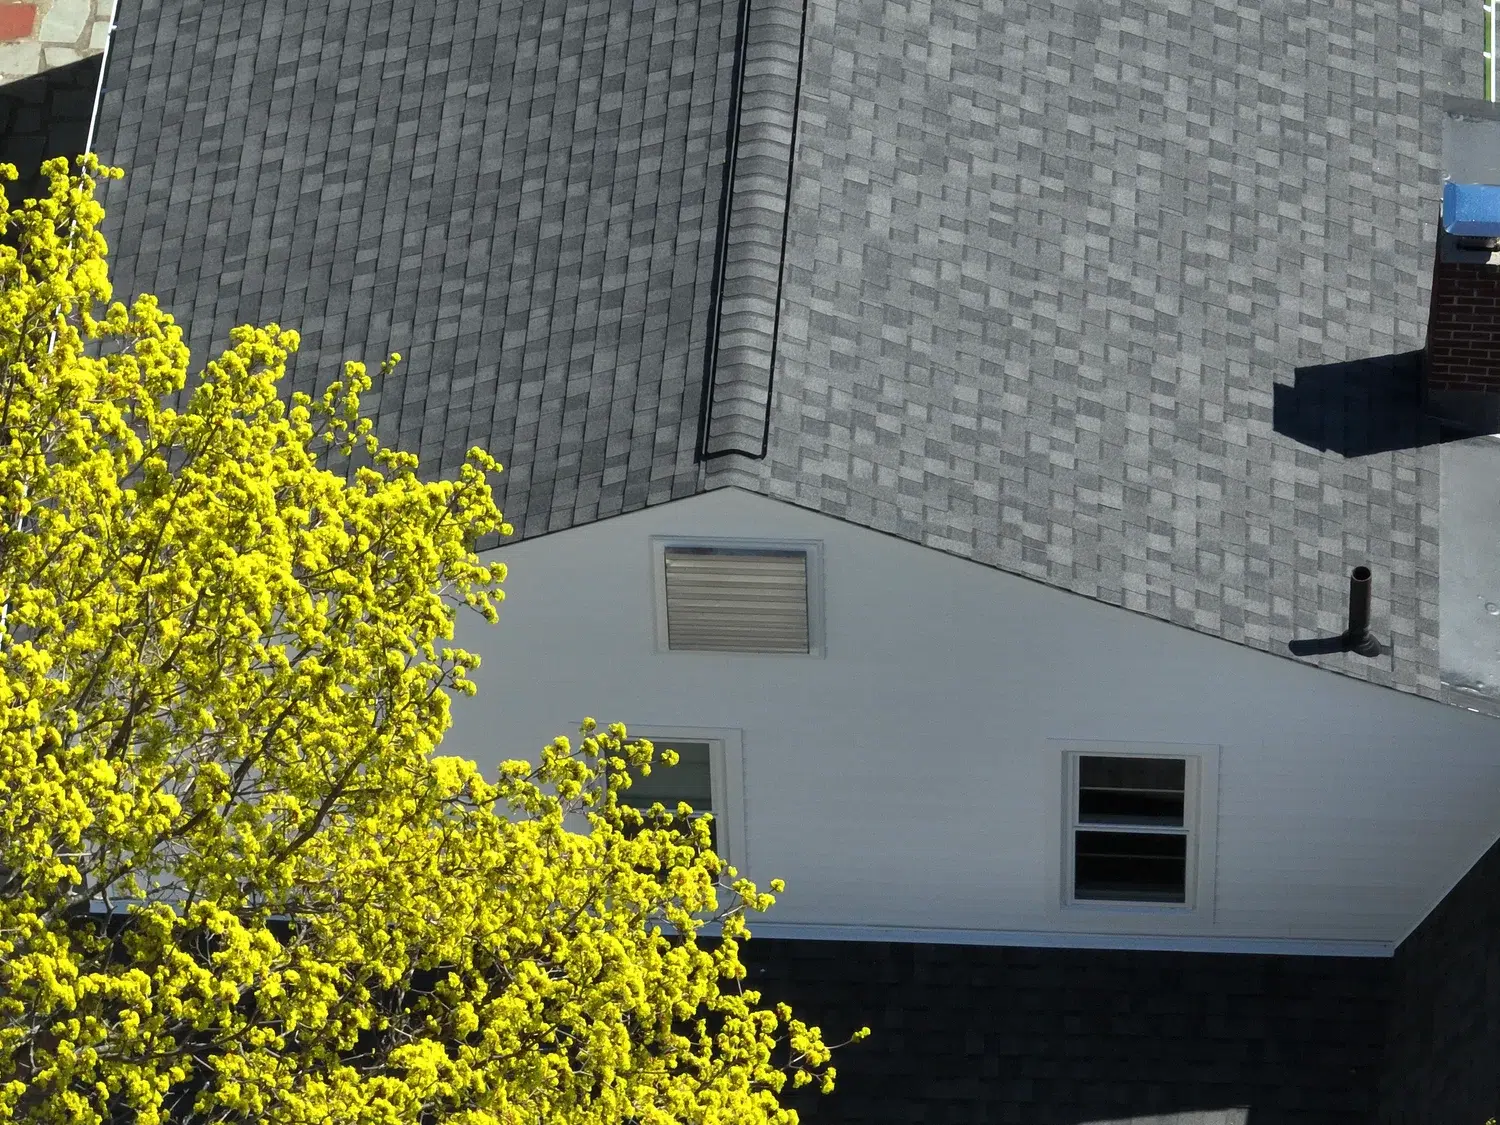
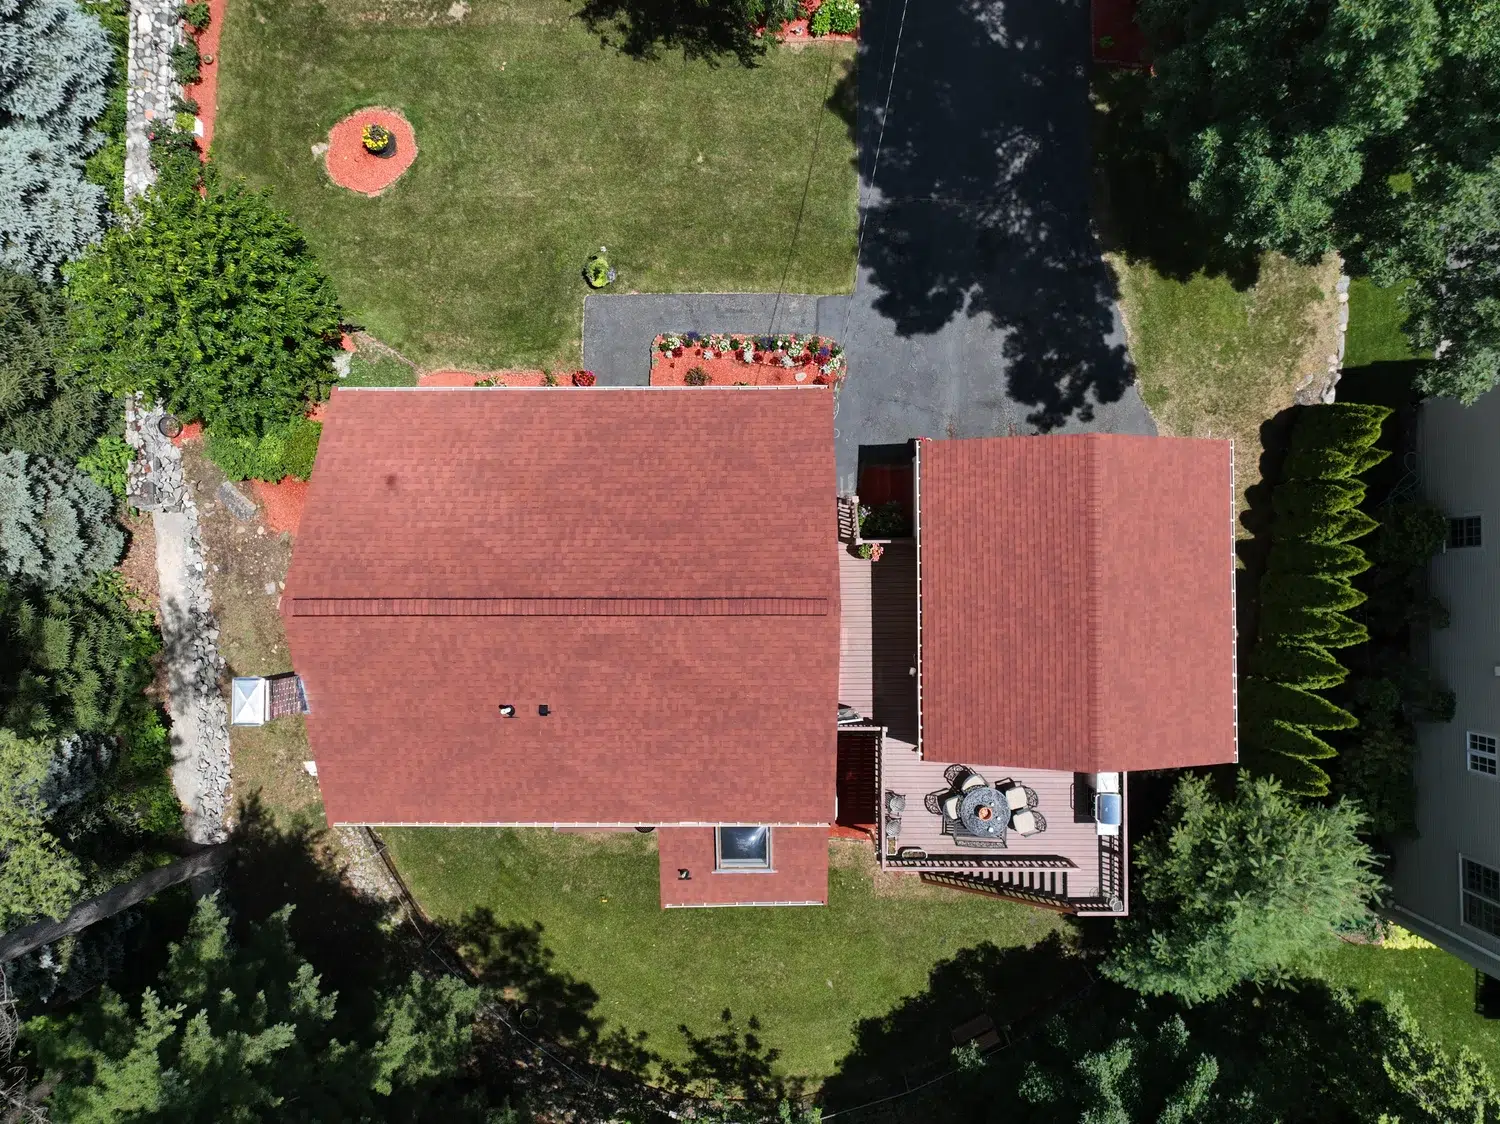
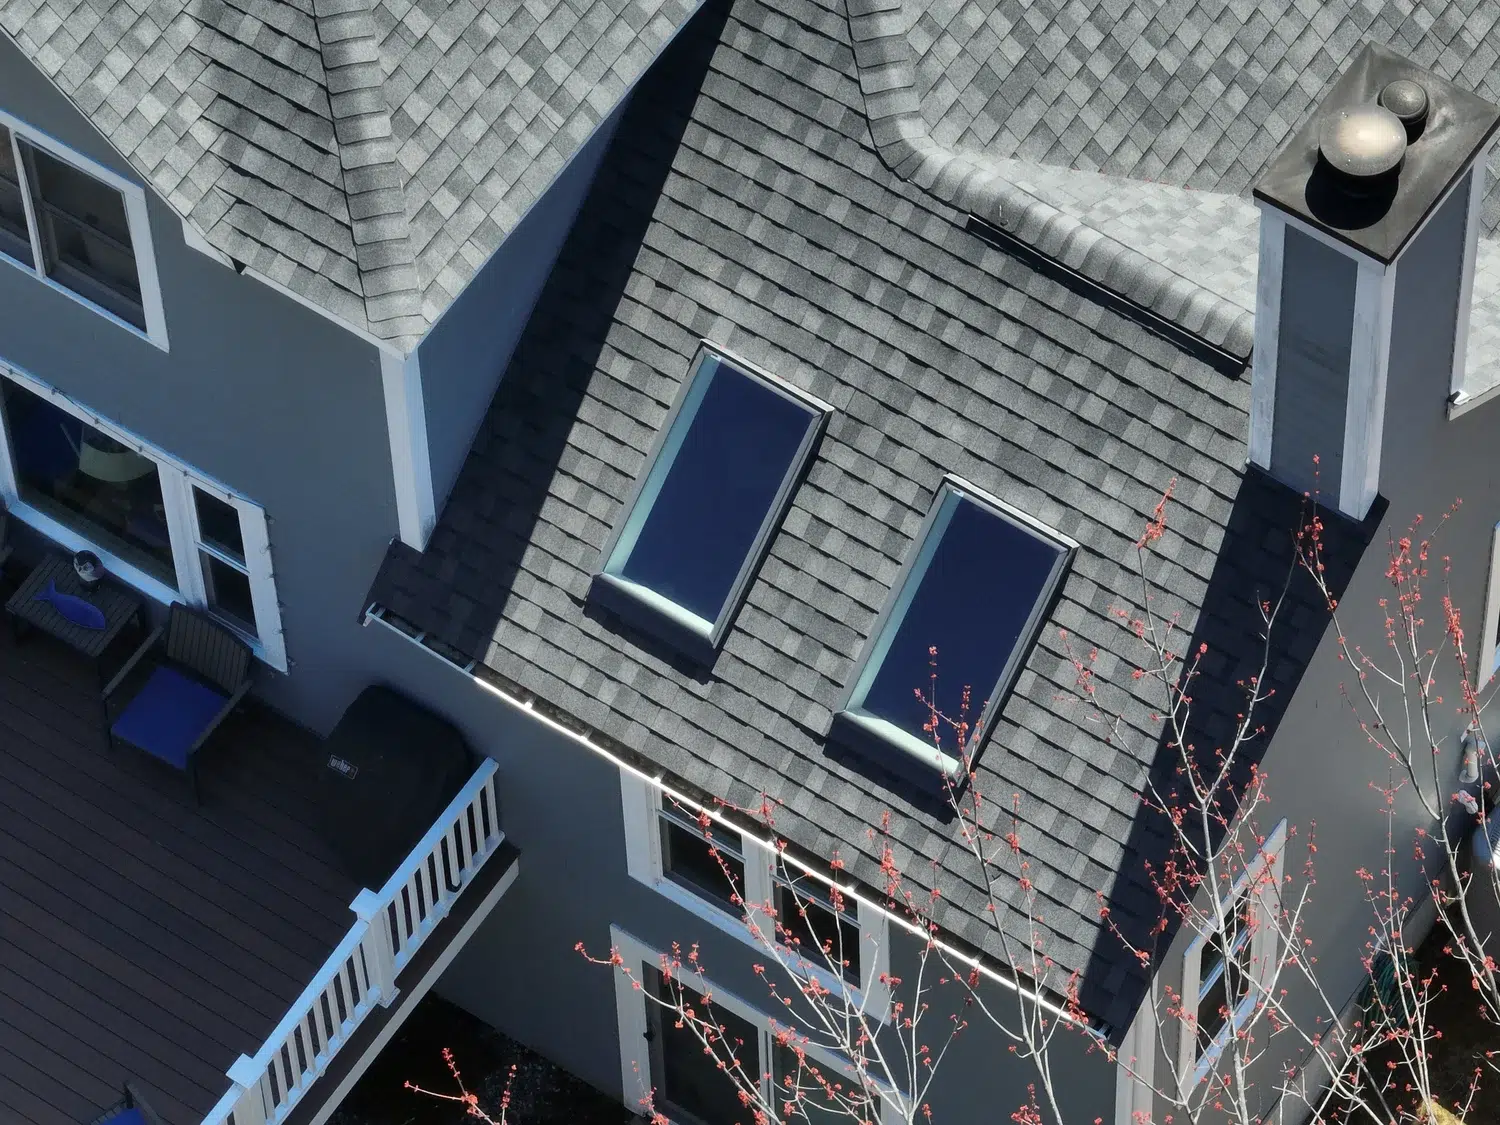
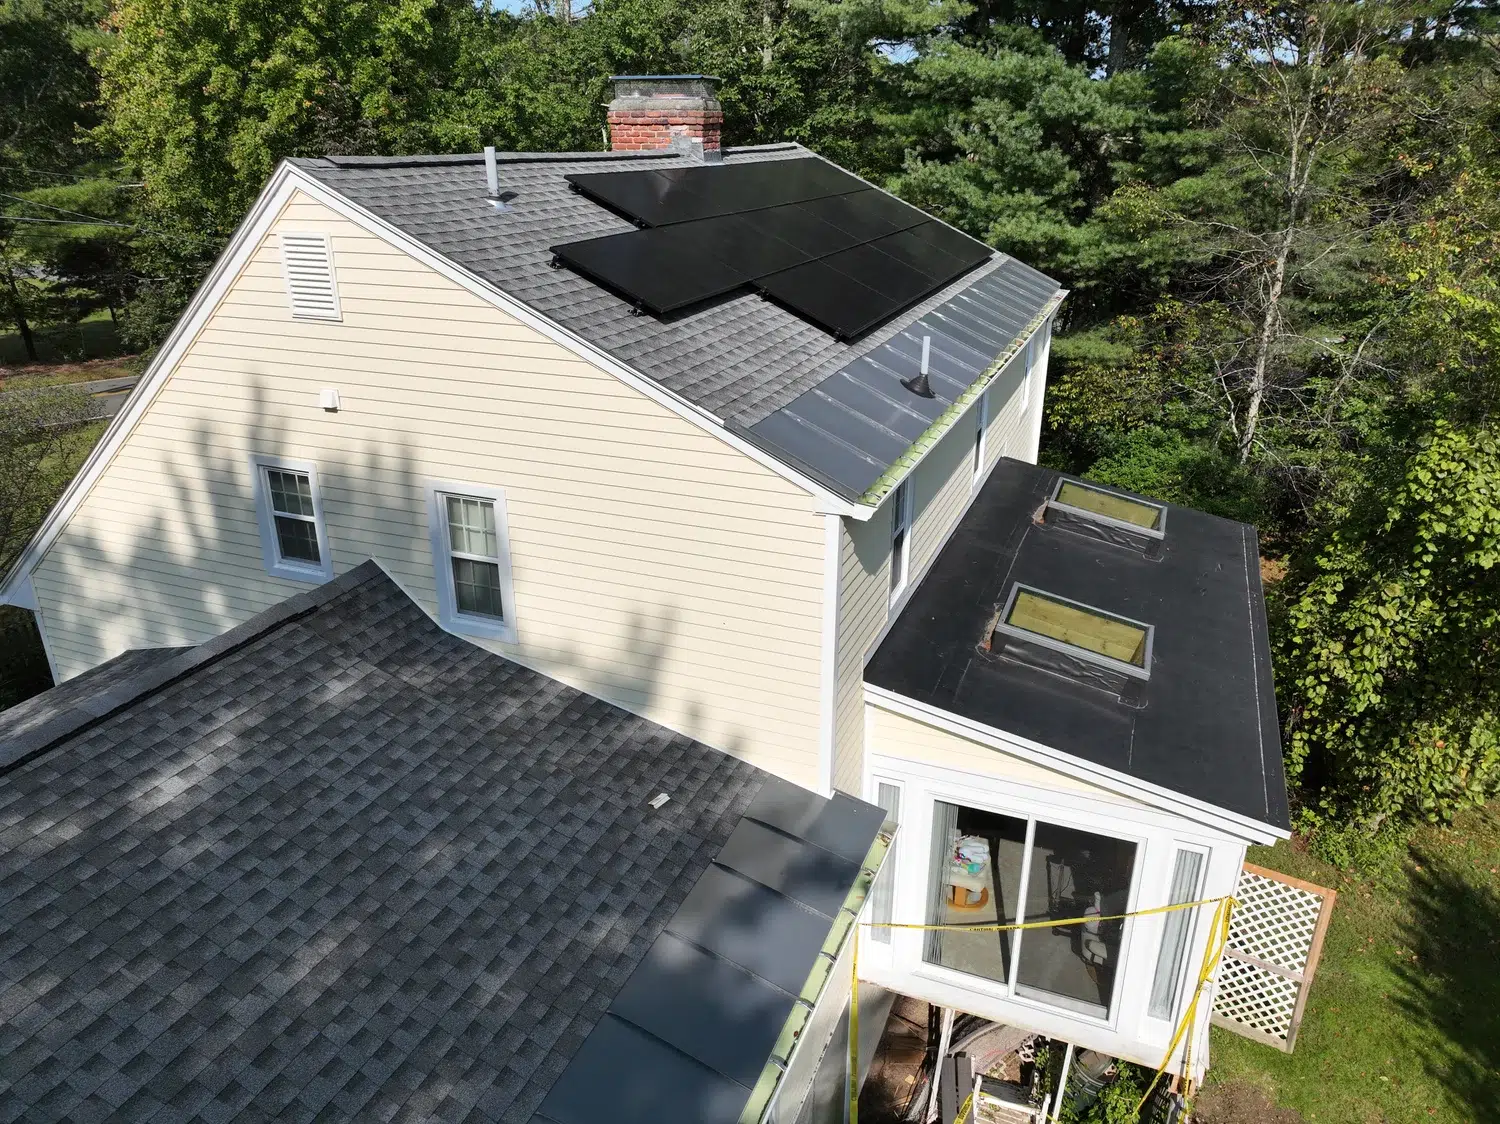
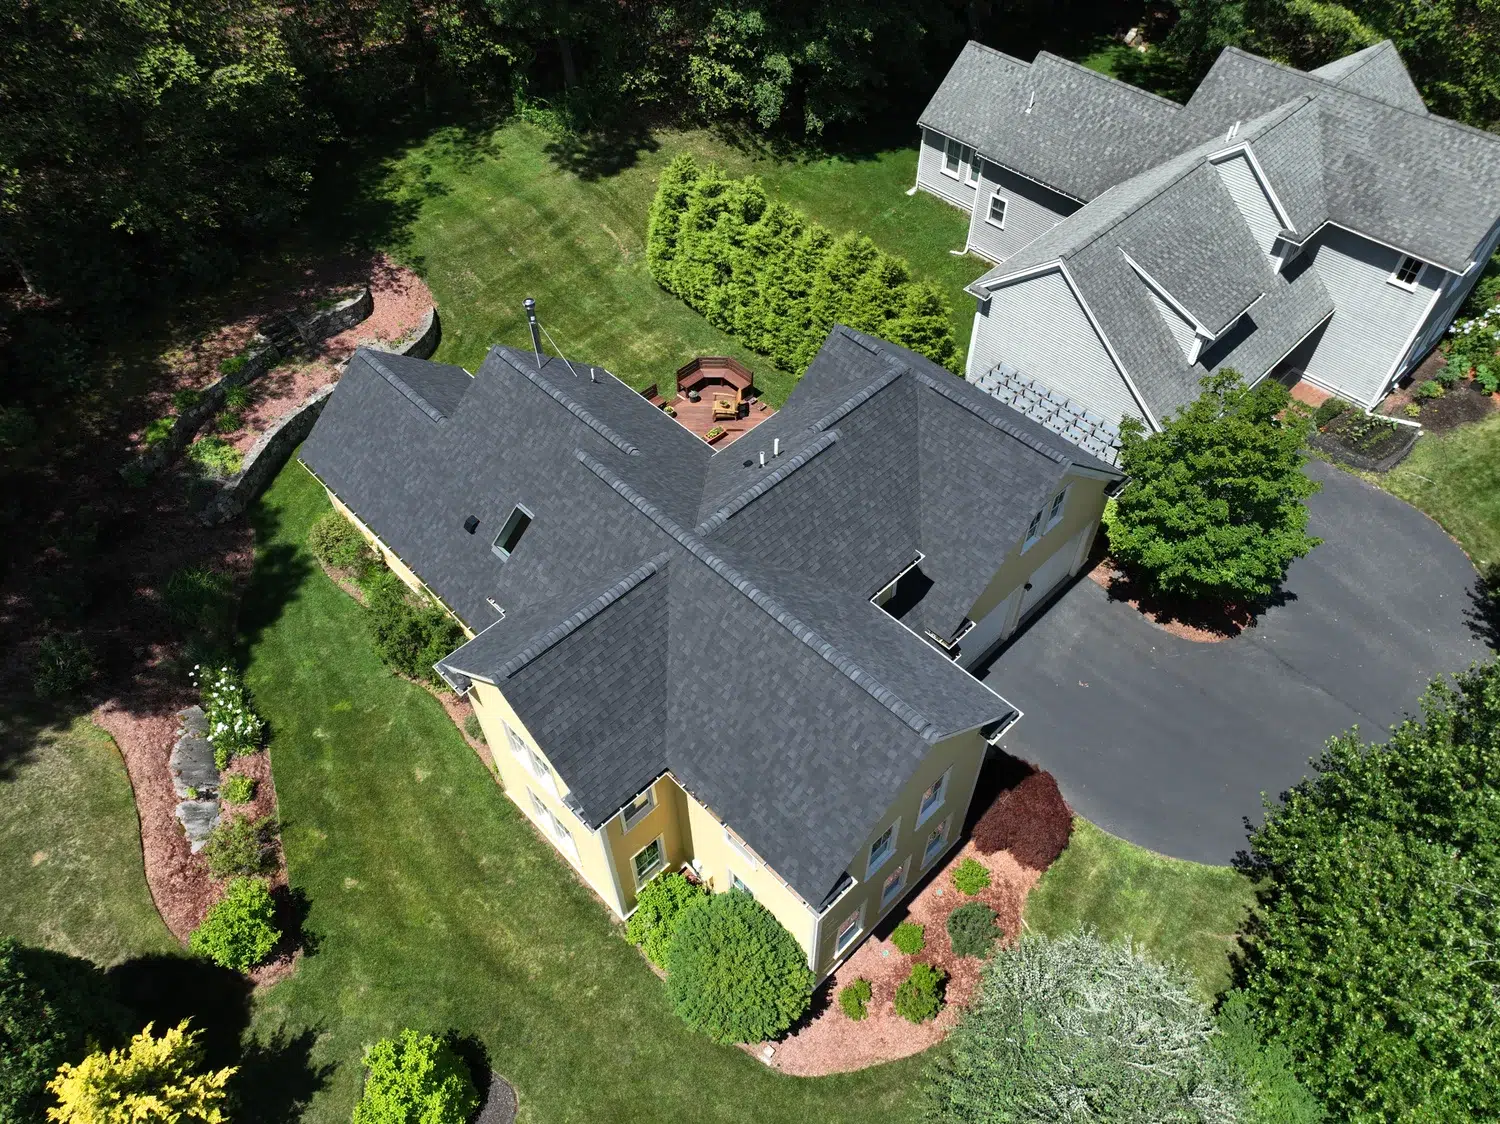
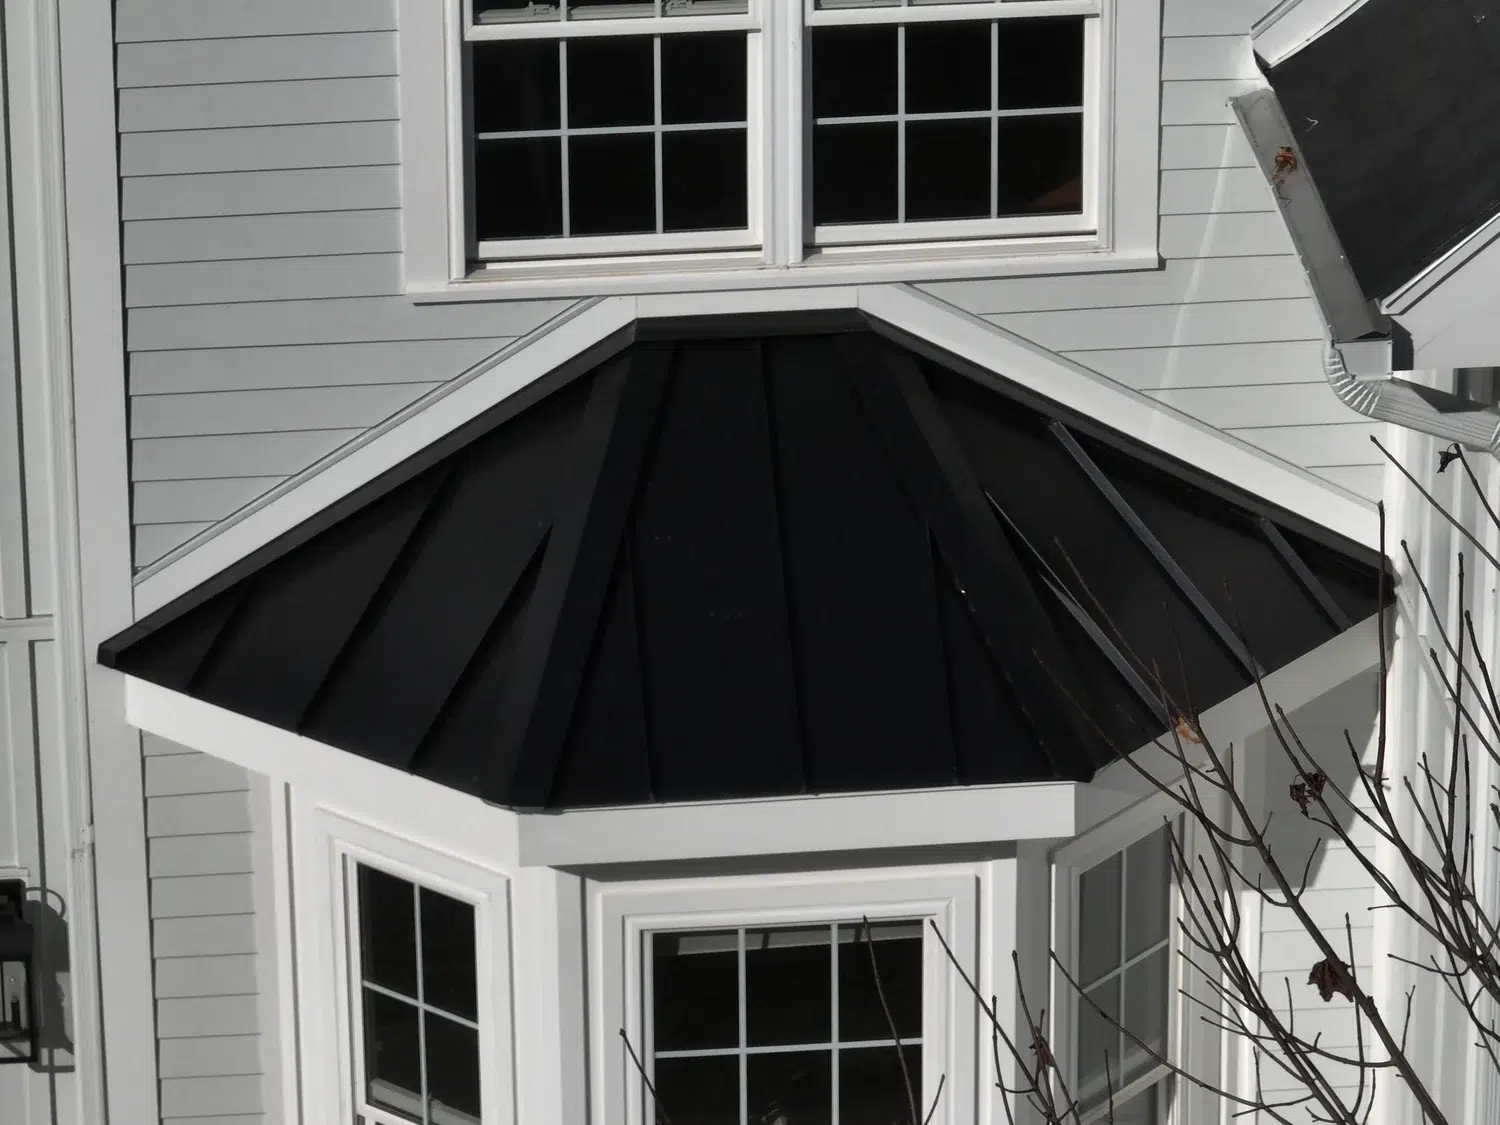
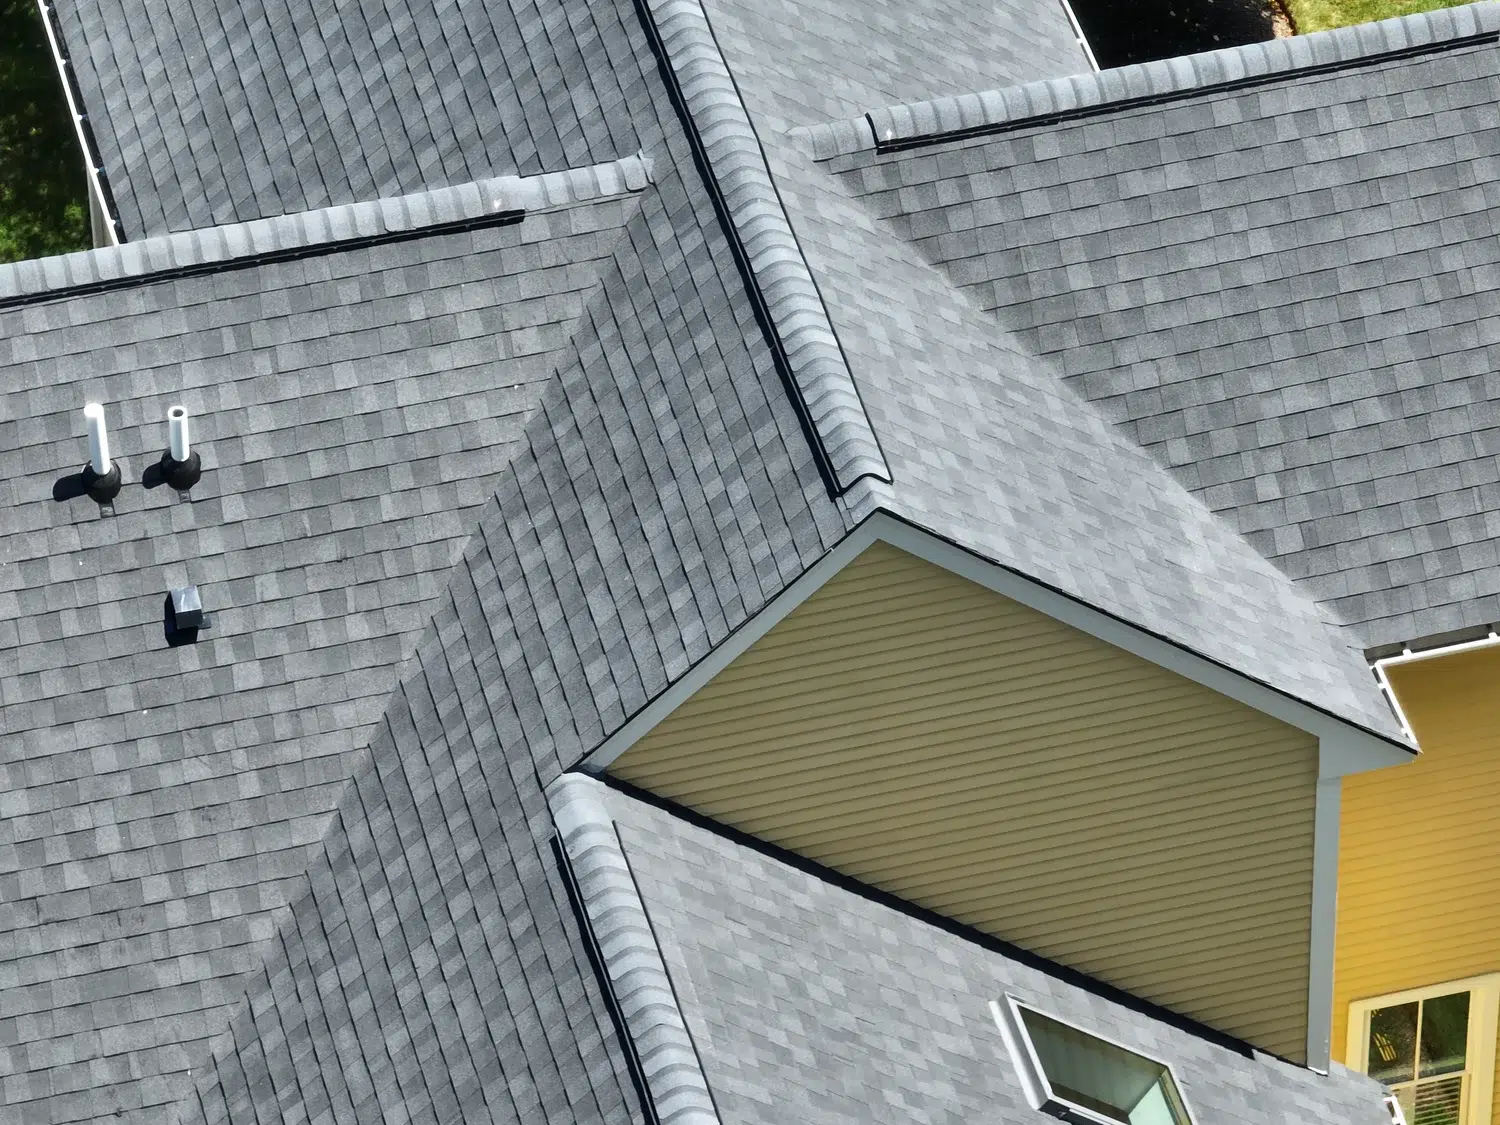
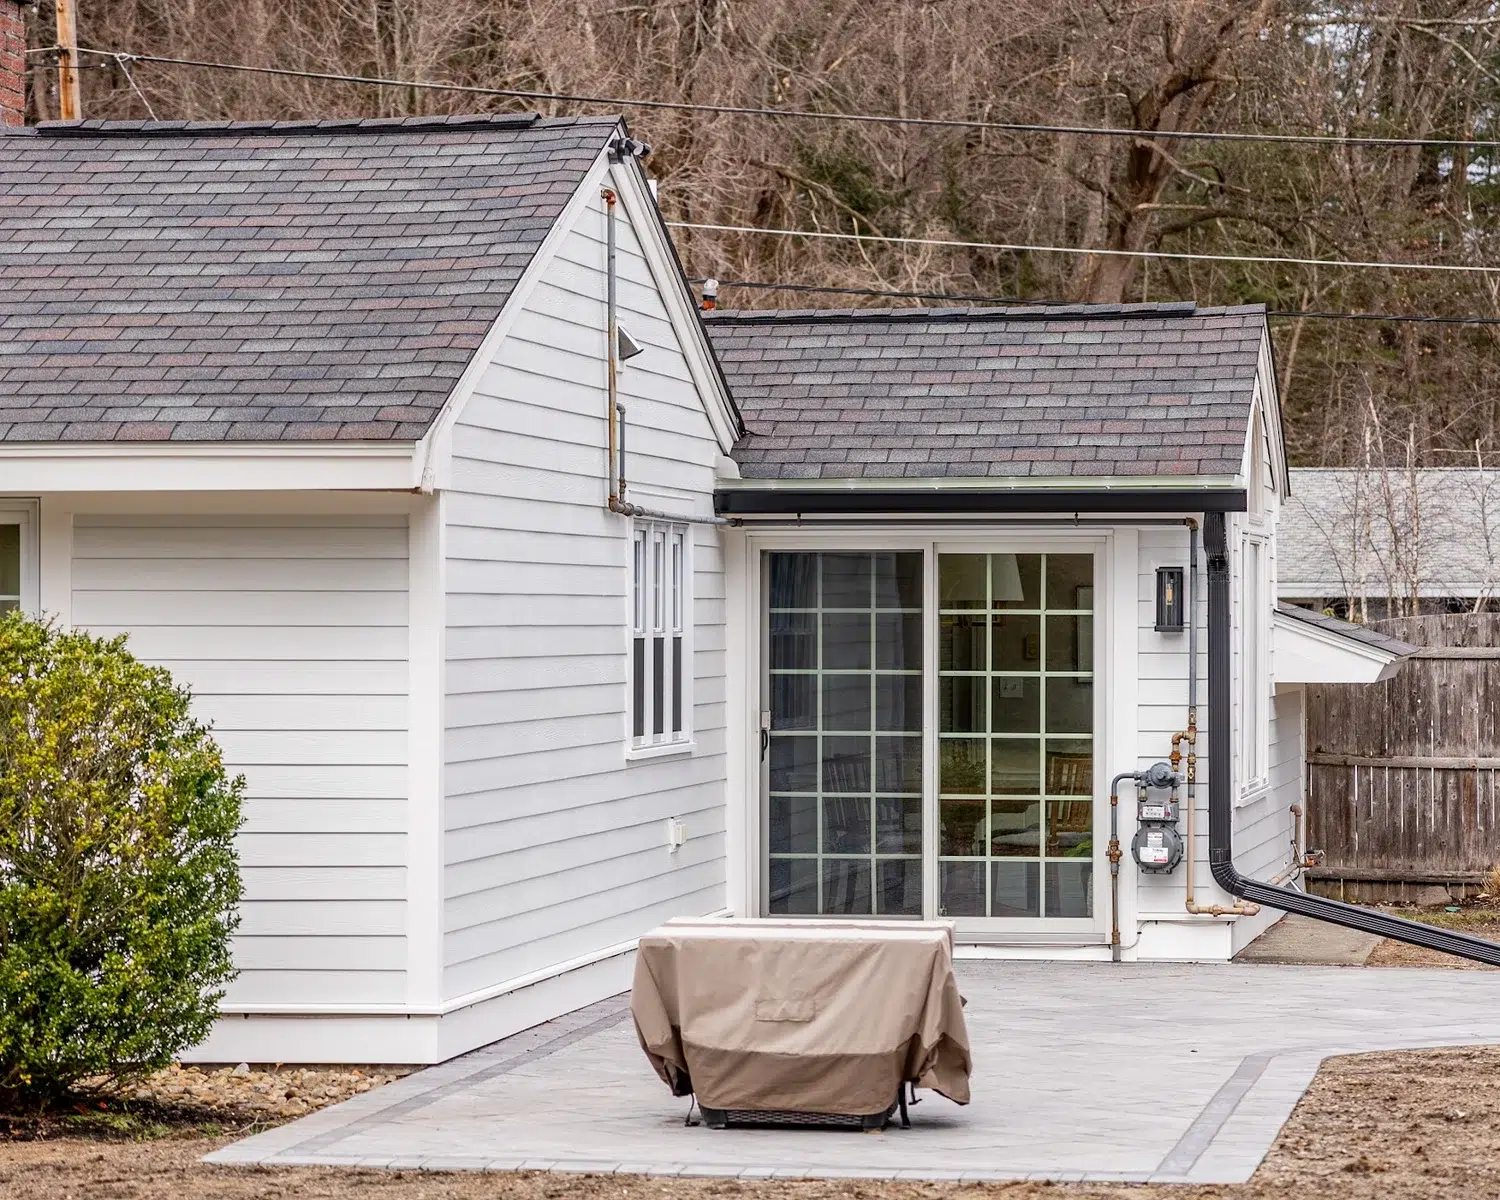
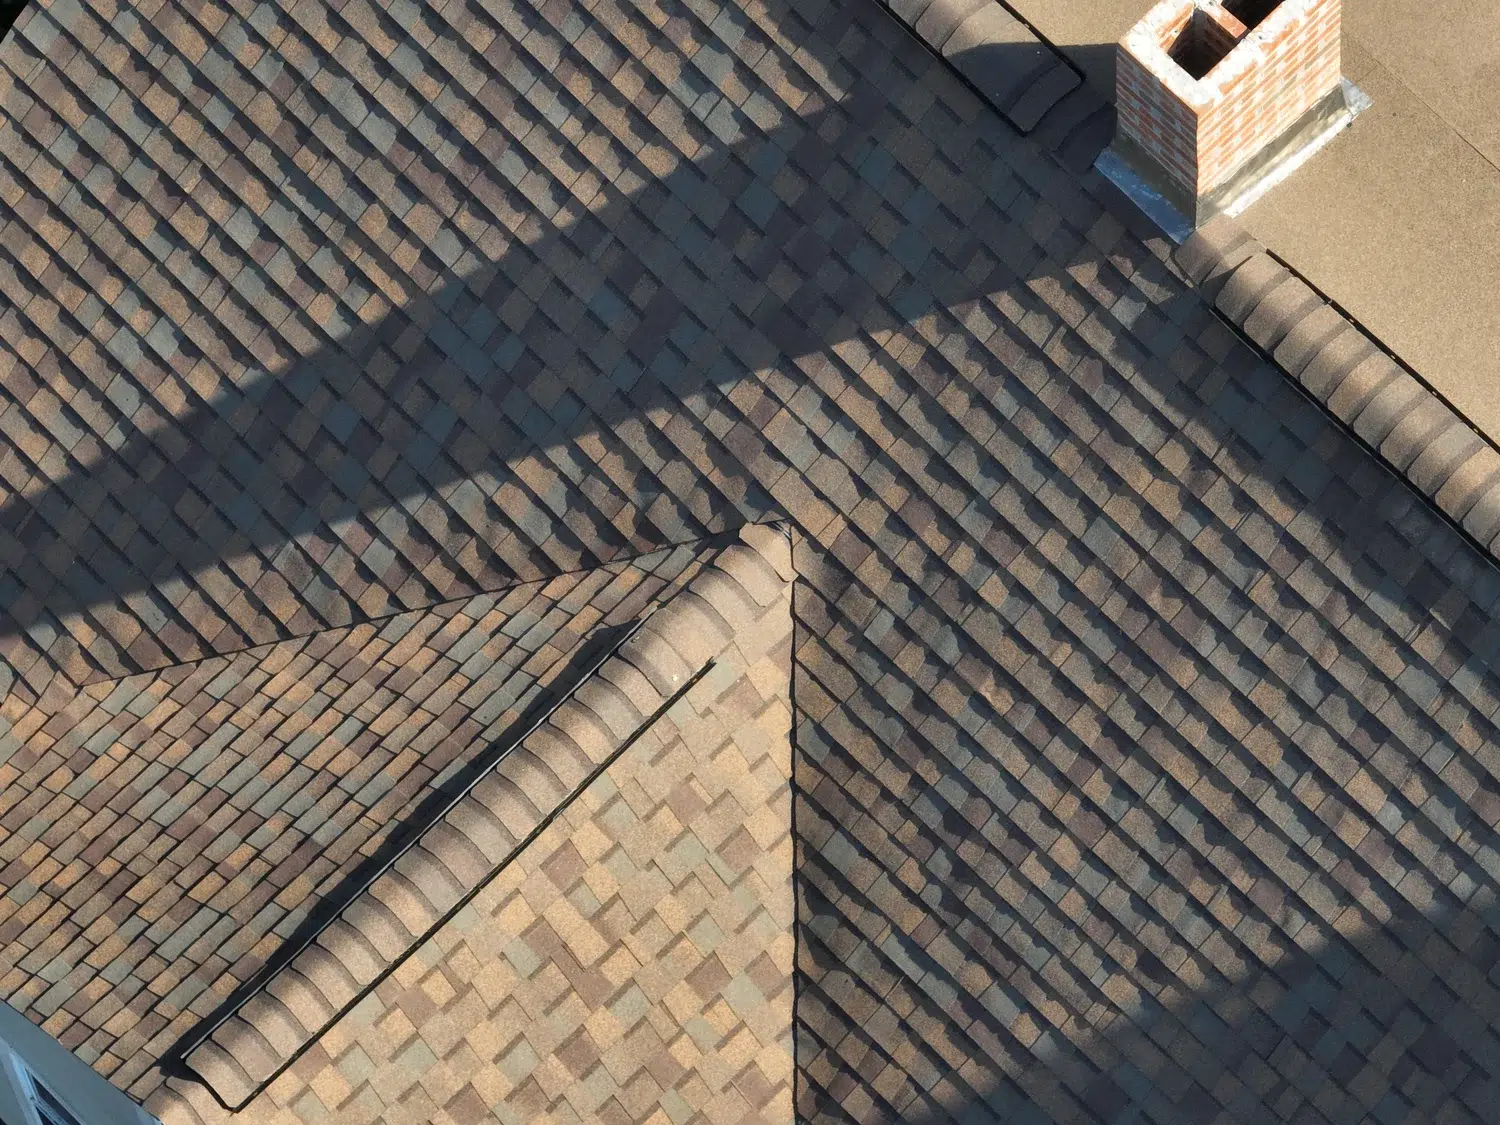
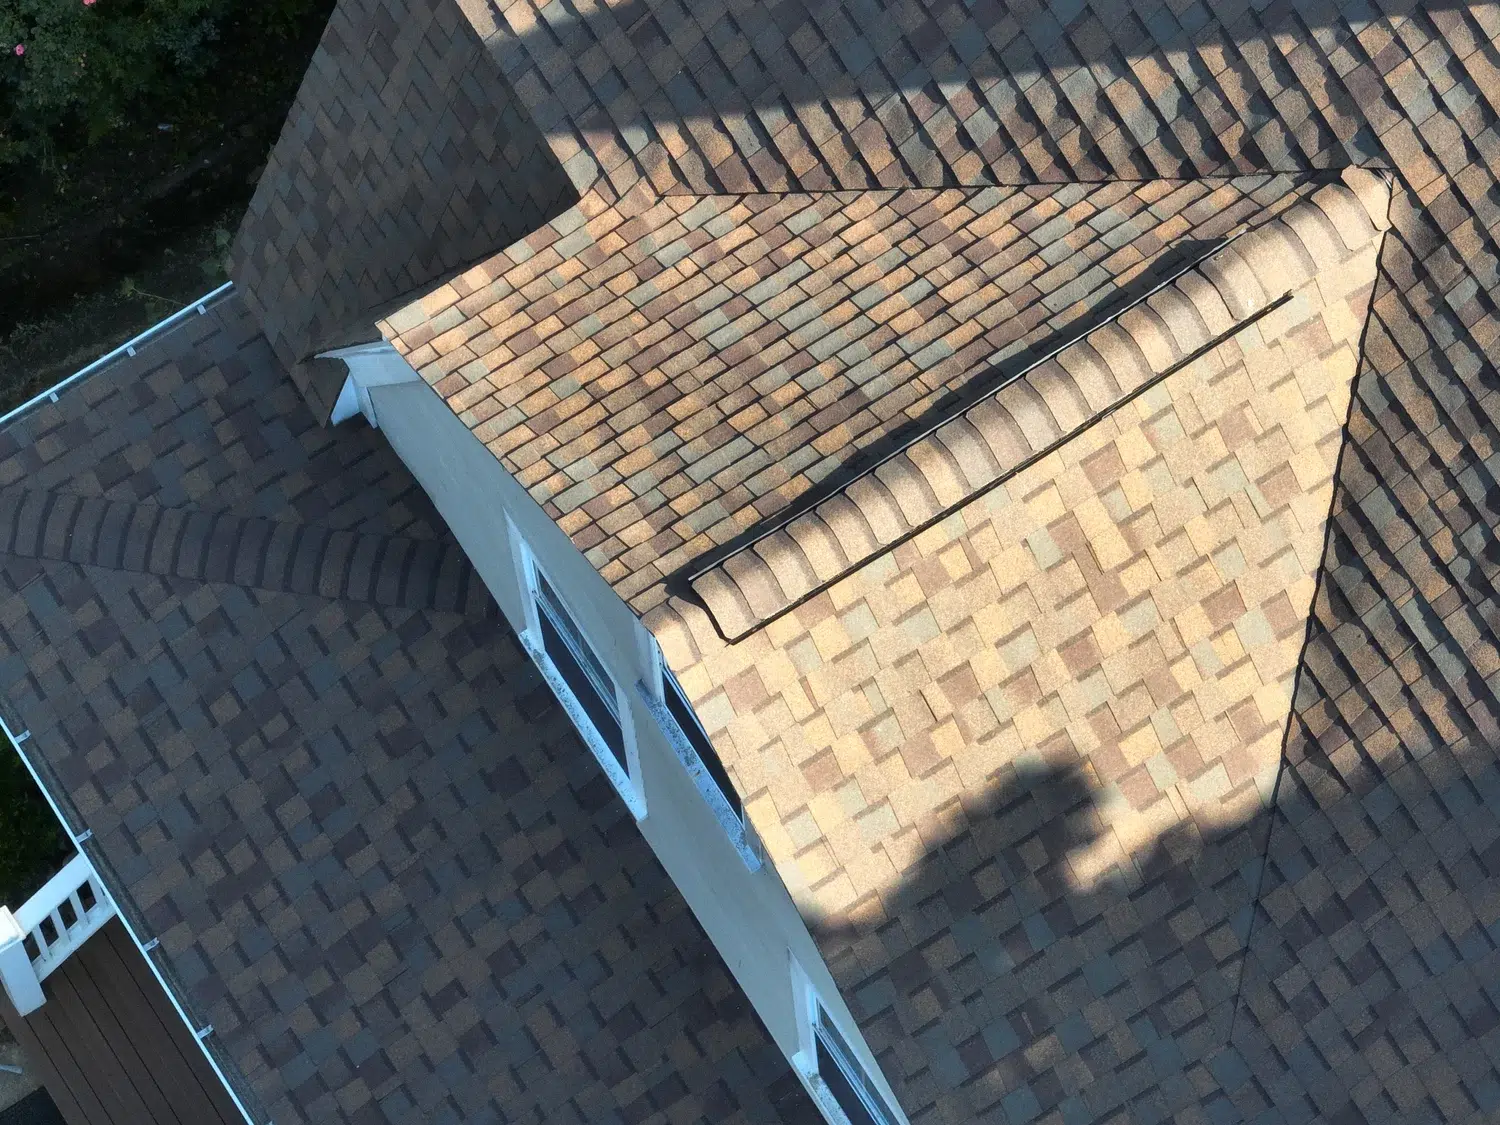
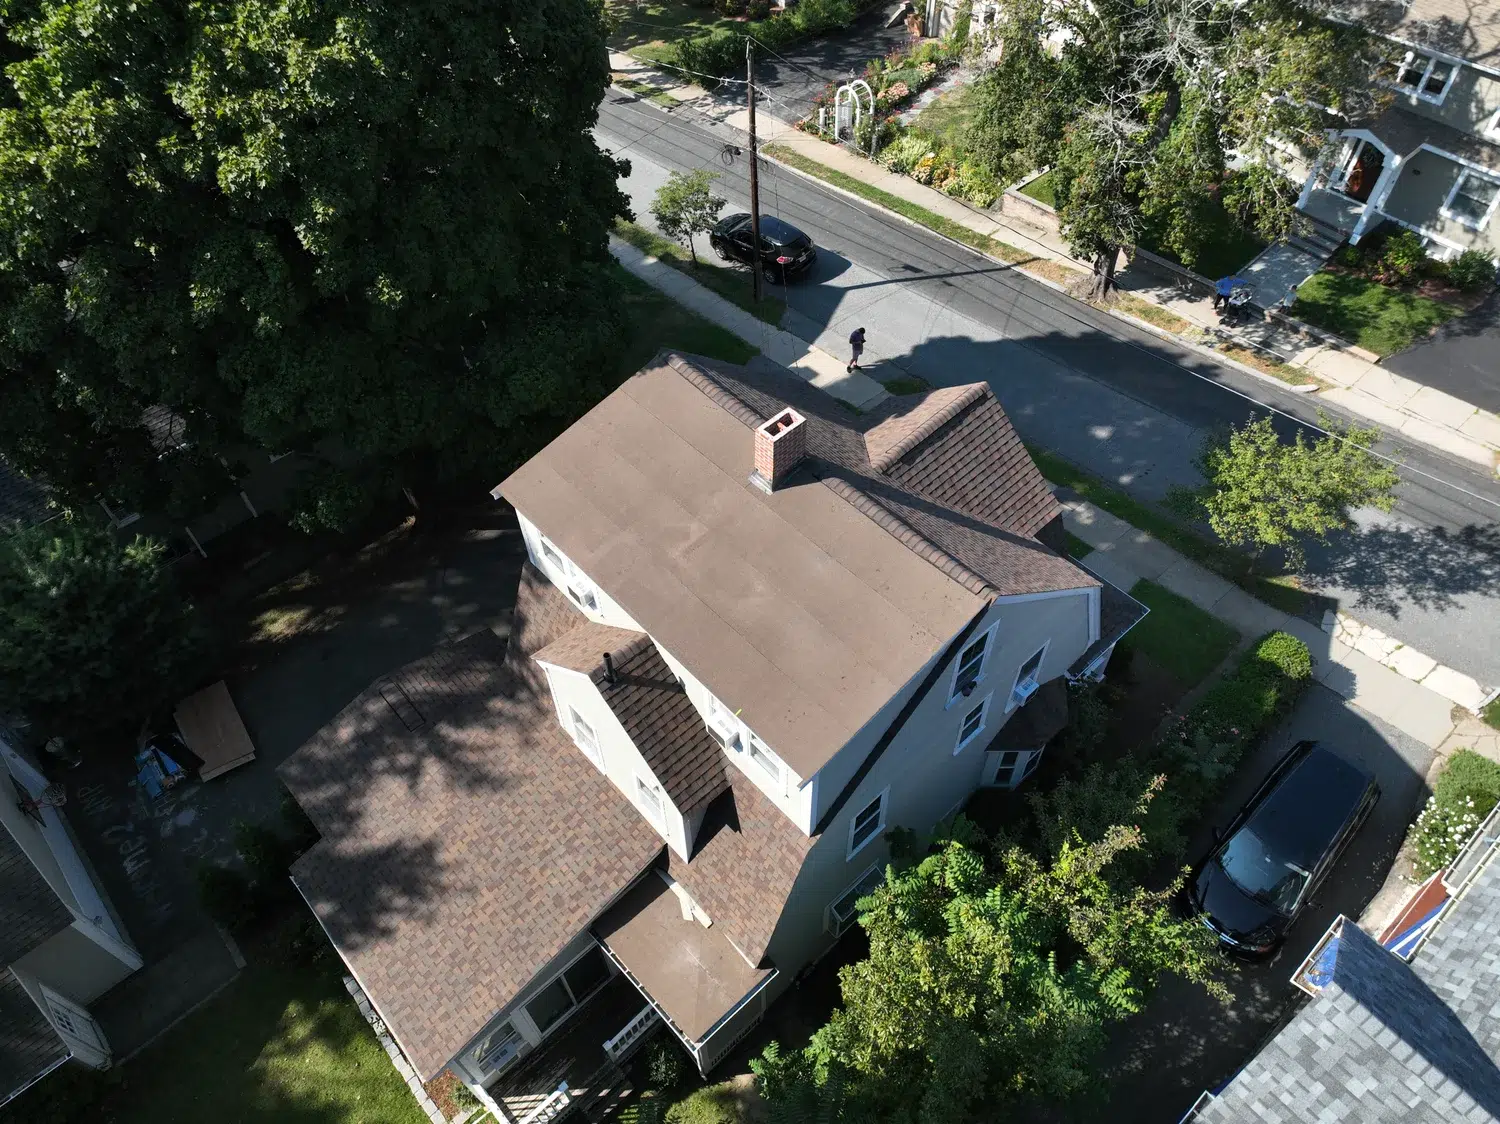
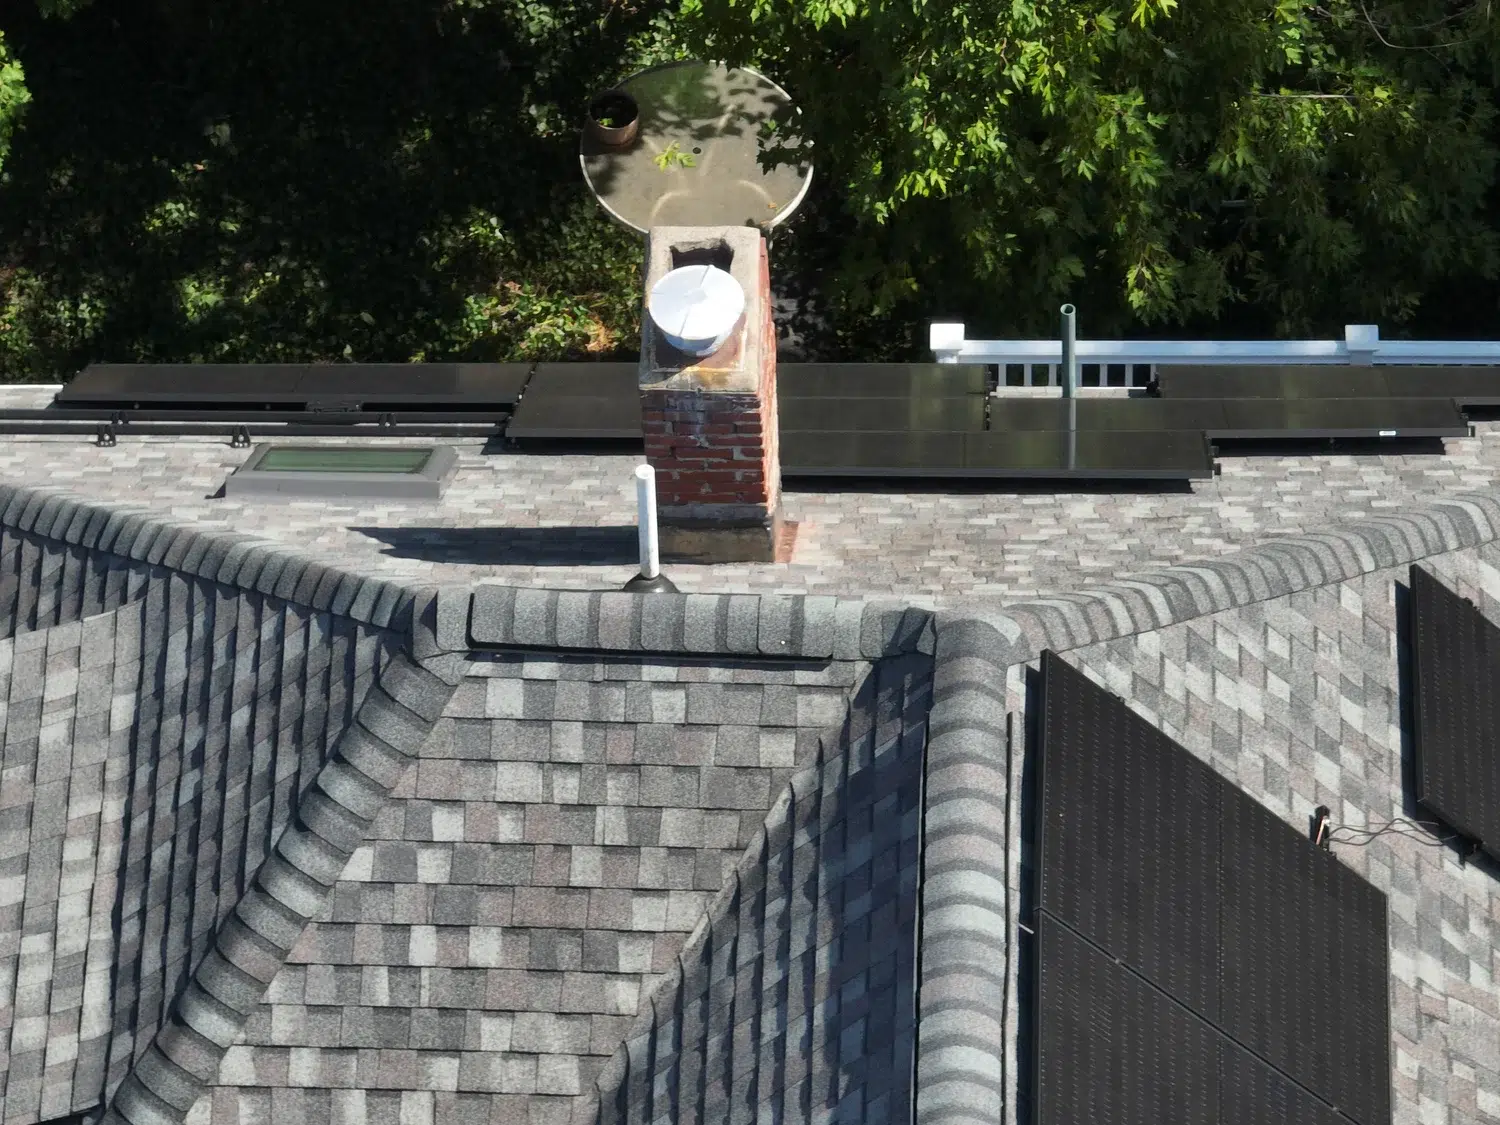
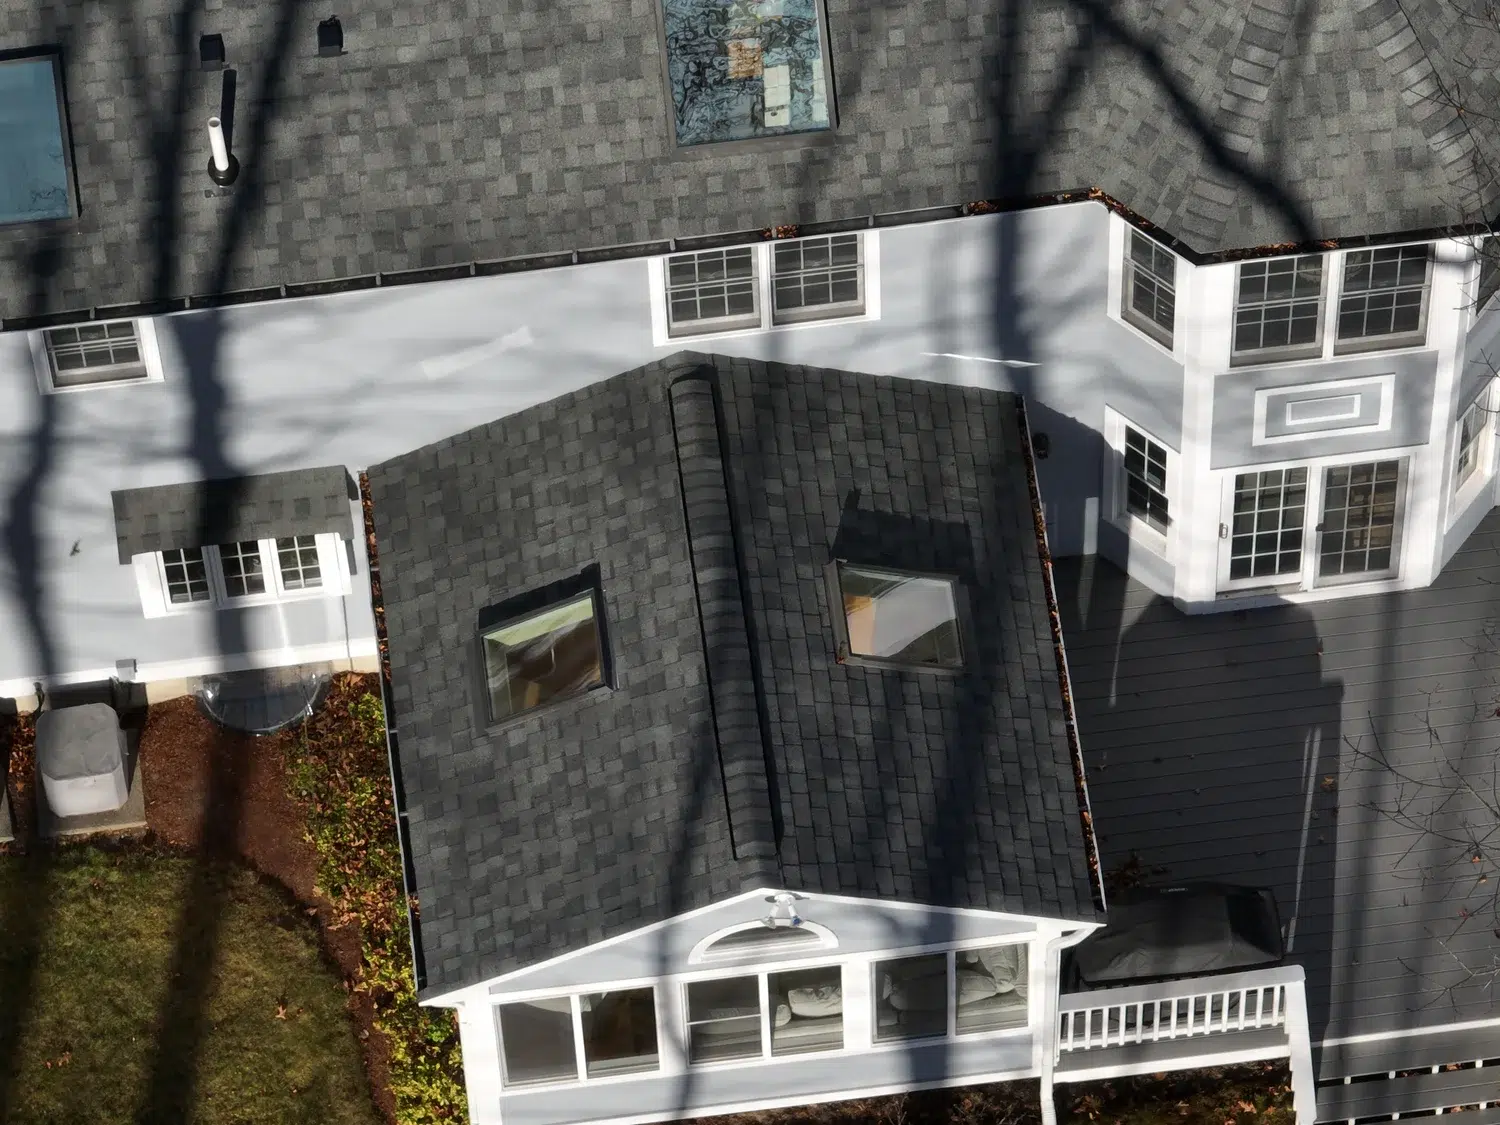
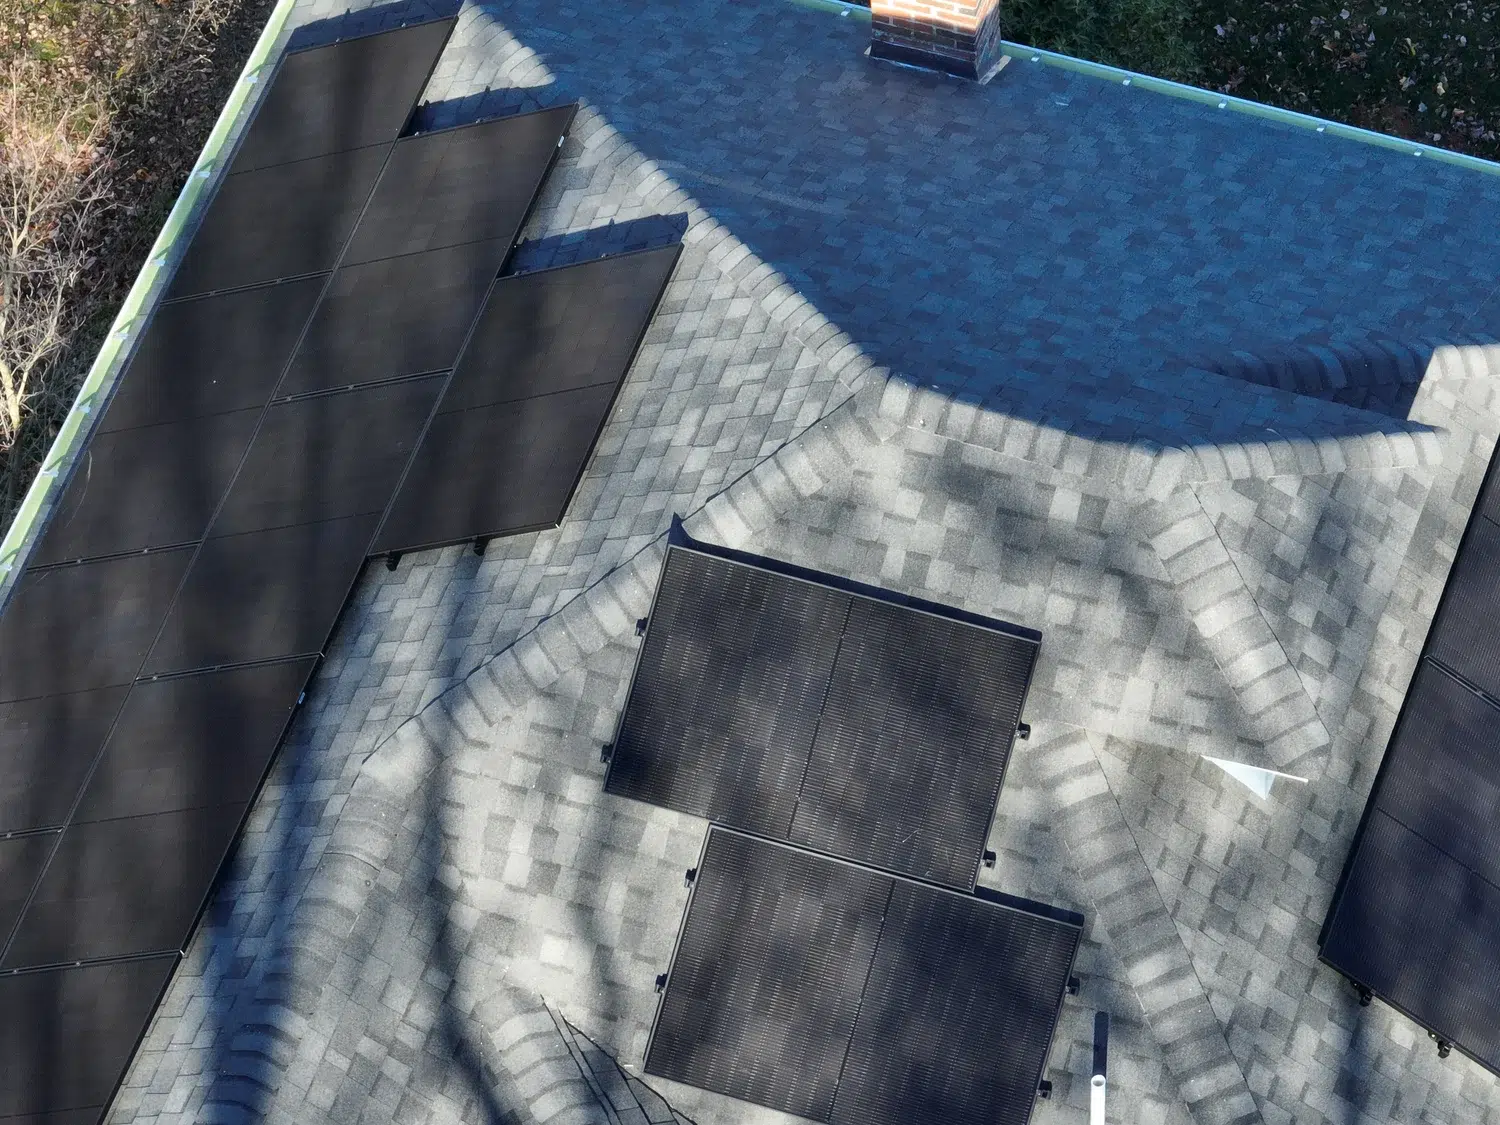
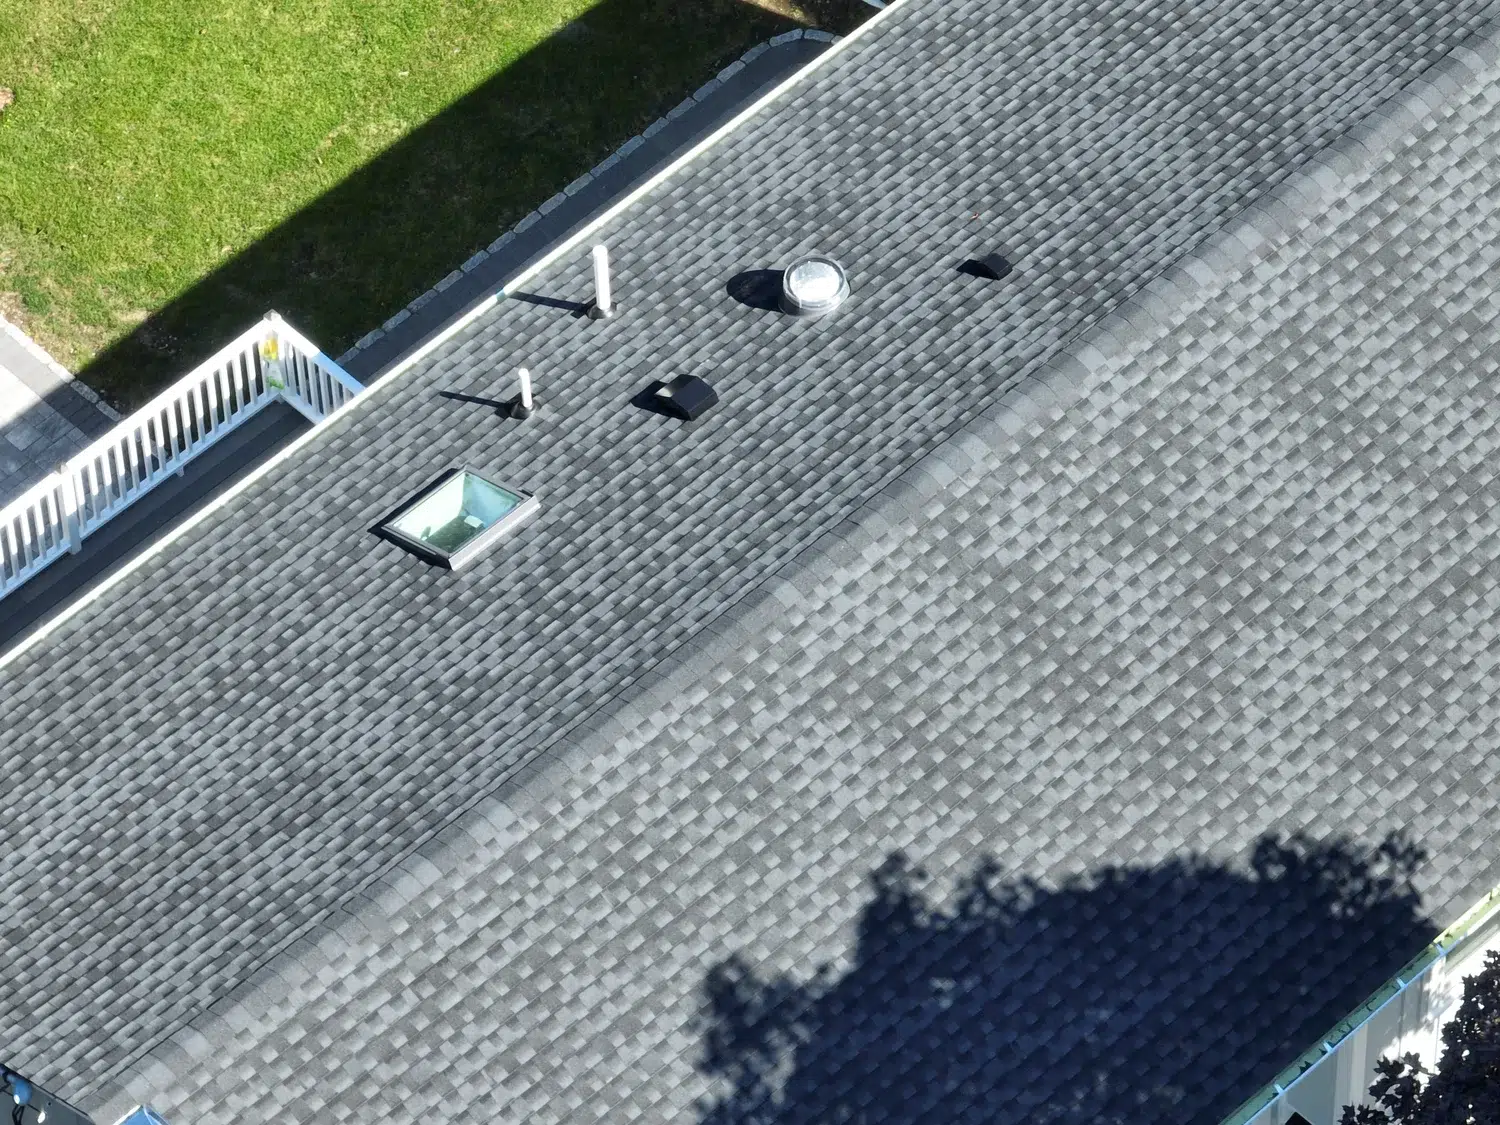
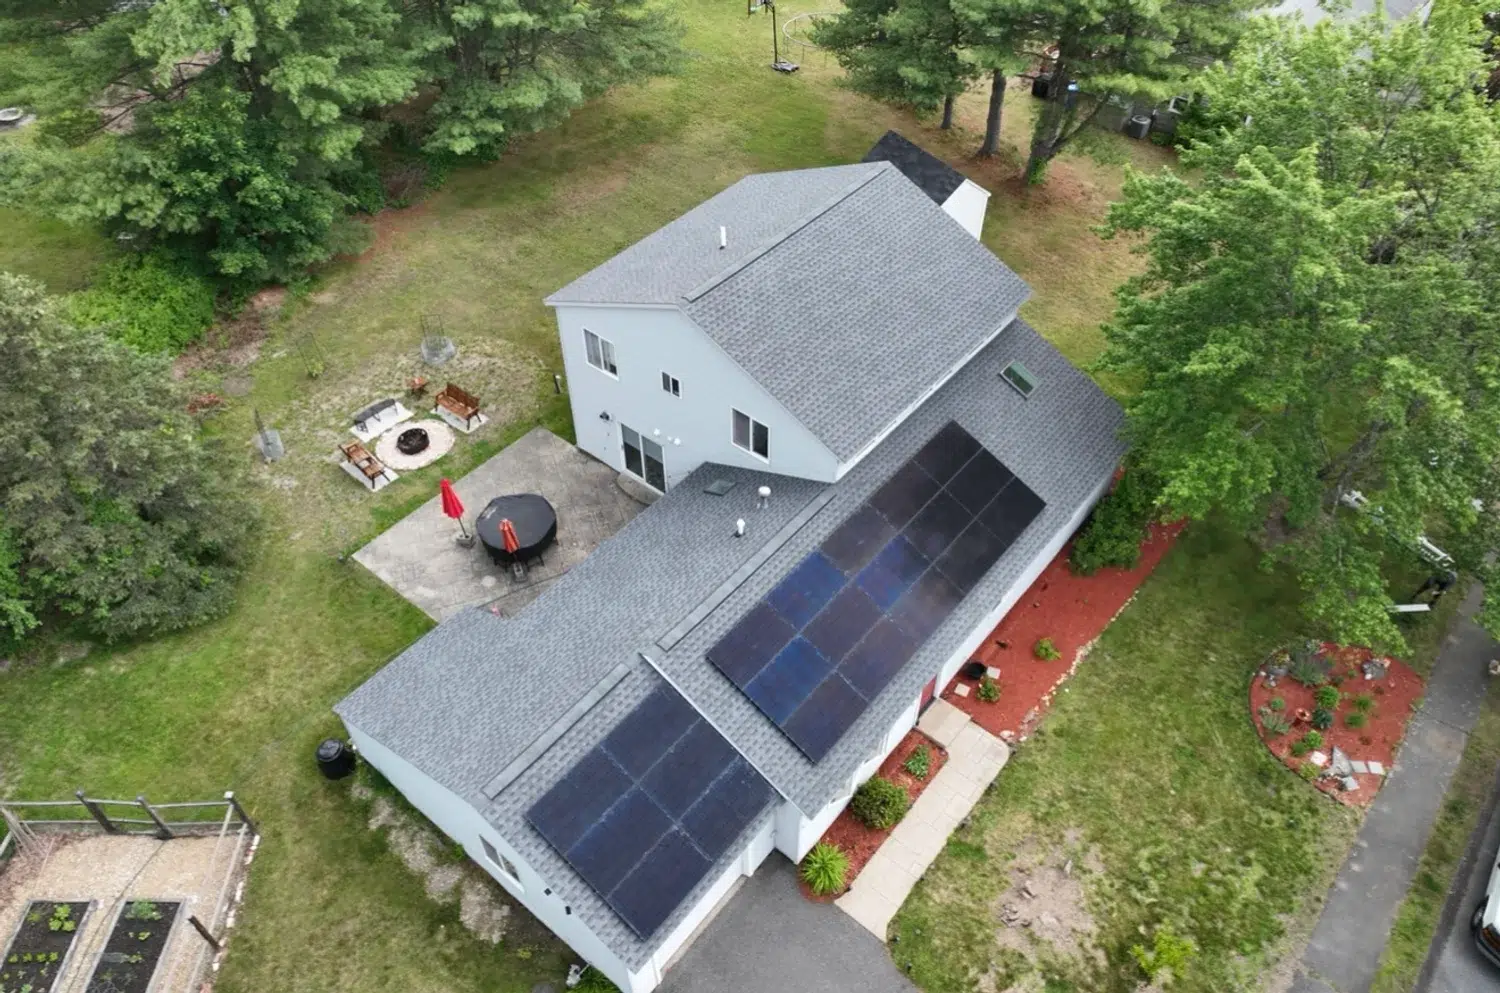
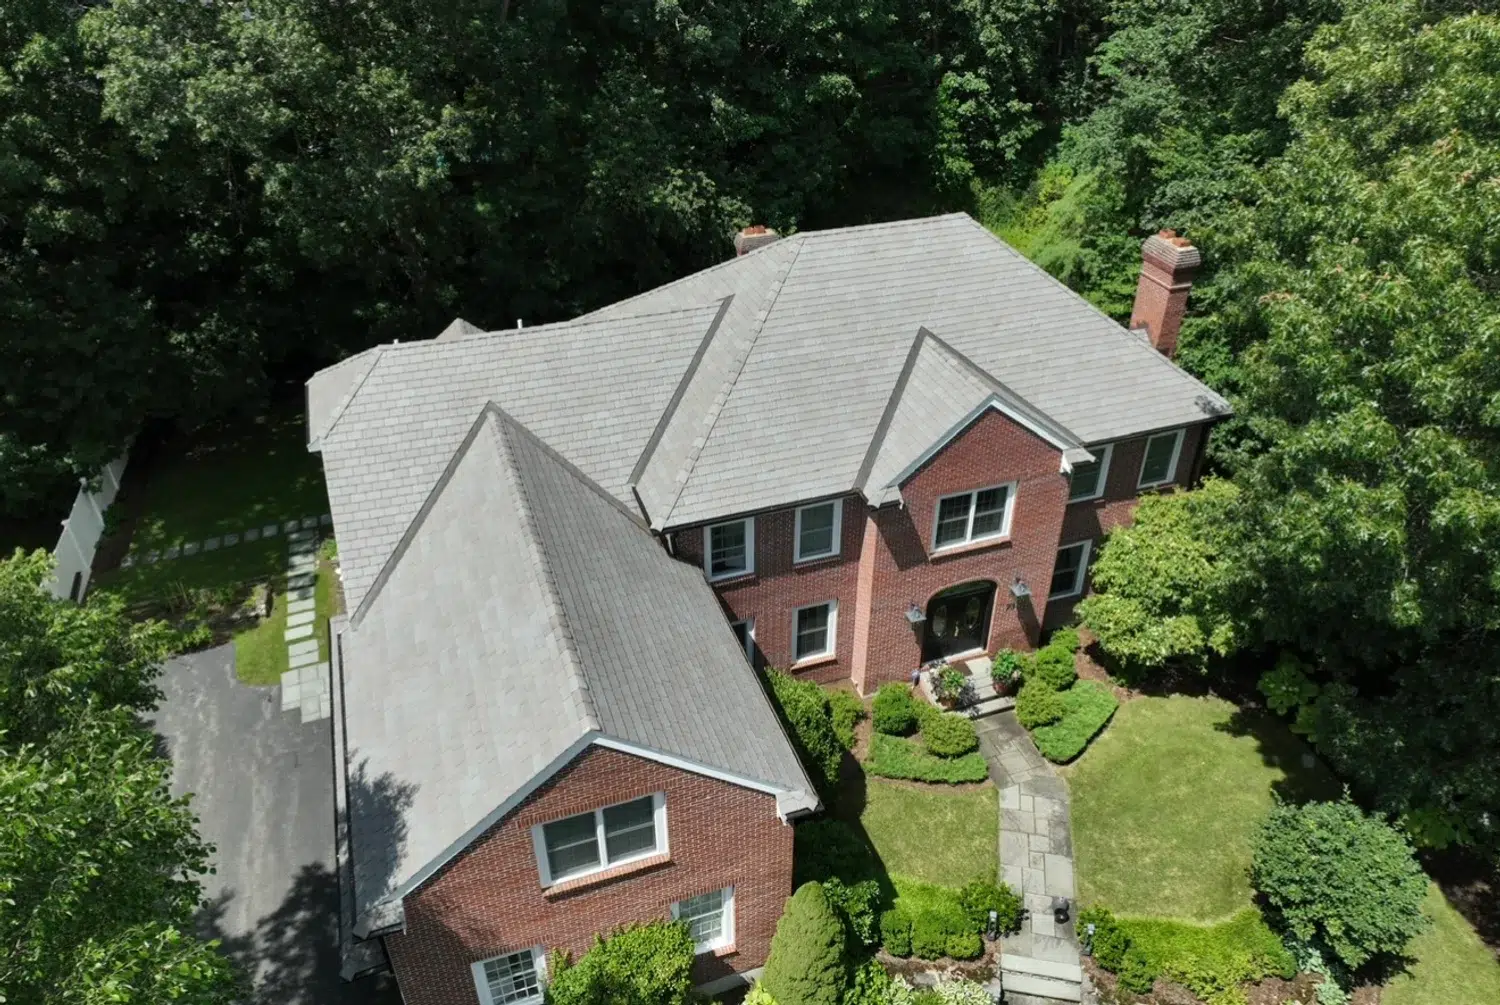
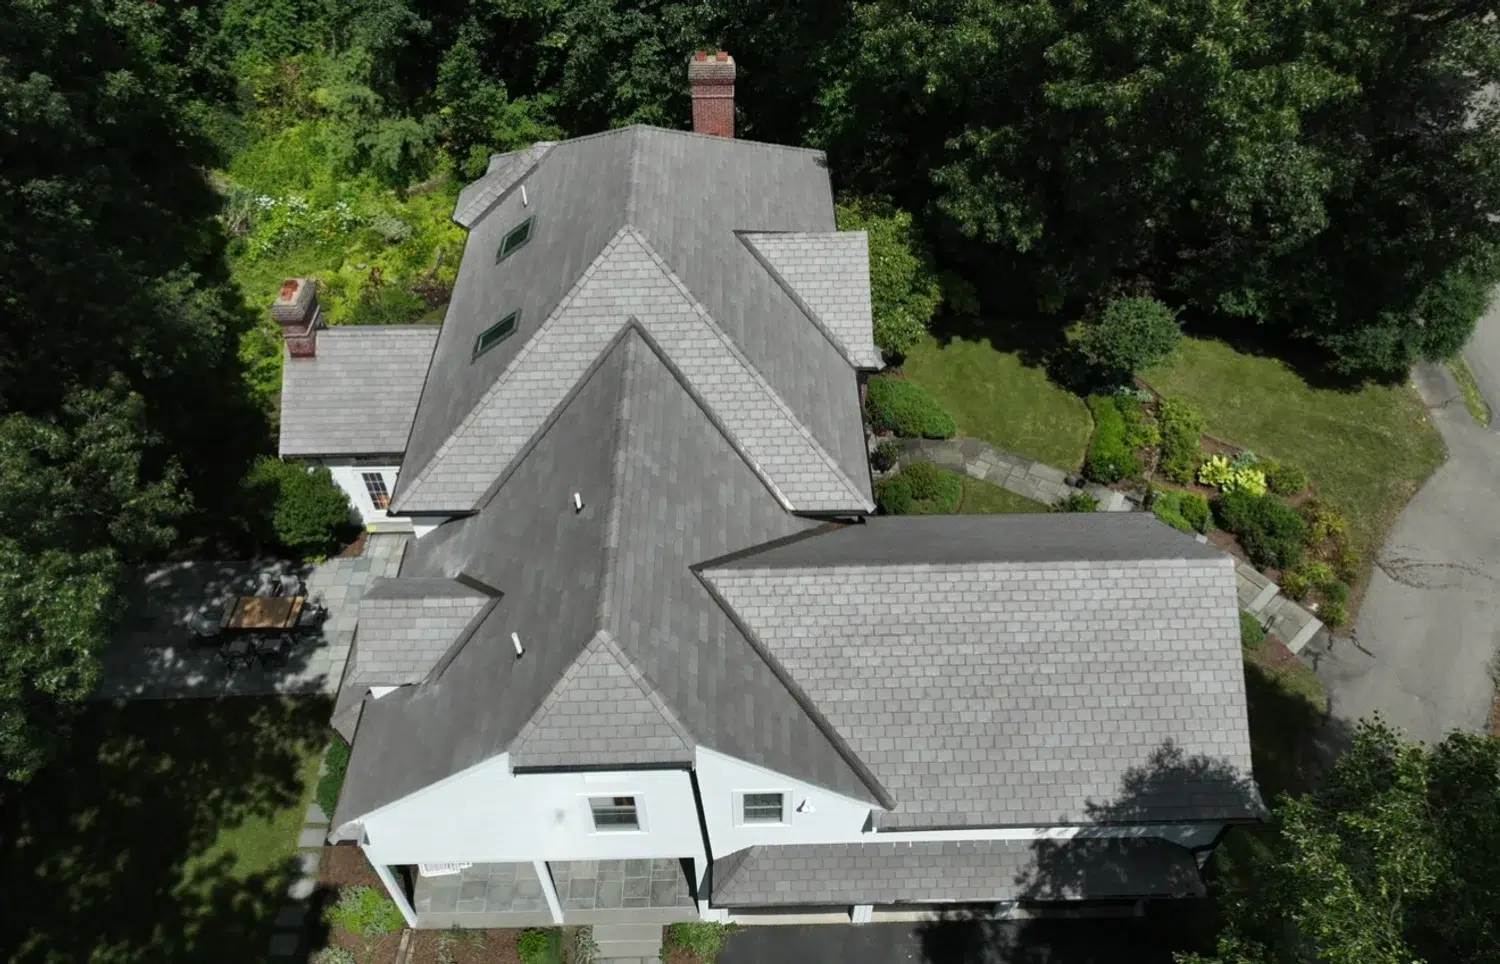
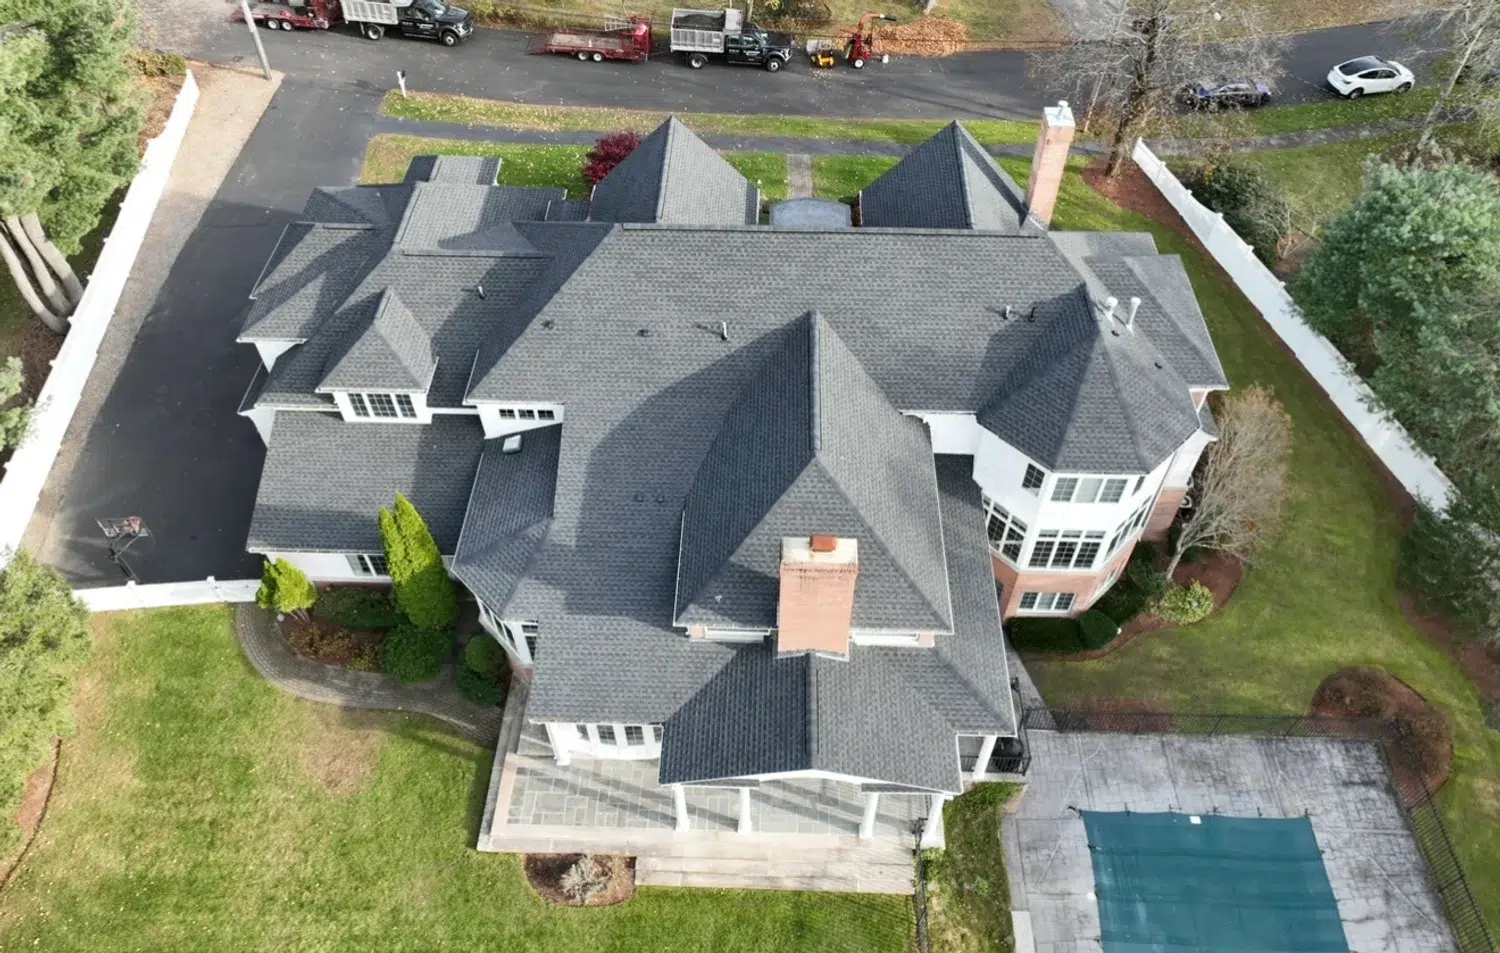
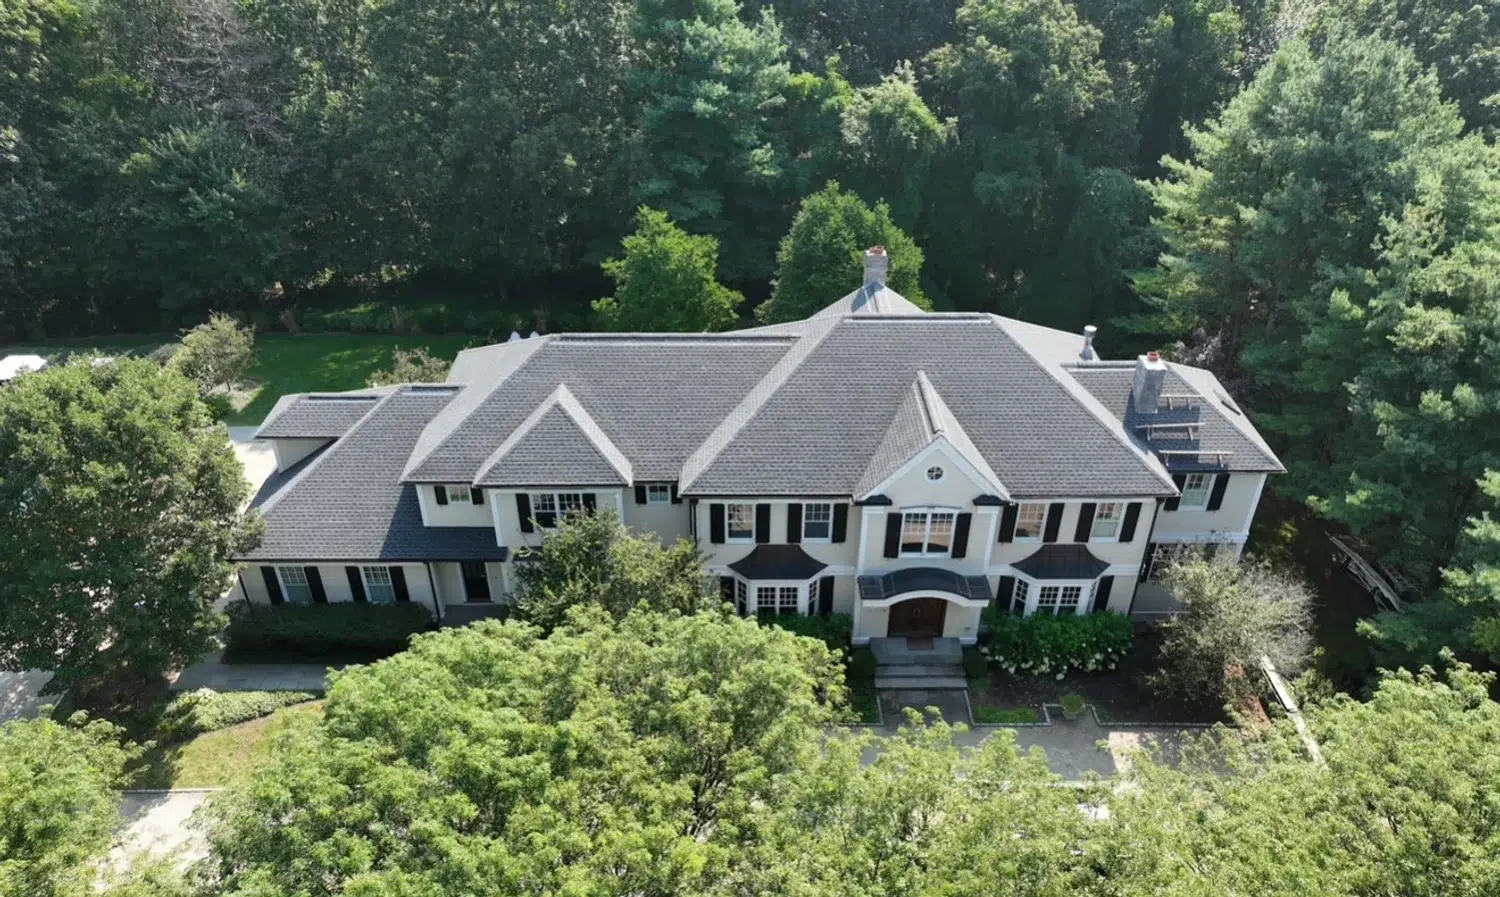
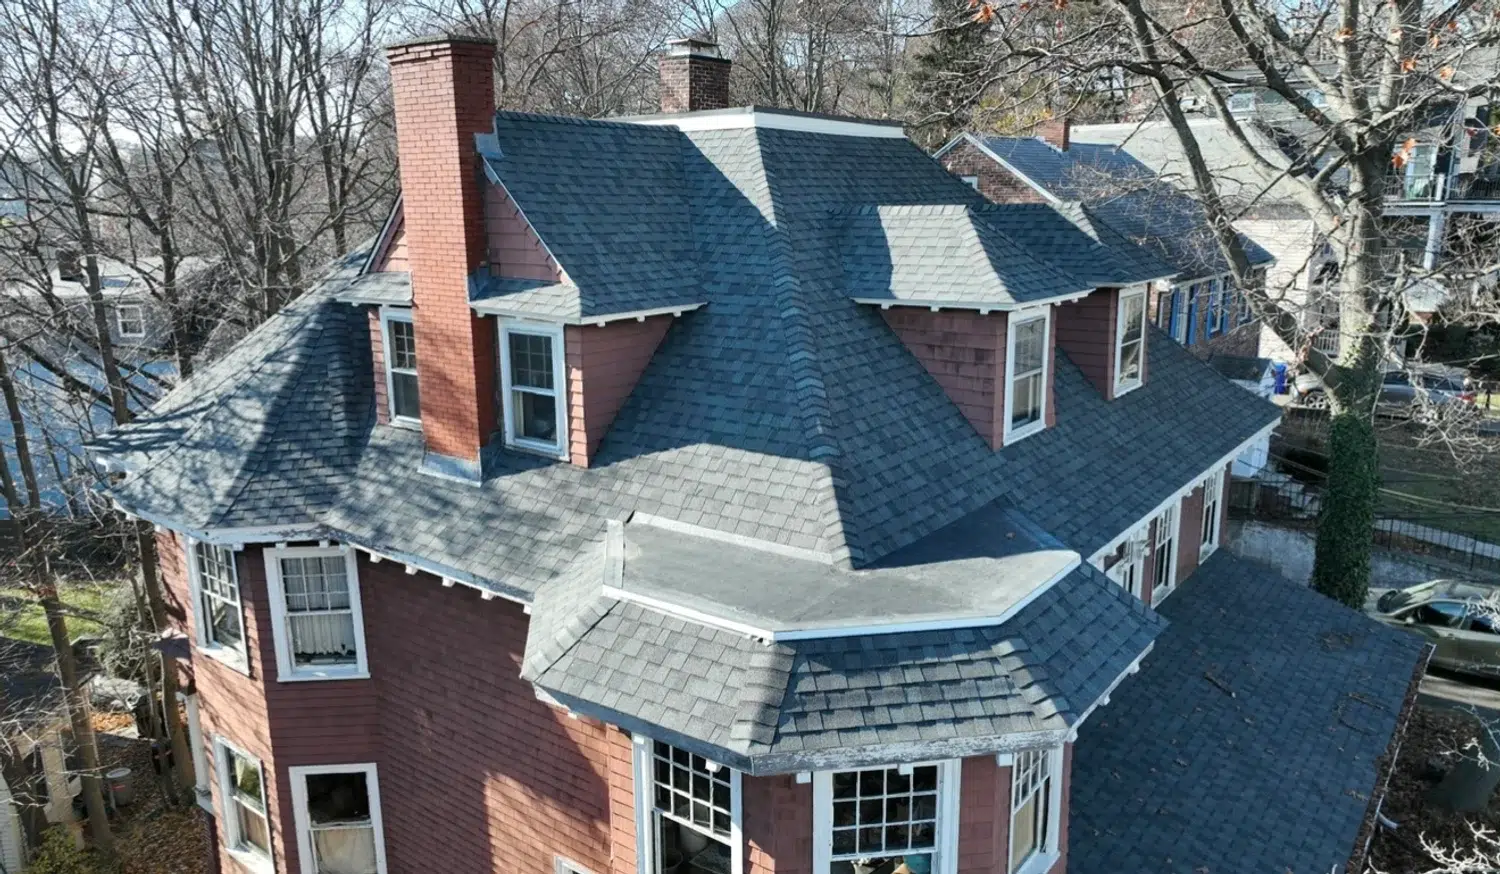
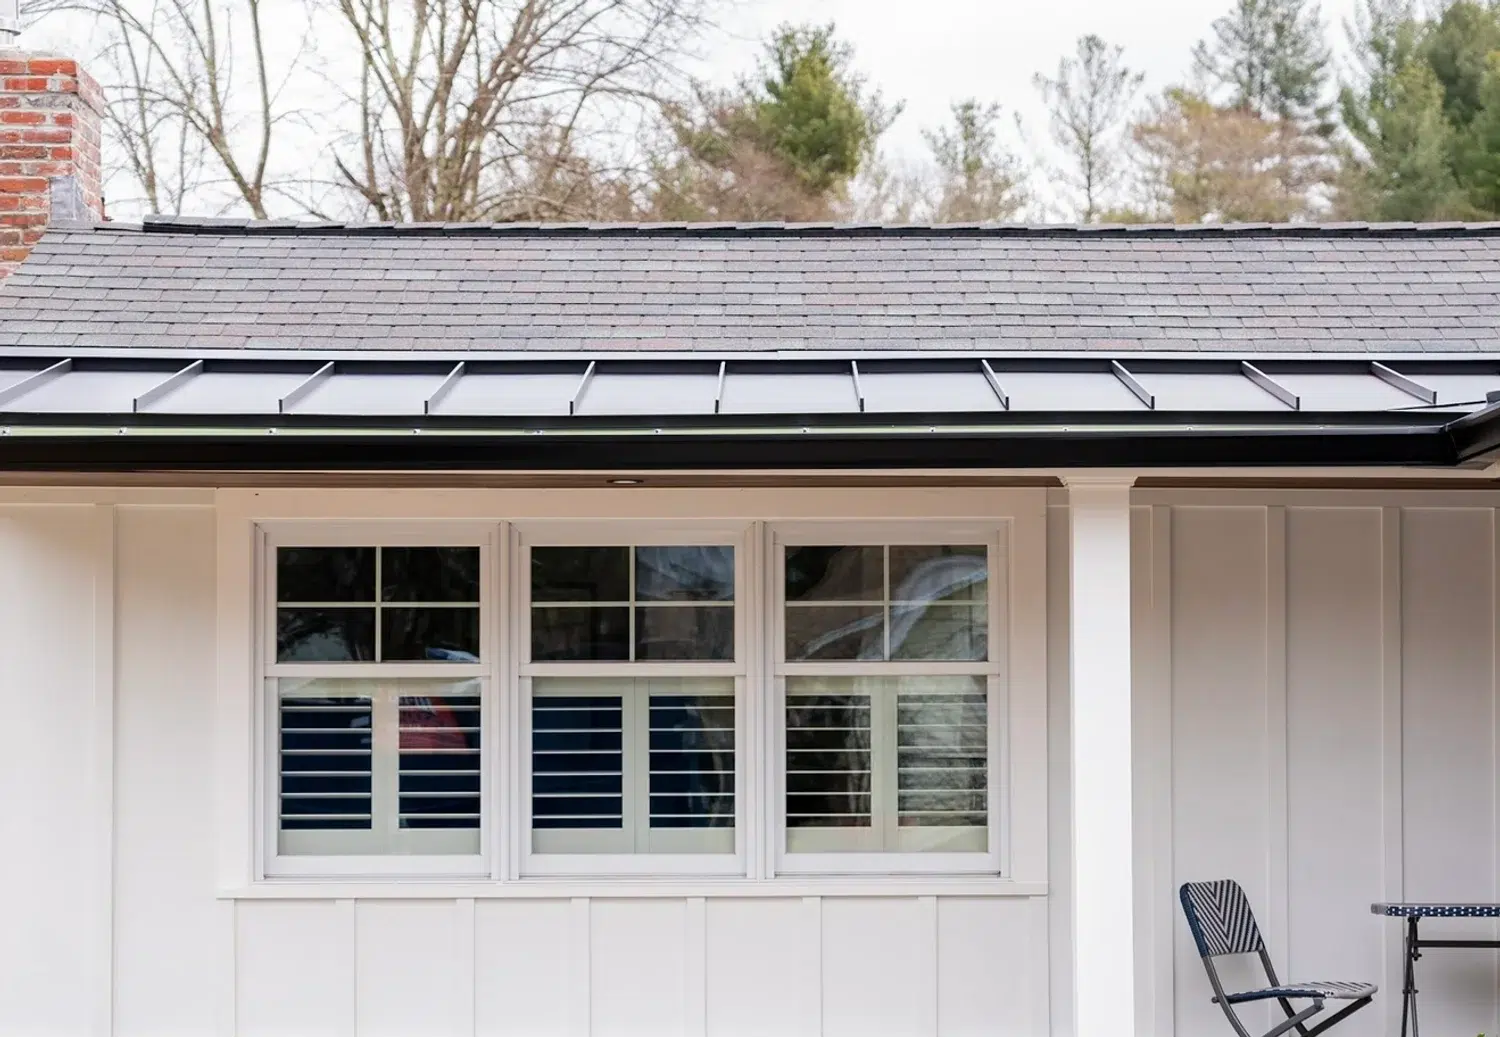
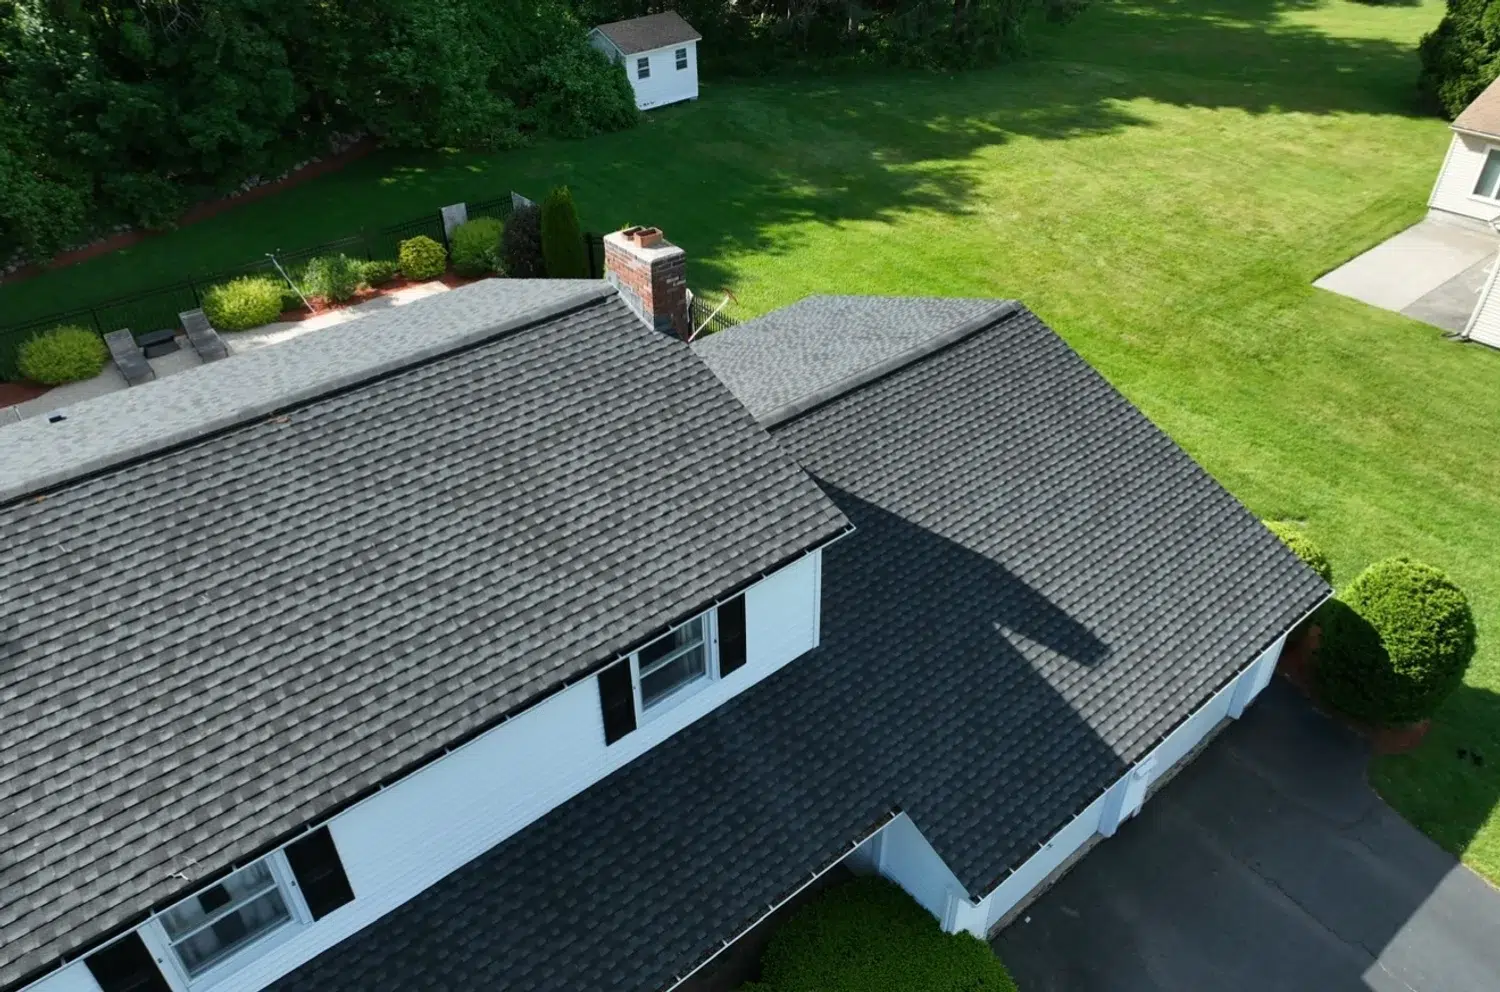
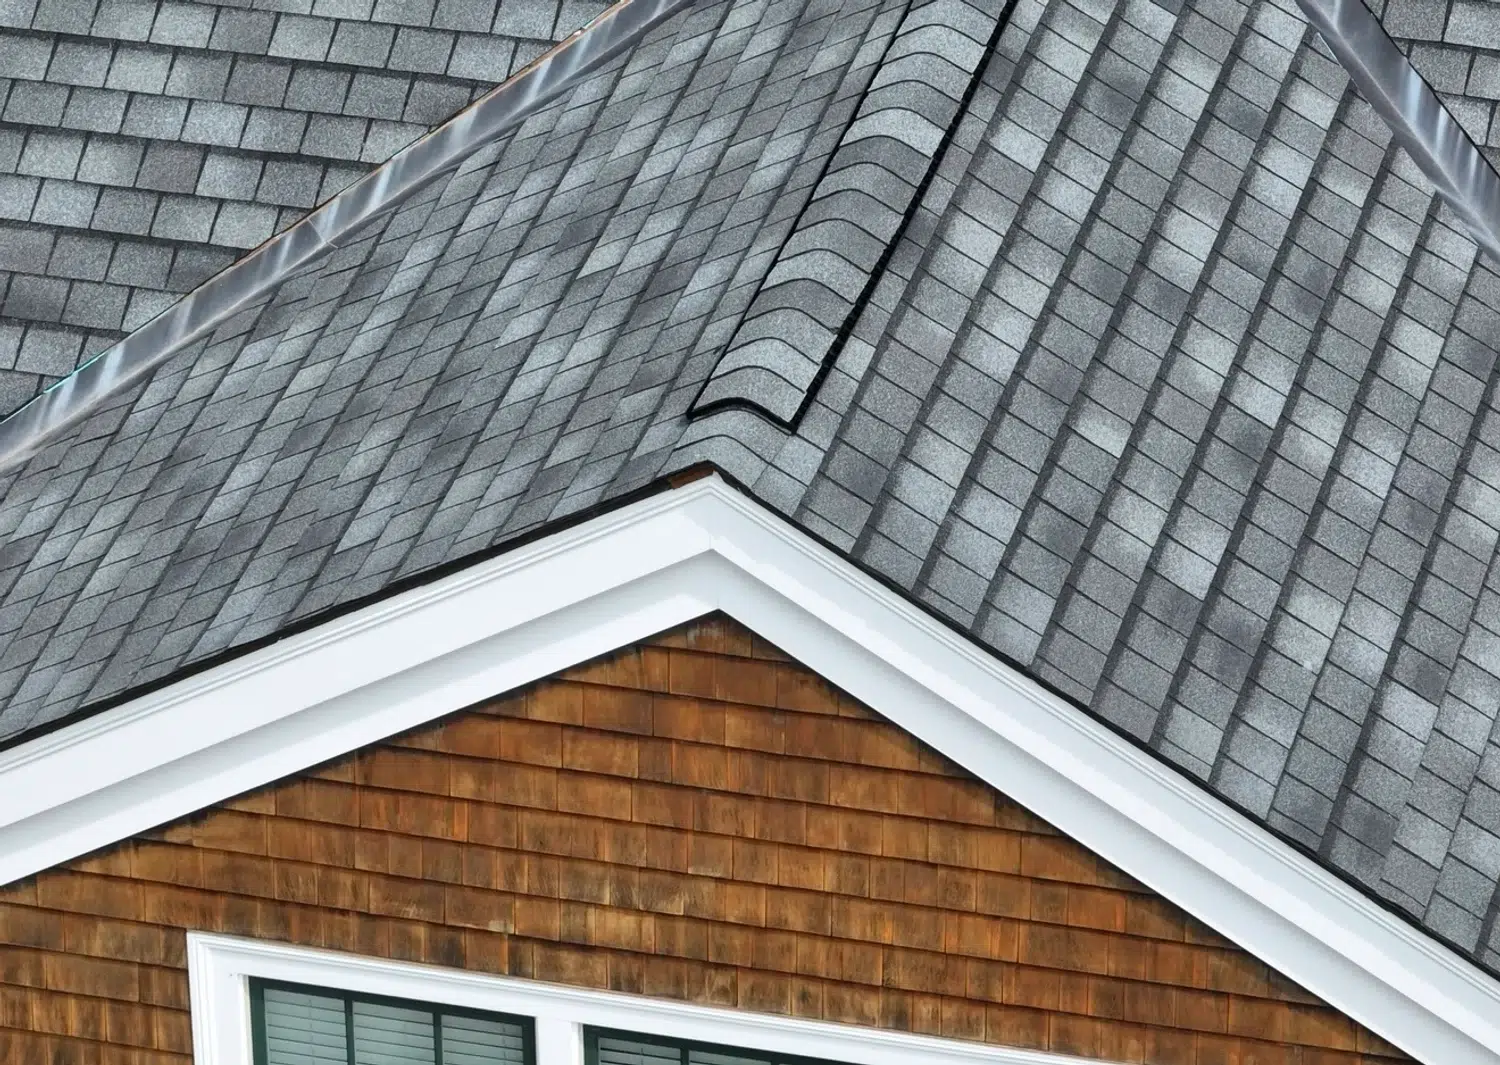
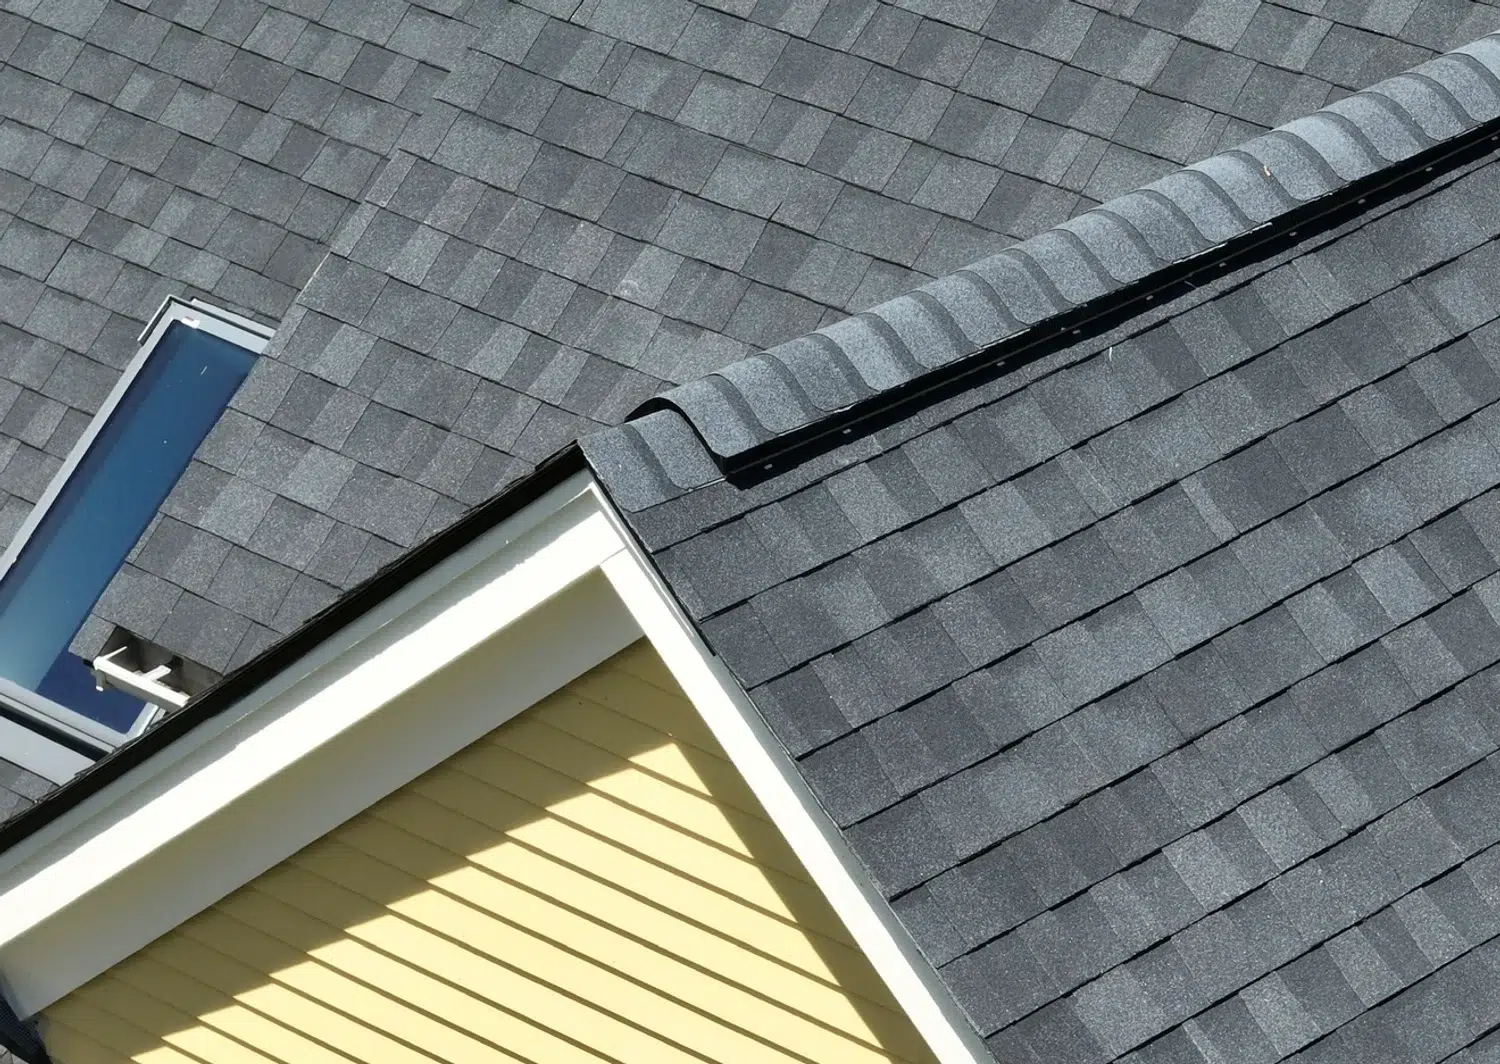
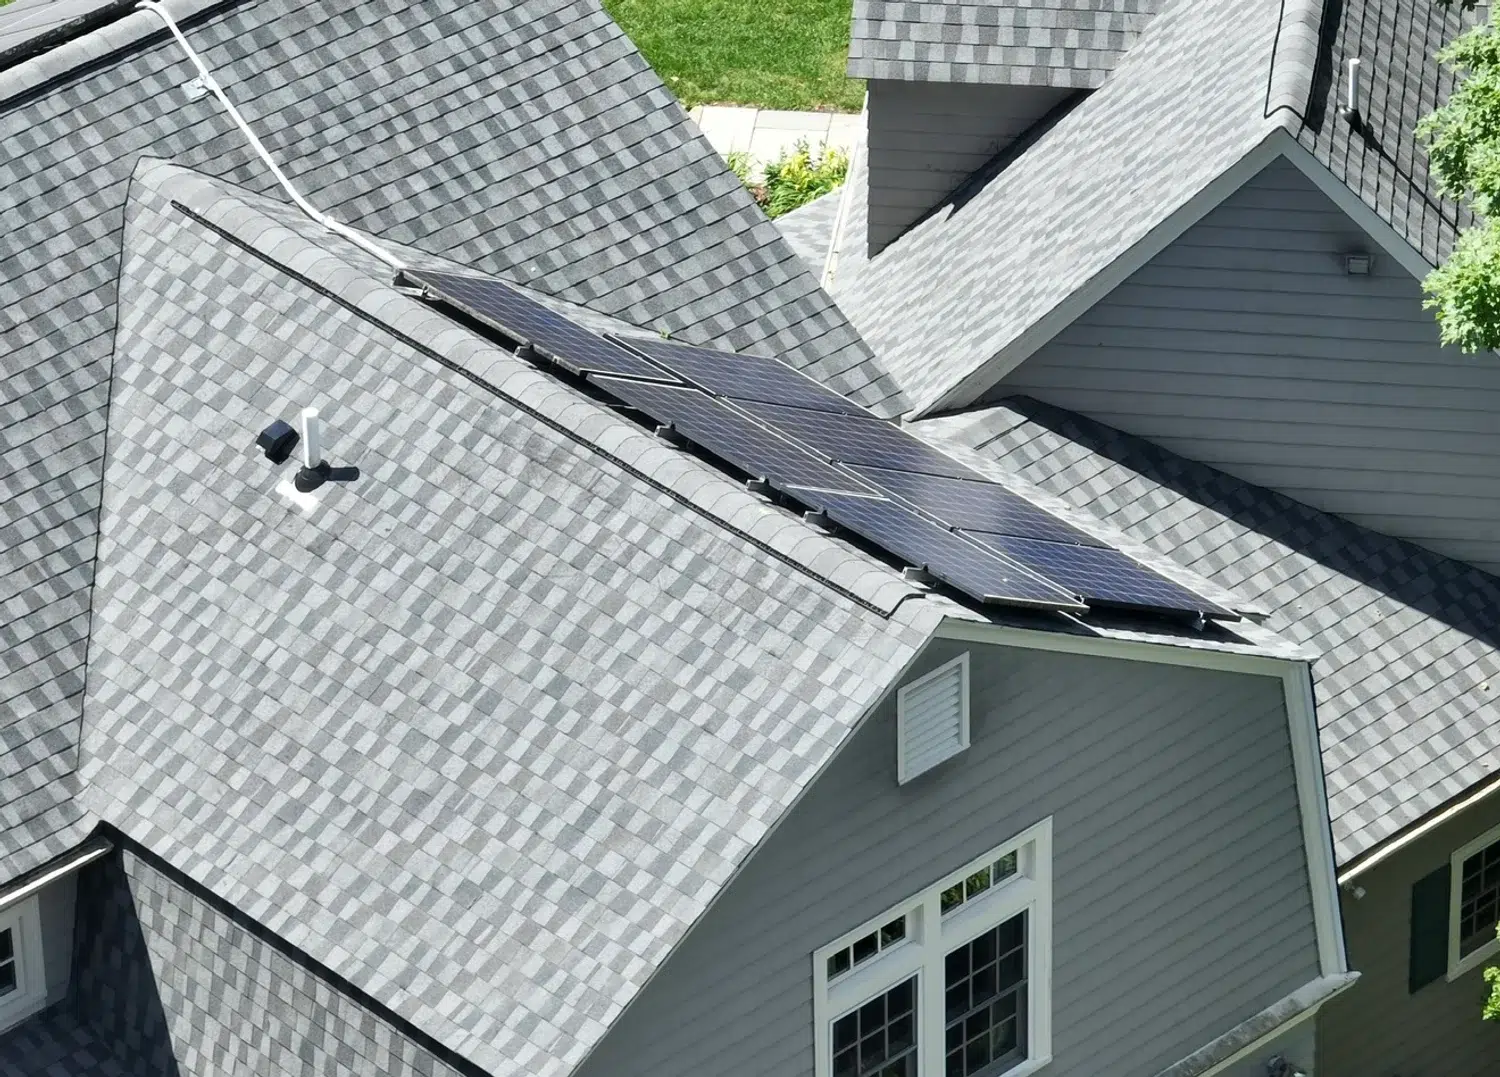
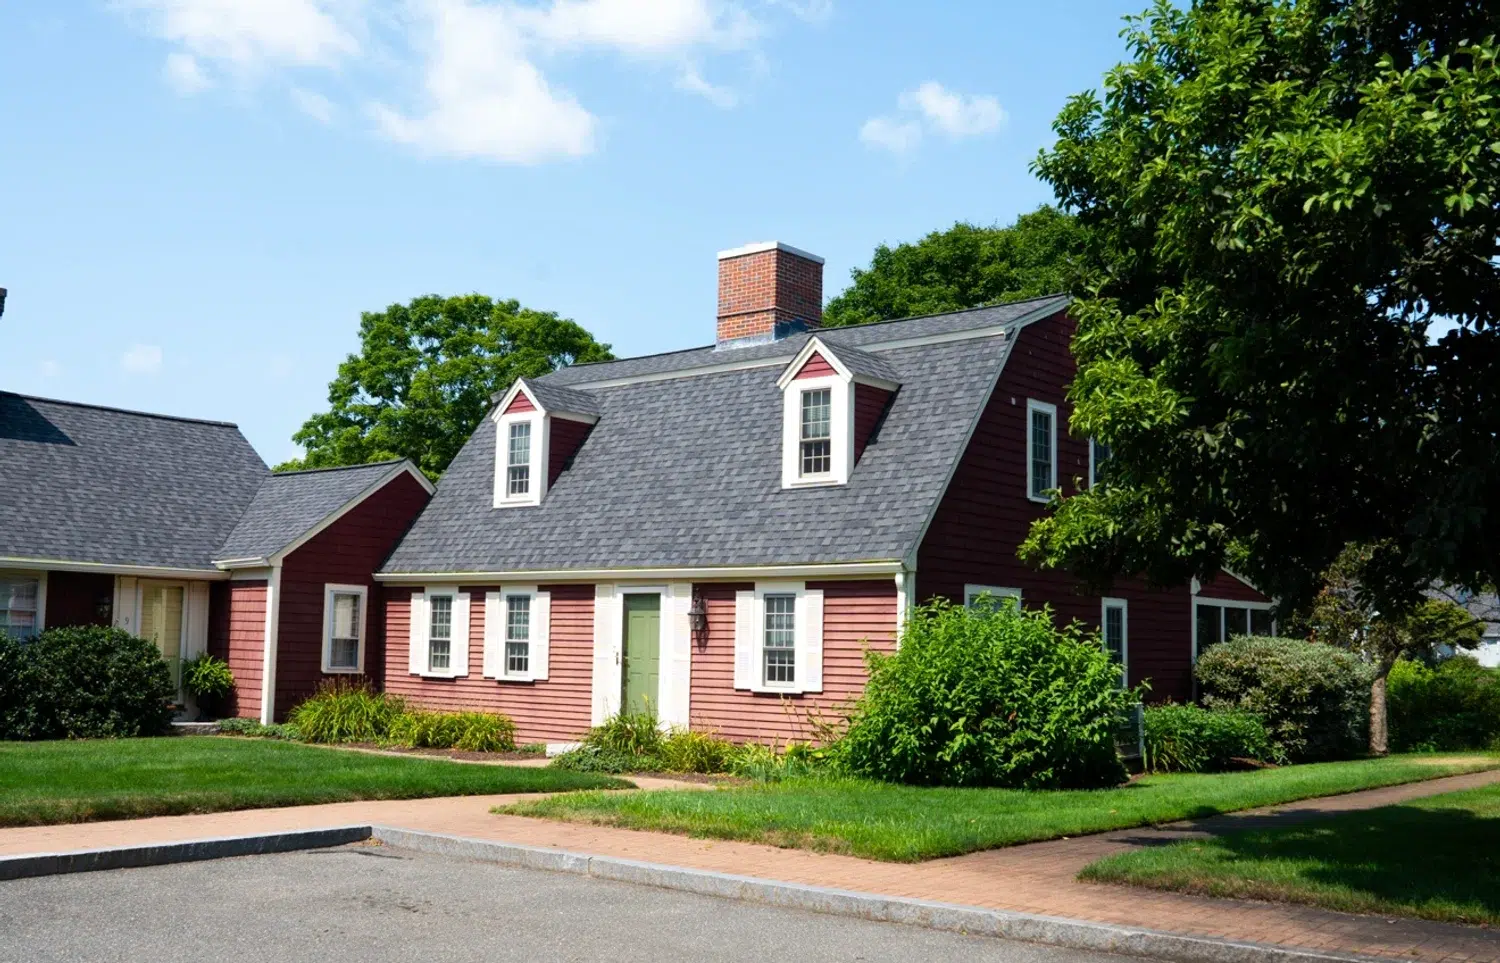
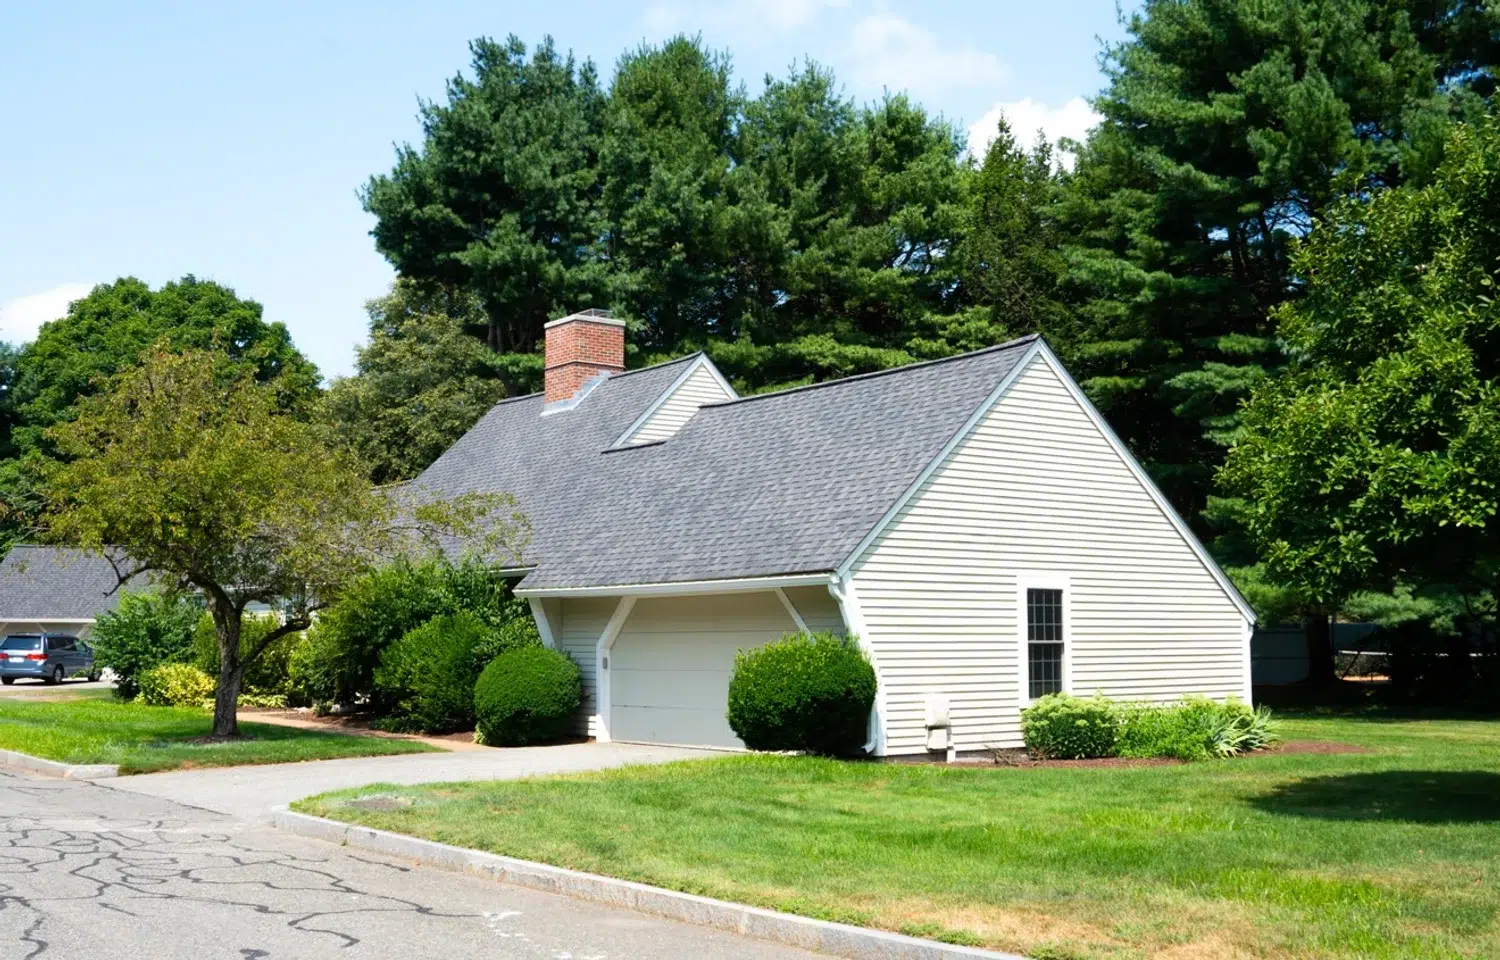
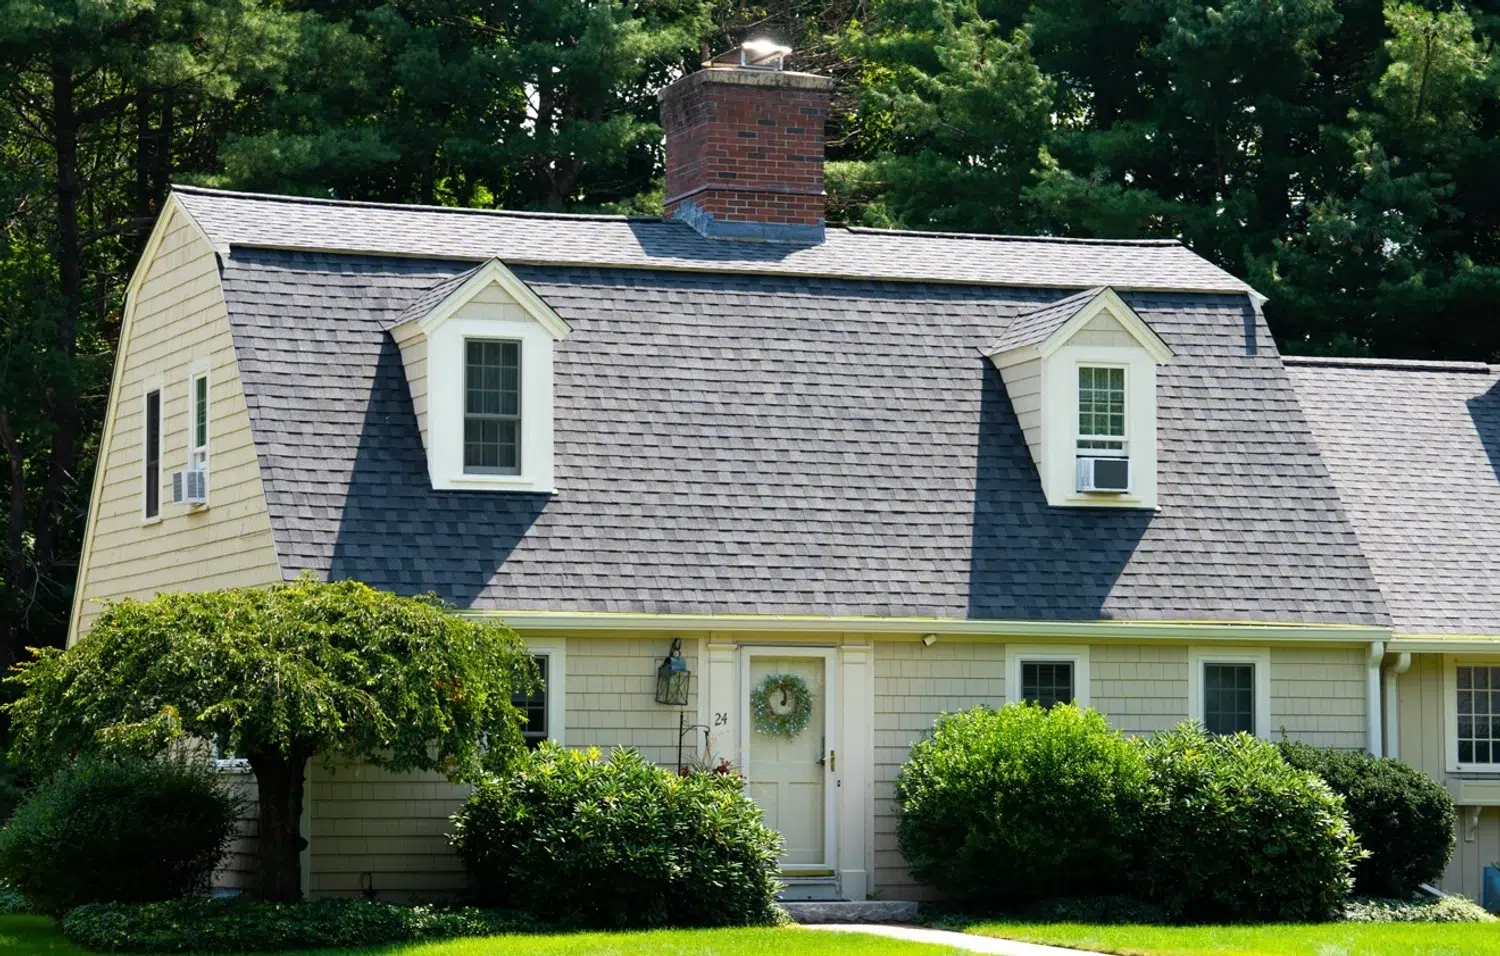
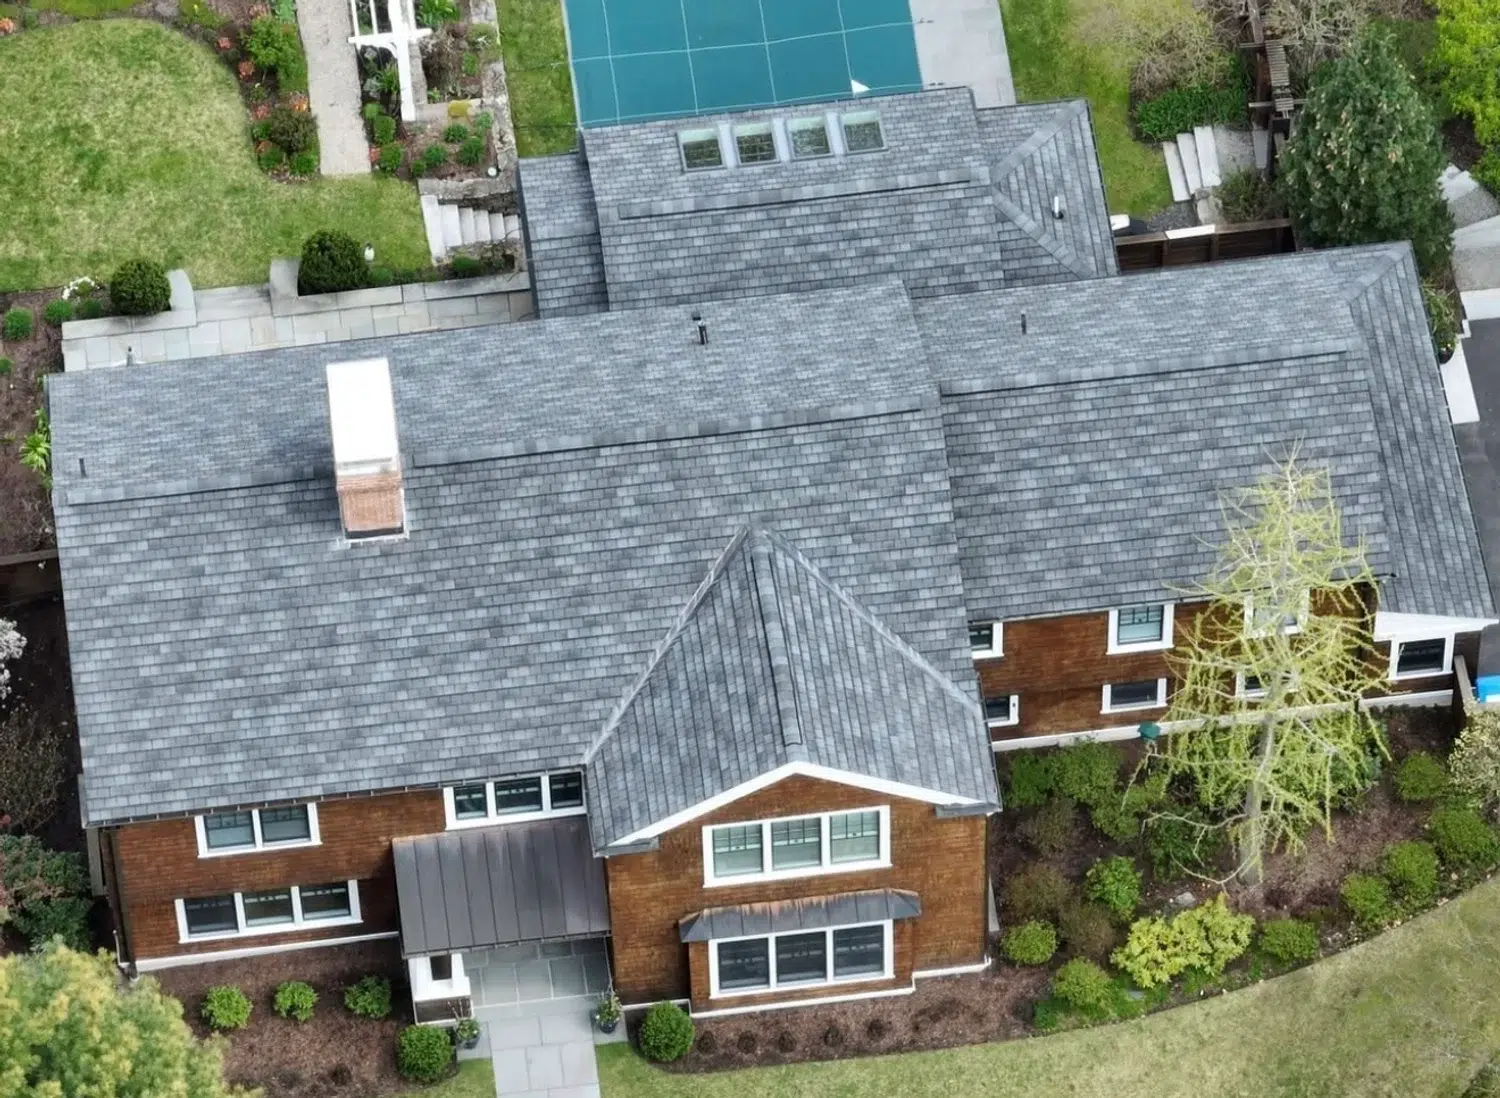
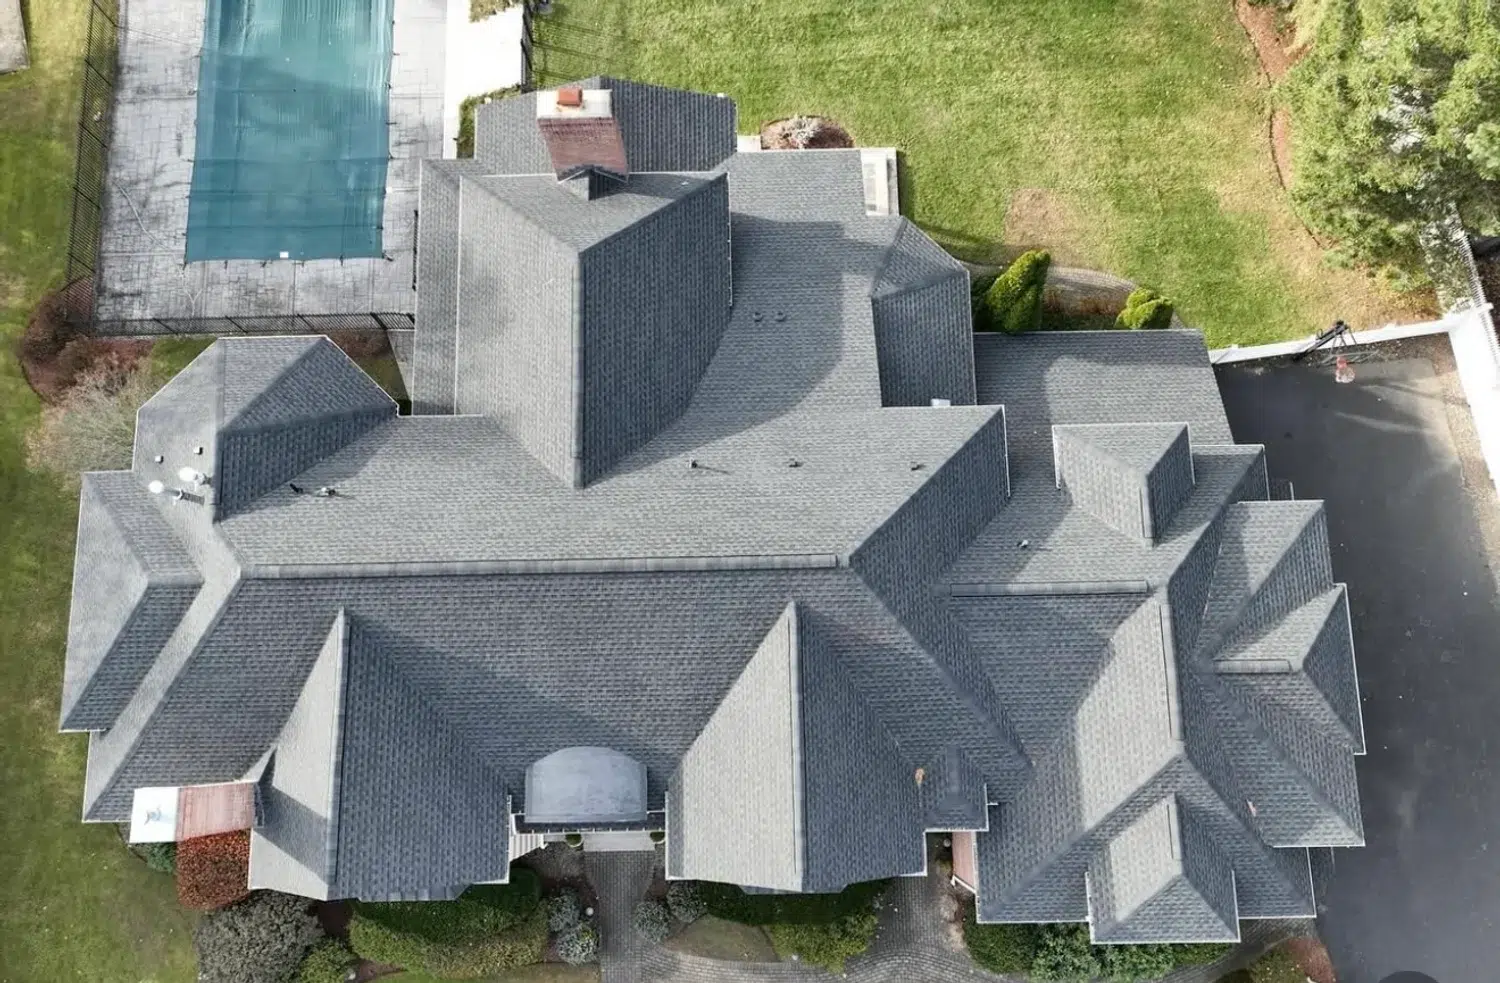
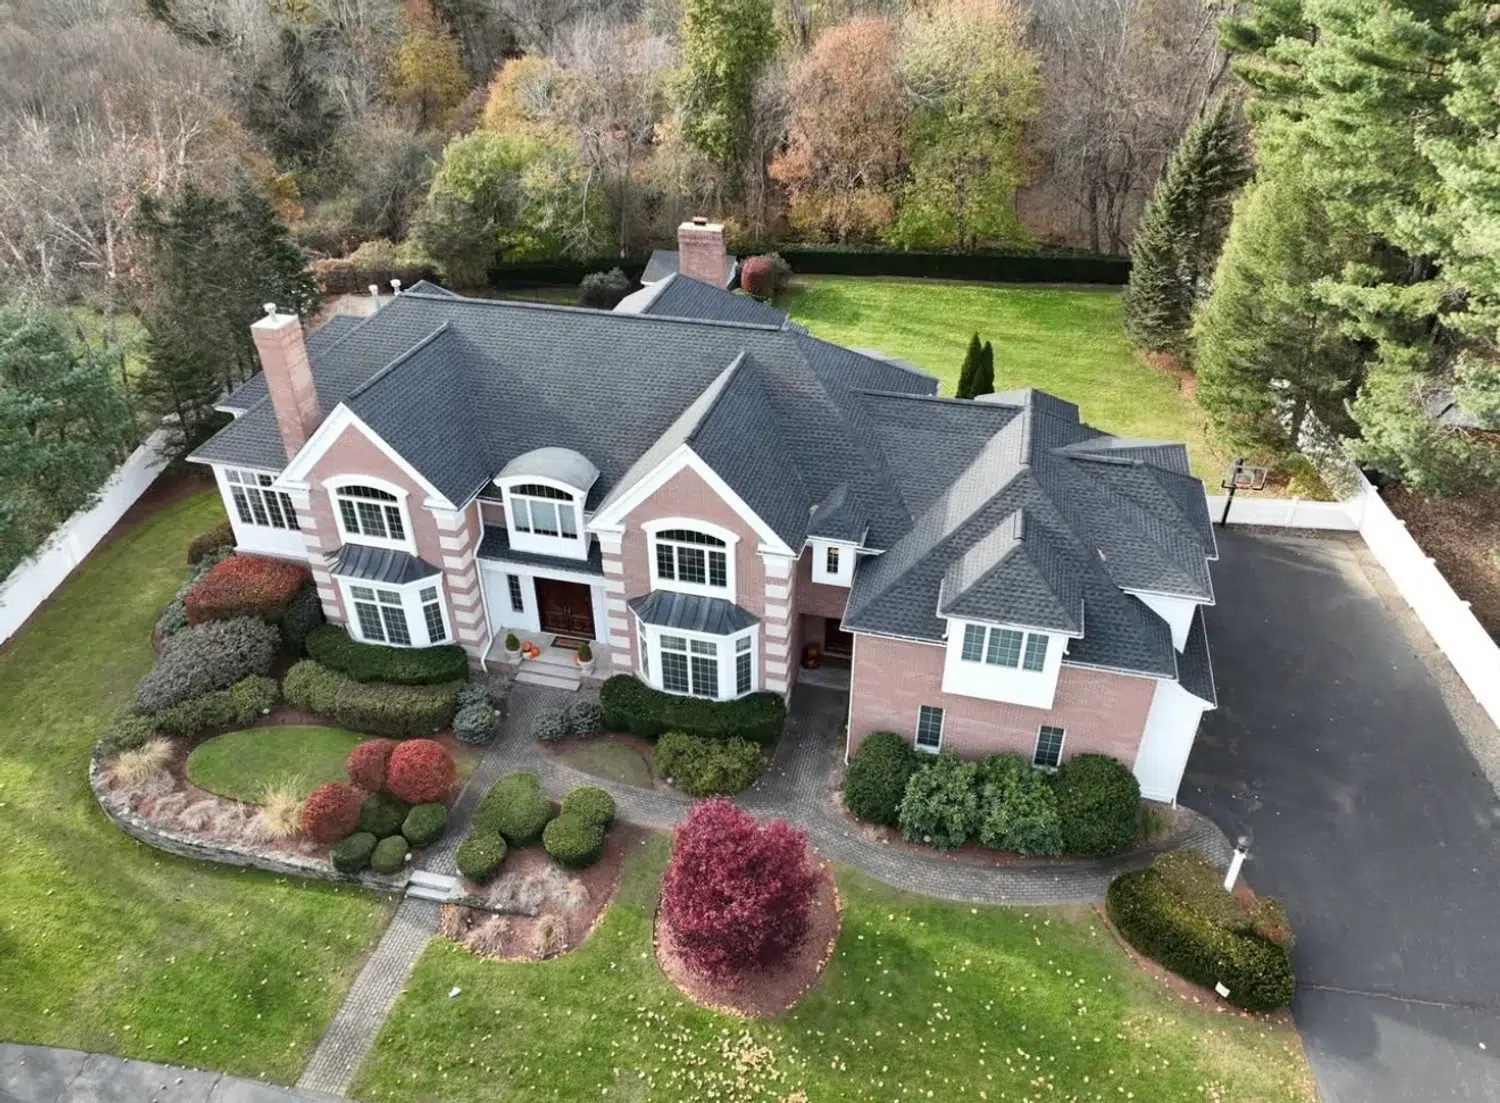
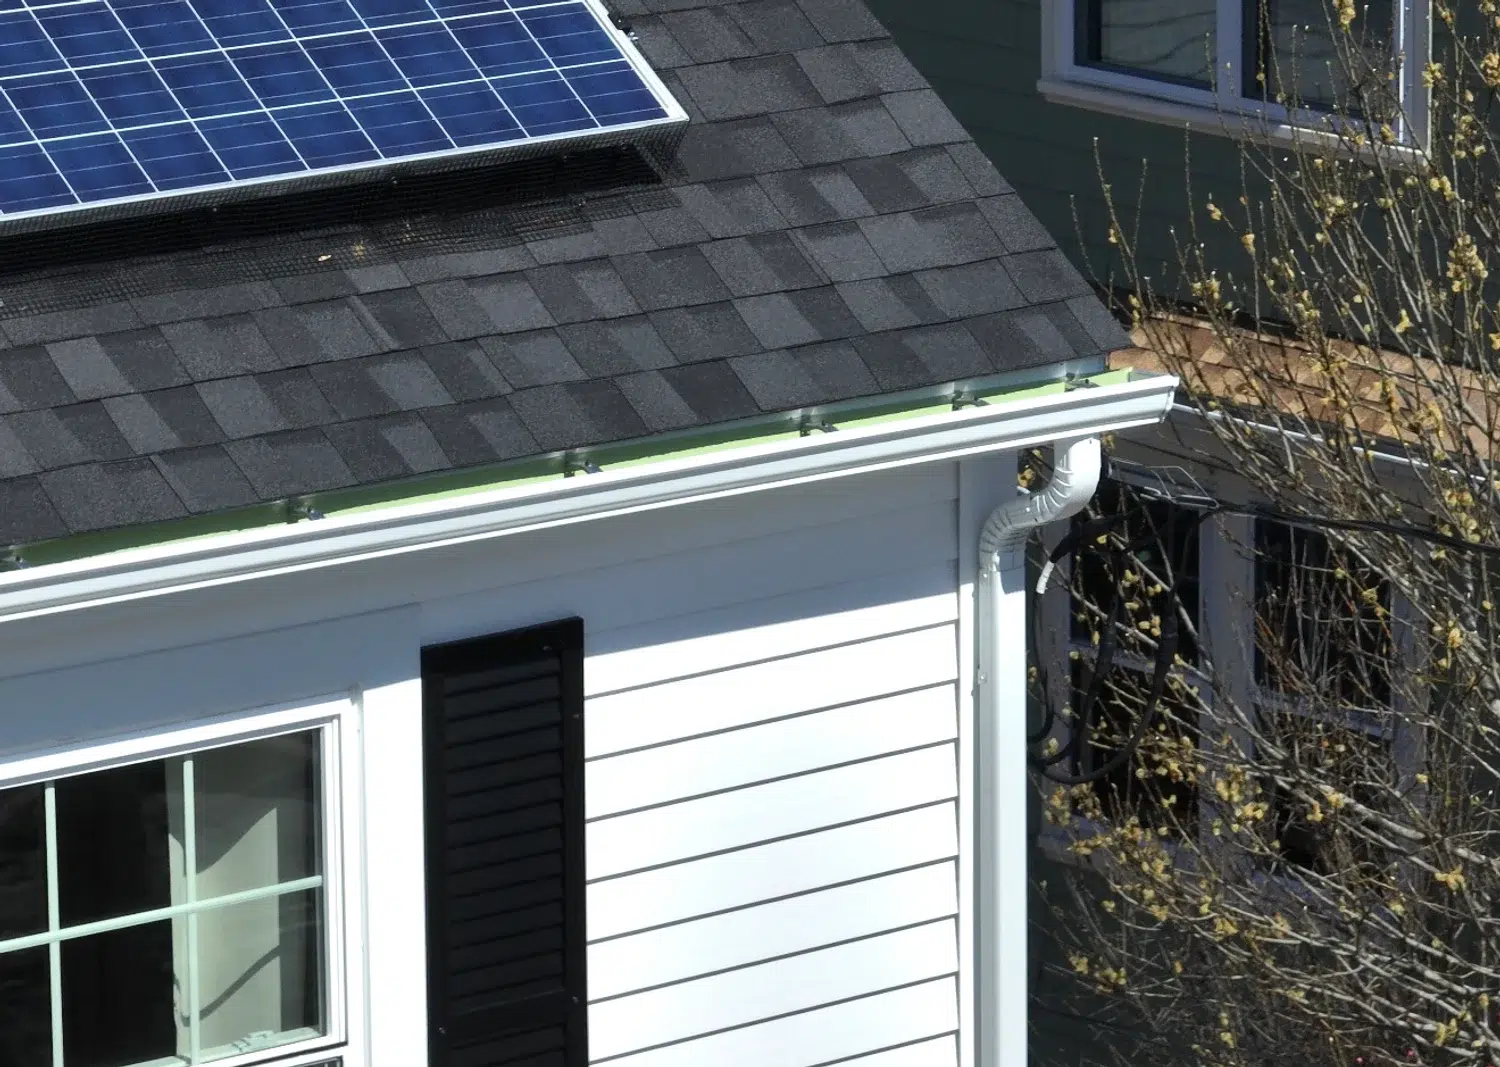
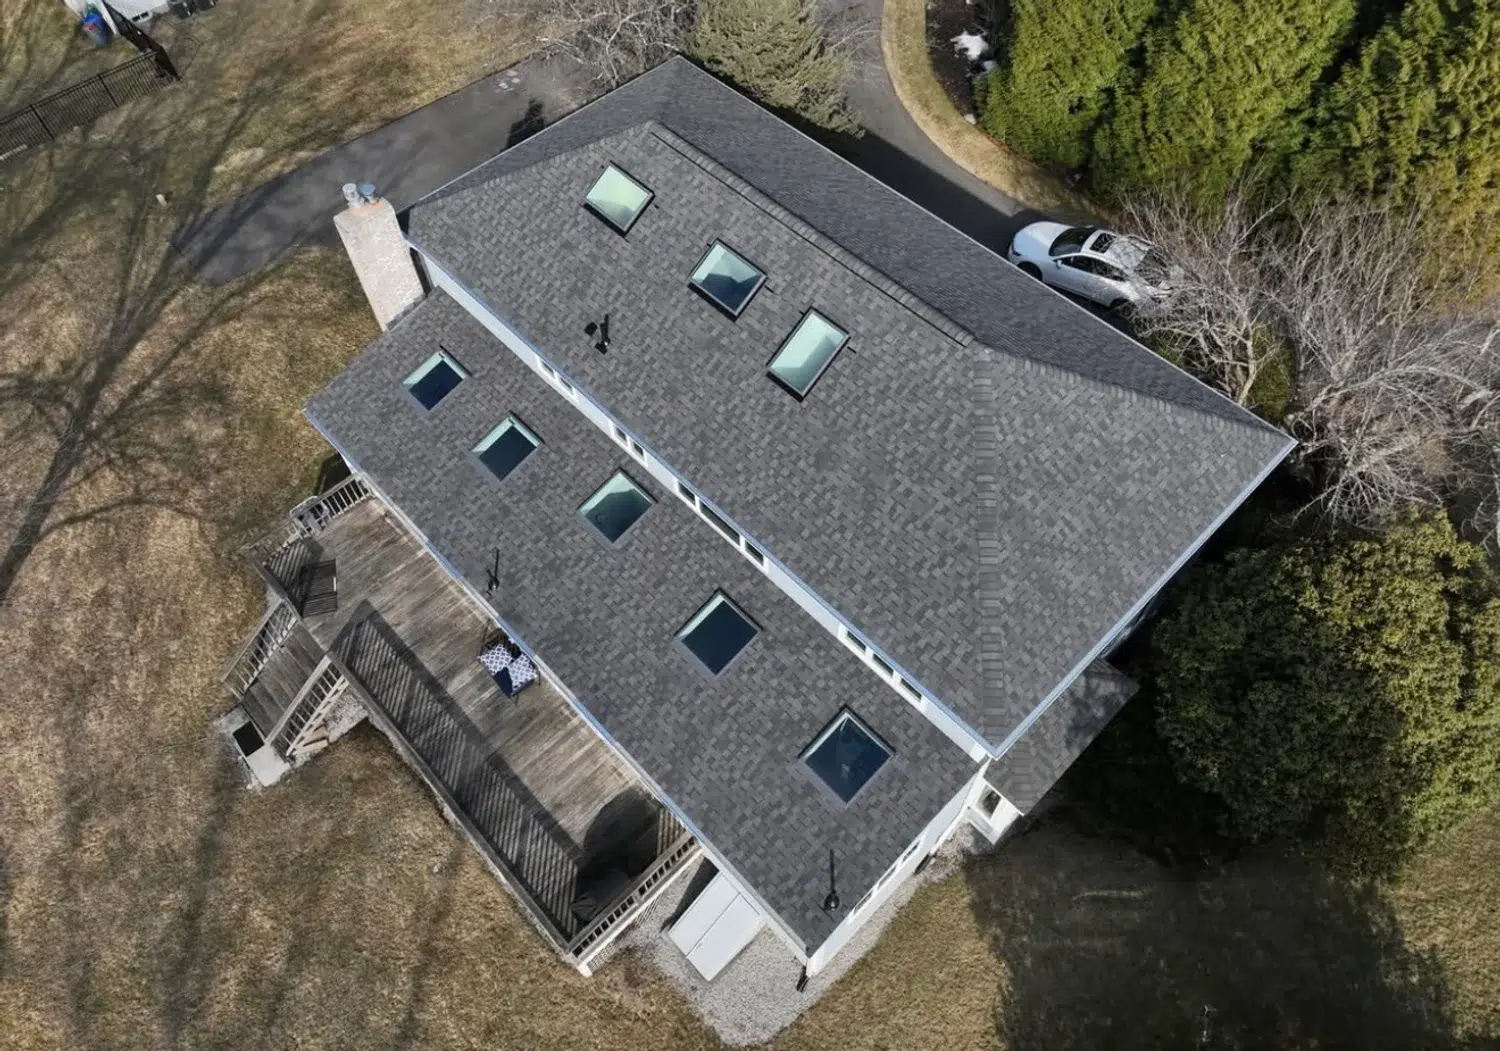
We’ll take care of the entire roof replacement, including all permits and cleanup. We remove the old roof, replace any rotted plywood and install a complete roofing system, from drip edge to ridge caps. Most installs take 1-2 days. A roof replacement costs $15,000–$20,000, depending on roof size.
Need a roof replacement?
Most people don’t really think about the roof over their heads…until it springs a leak and you find yourself needing a roof replacement!
When we think about home repairs, installing a new roof is arguably the most important home remodeling project. Why? Because a roof protects your home and all of its other interior and exterior investments. Although a new roof isn’t all that glamorous, you’ll understand its importance in a big way should an old roof fail, allowing water to destroy the inside of your home, from the attic insulation, down through your beautiful remodeled kitchen, right on through to the basement family room with big-screen TV. Fewer home problems can be more disastrous than a failed roof. That’s why we advocate that homeowners take the time to do the research, understand the process, and understand roofing systems. Notice how we said “systems”? Let’s talk more about this below.

What does a roof replacement consist of?
The Roof Decking
We start by ensuring that roof decking is solid and that any wood or plywood is inspected and validated. We replace any plywood that needs to be replaced due to rot.
Ventilation
Ventilation is the most essential component to the life and longevity of your roof. When a roof is not properly ventilated, it can result in rot and mold and premature shingle aging.
| Typical cost | $15,000–$20,000, depending on roof size |
|---|---|
| Install time | 99% of installations done within 1-2 days. The entire process, from initial consultation to final walk through, can take about 2-3 weeks, weather permitting |
| Warranty | 25-year workmanship warranty, plus a registered 50-year warranty that is non-pro-rated. Warranties are one time transferable to a new homeowner at the time of sale |
| Credential and shingles | Golden Group holds CertainTeed ShingleMaster™ PREMIER certification. Choice of CertainTeed Landmark, Landmark PRO and Landmark Premium shingles |
| System components | 8-inch aluminum drip edge. CertainTeed options: WinterGuard or WinterGuard HT ice and water shield, RoofRunner or DiamondDeck synthetic felt, SwiftStart starter strips, Shinglevent 2 12 inch filtered ridge vent |
| Permits | We file permits with your local building department for you. Included in your quote, along with labor, materials and waste removal |
| Property protection and cleanup | Black heavy-duty tarps, plywood over trees and flower beds, heavy duty nail magnets. The dumpster is removed within 1-2 days of completion |
| Financing | Pay $0 down with 0% APR for 6 months, no interest, no payments. Subject to lender approval |
Step 1: Asphalt Roofing System Installation
Step 1: Drip Edge Drain
The first step of this process is to ensure that an 8-inch aluminum drip edge is installed on all roof perimeters, this means all roof edges. The purpose of installing a drip edge is to ensure that no wind driven rain enters the roof through its edges. It’s an essential part of the roofing system defense mechanism.
Step 2: Ice + Water Shield
The next step in the roofing system is the ice and water shield membrane called leak barrier. There are a few product options you can pick from when it comes to leak barriers, depending on the manufacturer you choose for your project. The ice and water shield membrane leak barrier is installed on all roof eaves, rakes, valleys, transitions, chimneys, skylights, pipe boots and vents. You can choose from the product lines of Certainteed or GAF:
GAF LEAK BARRIER OPTIONS
Weatherwatch
Stormguard
CERTAINTEED LEAK BARRIER OPTION
WinterGuard
WinterGuard HT
Step 3: Synthetic Felt Paper
Next step is the synthetic felt paper. The synthetic felt will be installed on the remaining exposed roof wood decking after the leak barrier has been installed. The synthetic felt is premium, breathable, UV-stabilized polypropylene underlayment that helps protect your home against wind-driven rain infiltration.
GAF SYNTHETIC FELT OPTIONS
Tigerpaw – BETTER
DECKARMOUR – BEST
Certainteed Synthetic felt Options
ROOFrunner – BETTER
Diamonddeck- BEST
Step 4: Starter Strip Shingles
The starter course shingle is installed on all the roof edges of the roof, same place as the drip edge. Pre-cut eave/rake starter strips are one of the most overlooked parts of a roofing system! That’s because some roofing contractors try to use a cut-up 3-tab strip shingle as the “starter” course on your roof. Today, we know that using asphalt shingles for a starter course is not recommended. We use Eave/Rake Starter Strips that are made with a high-quality, properly positioned adhesive applied at the factory to help prevent shingle blow-off.
Explore the starter strip products we use:
Step 5: Asphalt Shingles
Next up is the installation of asphalt shingles. This is our favorite part. You have so many options to choose from. From architectural shingles to designer shingles as well as a variety of color options. Architectural shingles are shingles of high-quality, and a reliable choice for beautifying and protecting the home. With a dual-layered design that emulates the dimensionality of true wood shake, asphalt shingles offer the heaviest weight and widest array of color options in their class, allowing you to create or re-create the ideal look for your home with confidence. Backed by a 100+ year legacy of trusted manufacturing performance, all shingles include lifetime-limited warranty.
- GAF Shingles
- CERTAINTEED Shingles
- Certified as meeting the industry’s toughest third-party (UL) manufacturing quality standards
- Dual-layered construction provides extra protection from the elements
- Ten year StreakFighter® algae-resistance warranty
- Class A fire-resistance rating
Explore our Roof Replacement Materials
Step 2: Ventilation is Added
- Intake vents, located at the lowest part of the roof under the eaves, allow cool air to enter the attic.
- Hot air exhaust vents, located at the peak of the roof, allow hot air to escape.
Step 1: Attic Intake Vents
Intake vents are most commonly installed directly in the soffit, either as individual vents spaced every few feet or as one continuous perforated soffit running the entire length of the eave.
Step 2: Outtake by Ridge Vents
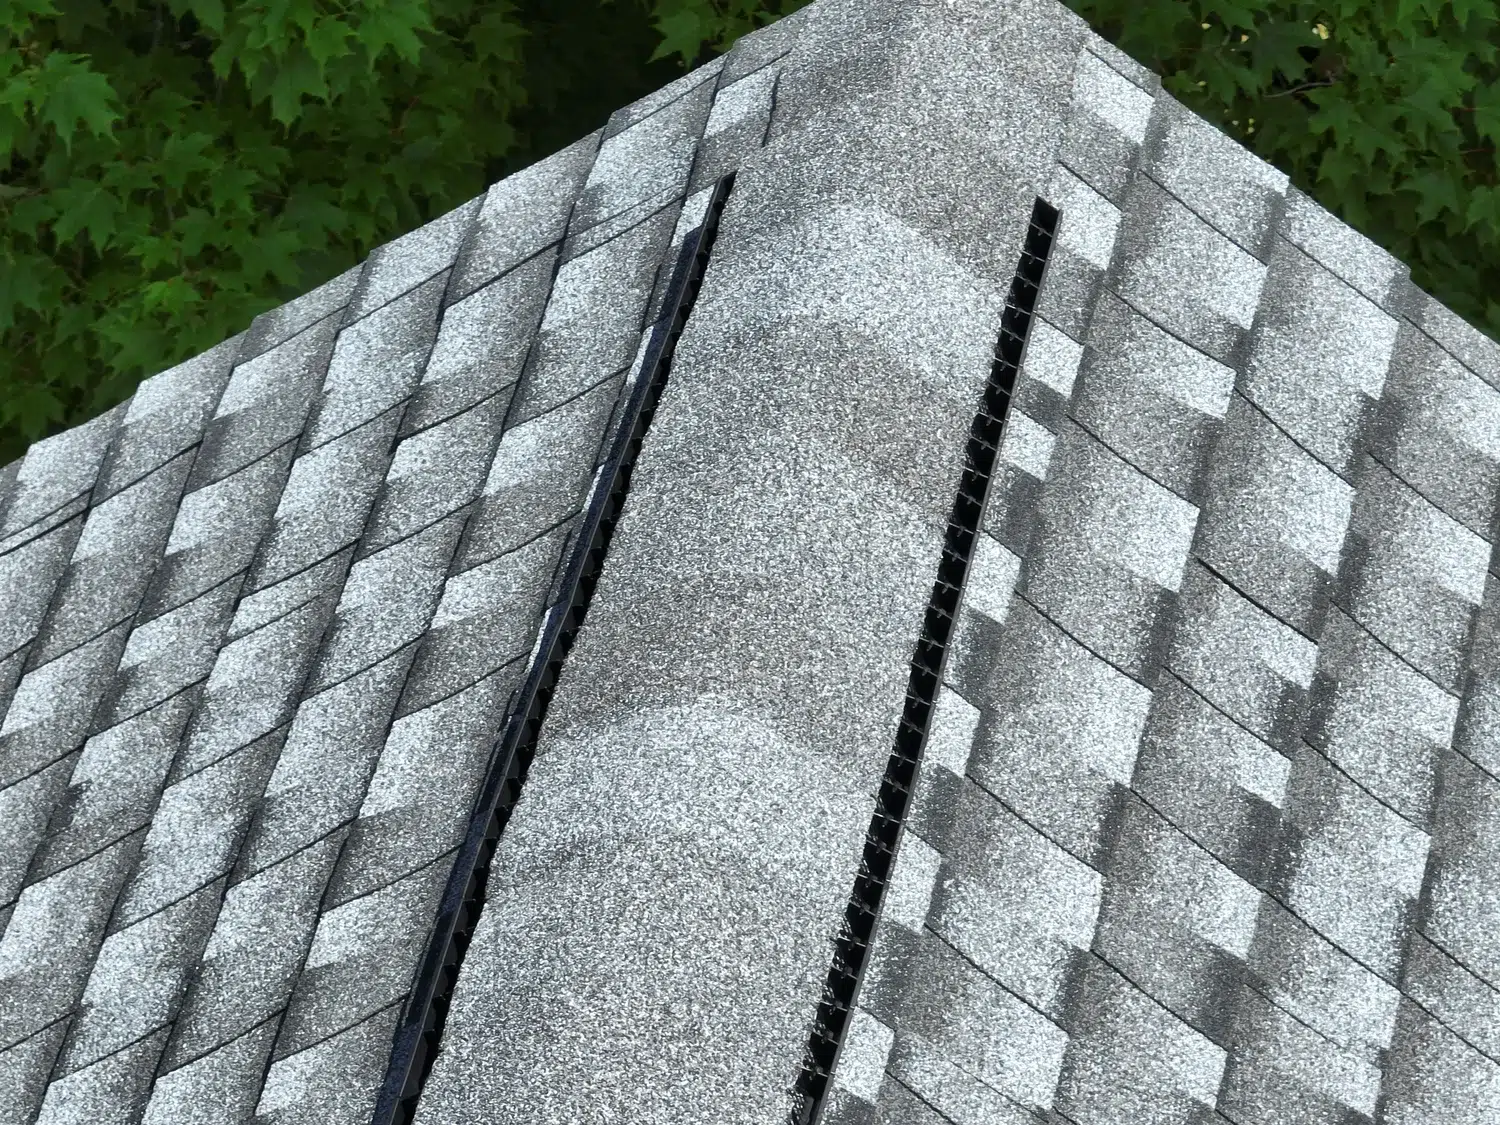
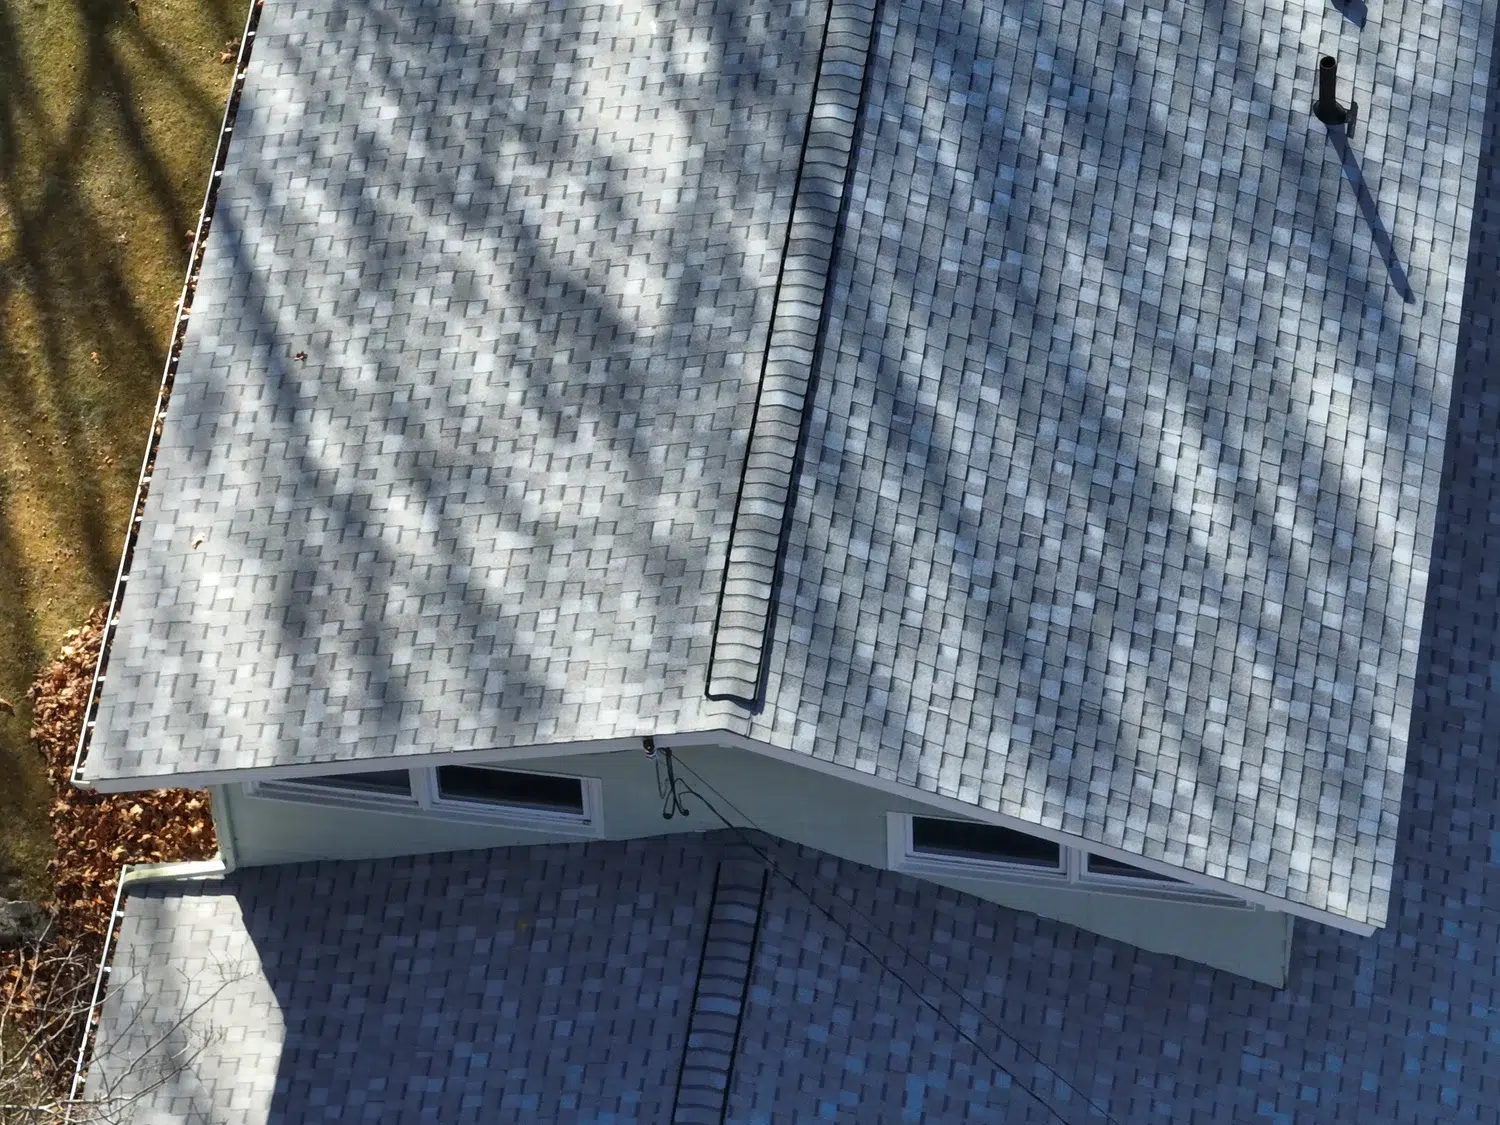
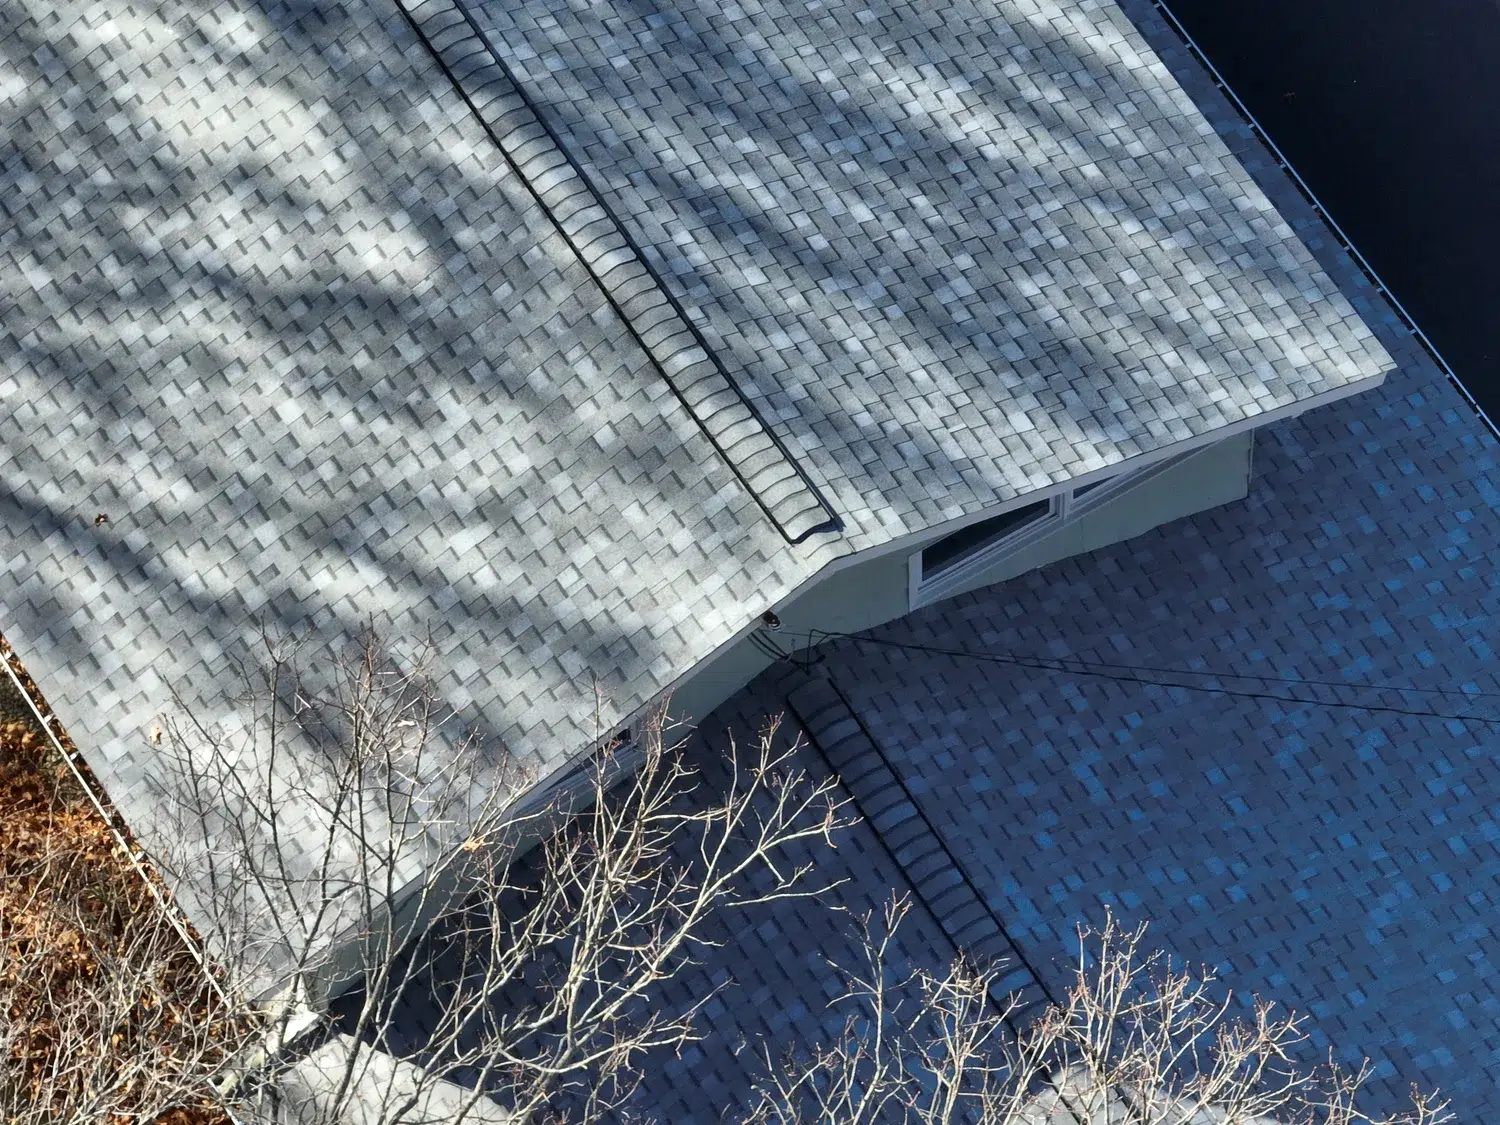
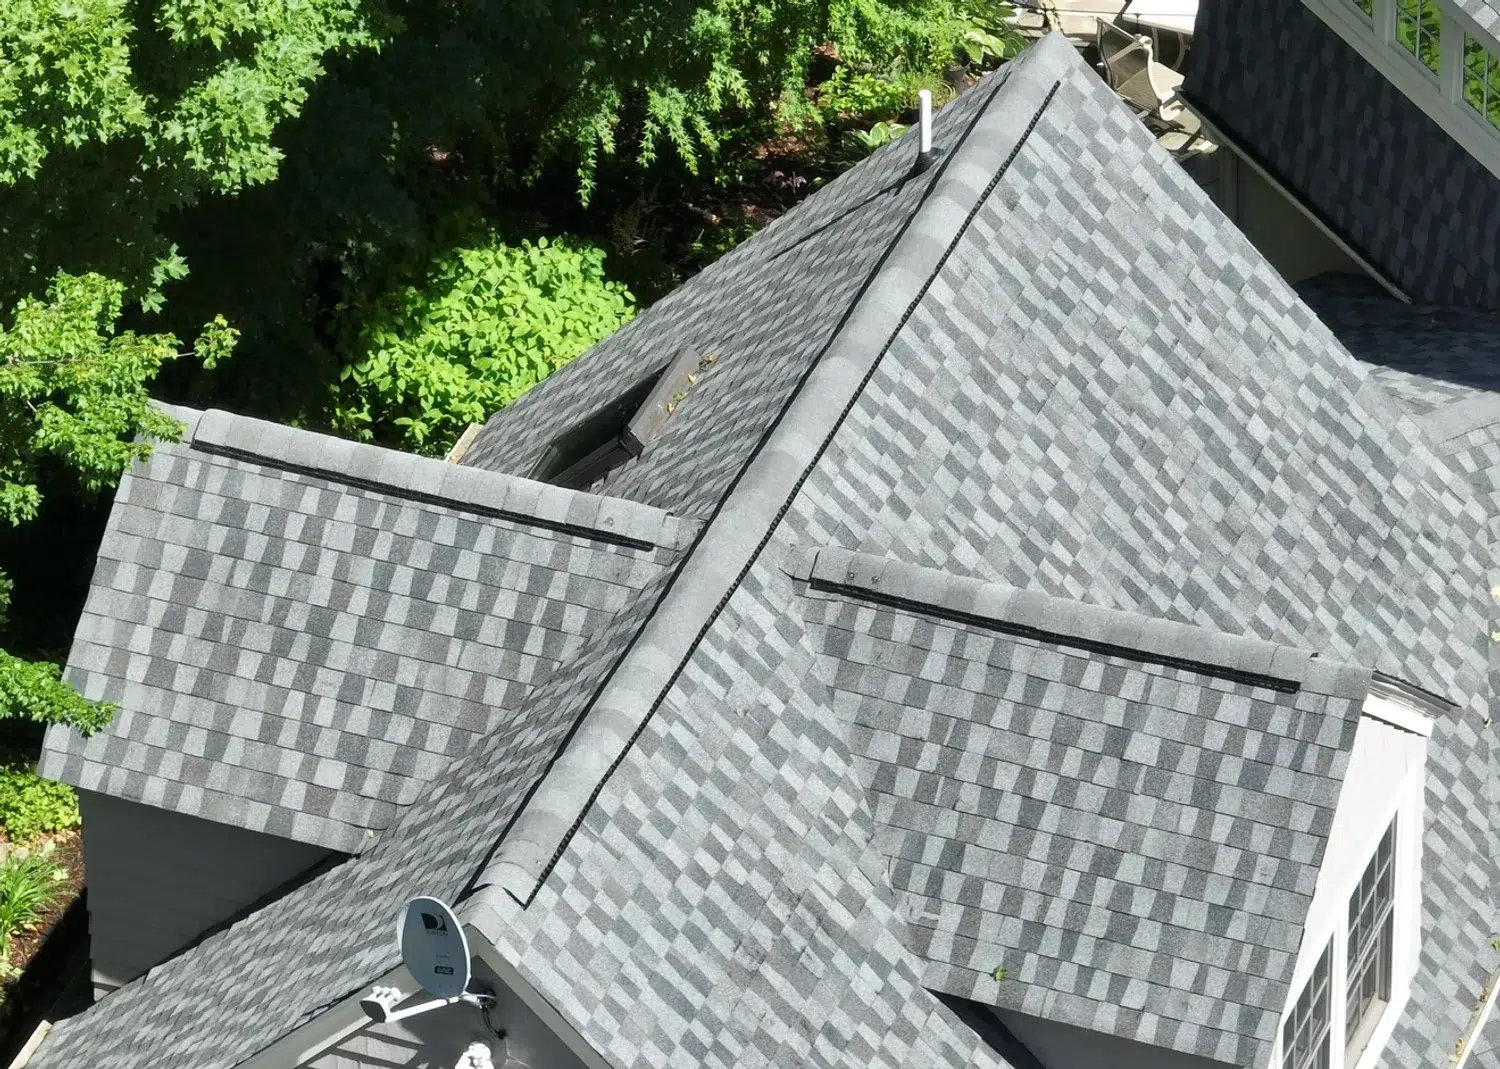
The most common outtake of air happens with the ridge vent application. A ridge vent exhausts air by releasing all of the heat that rises and gets trapped in the attic.
Step 3: Solar Powered Exhaust Vents
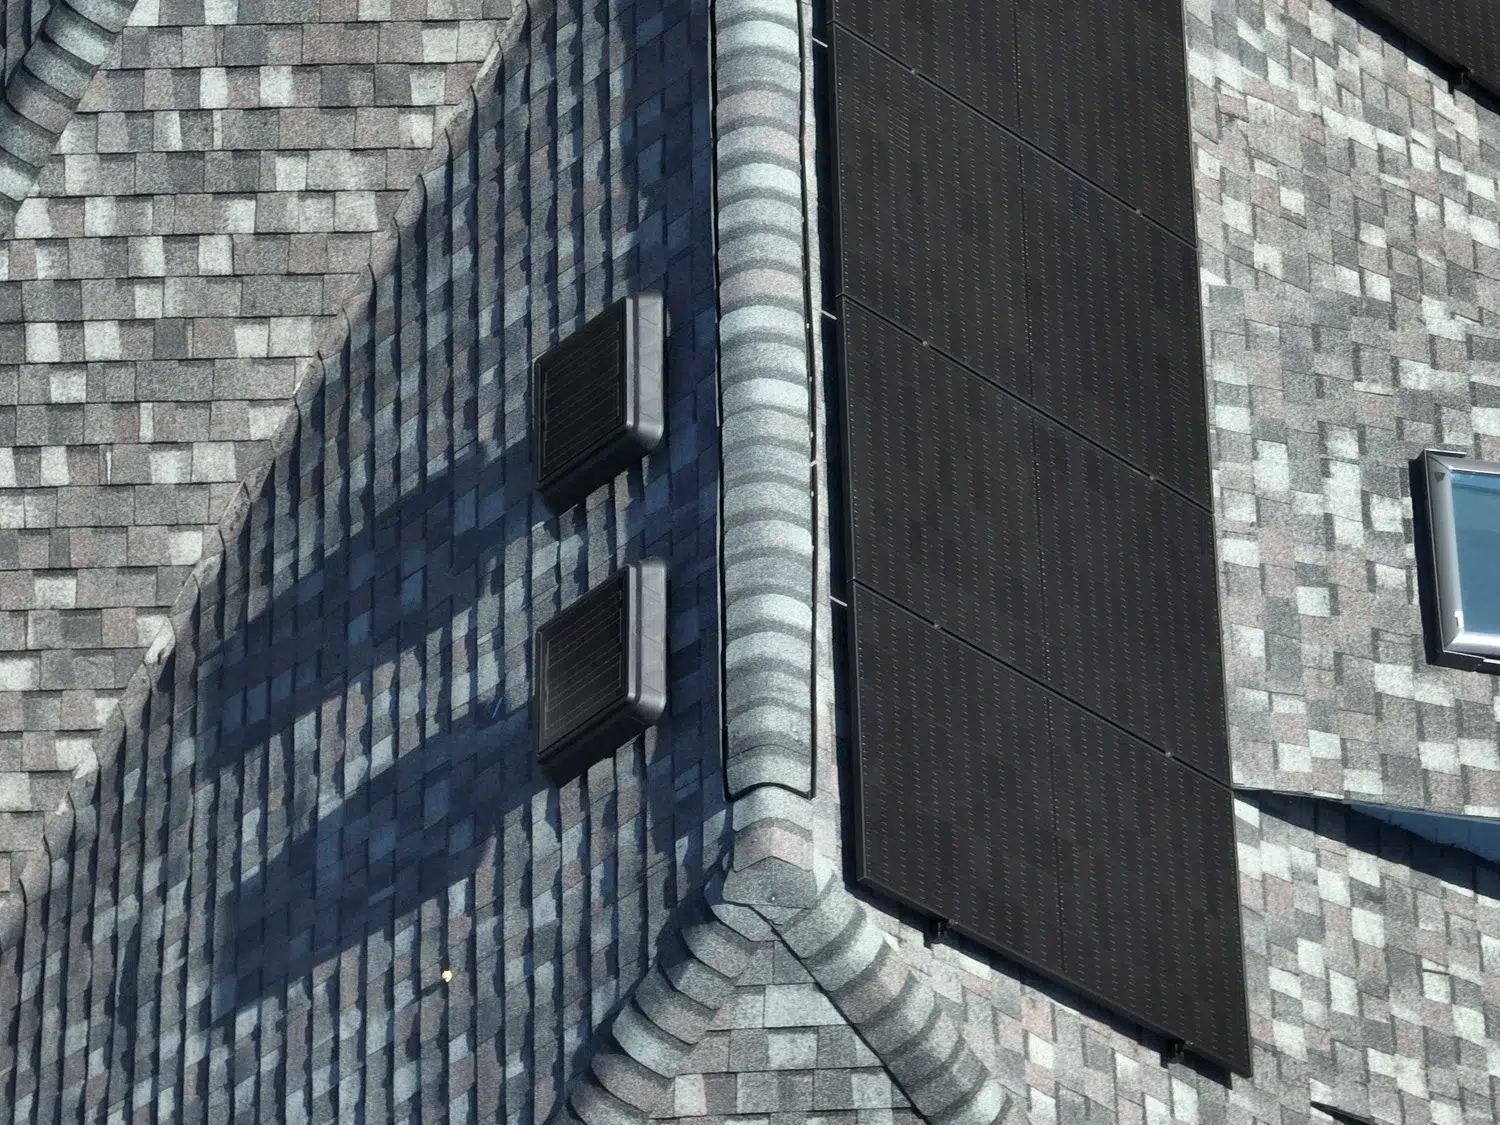
For homes that have difficulty having the installation of air intake or outtake we often recommend solar powered exhaust vents to create an effect similar to that of a turbine) A standard powered exhaust vent turns on when the temperature inside the attic reaches a pre-set limit and runs until the temperature drops.
Step 4: Ridge Caps
After the air intake and outtake have been addressed, the roofing system will be completed with the ridge caps. Ridge caps are installed on top of the ridge vent. The ridge cap help protect against leaks at the hips and ridges, and complements the look of your GAF shingles.

We offer the following trusted roof ventilation products below:
Roof Replacement FAQs
What's included in a Golden Group roof replacement?
Everything from removing the old roof to final cleanup, including all permits. We inspect the roof decking and replace any plywood that needs to be replaced due to rot. Then we install an 8-inch aluminum drip edge, ice and water shield, synthetic felt, pre-cut starter strips, your shingles, and ventilation (most commonly soffit intake and a ridge vent) finished with ridge caps.
How much does a roof replacement cost in Massachusetts?
A roof replacement costs $15,000–$20,000, depending on roof size. We offer free on-site written estimates detailing materials, labor, permits and cleanup.
What happens if you find rotted decking during tear-off?
We replace it before the new roof goes on. When we remove the old roof, we make sure the wood decking underneath is in good condition, and we replace any plywood that needs to be replaced due to rot.
What ventilation do you install with a new roof?
Intake vents are most commonly installed in the soffit, and the most common outtake of air is a ridge vent at the peak, finished with ridge caps. We offer the CertainTeed Shinglevent 2 12 inch filtered ridge vent. For homes that have difficulty with the installation of air intake or outtake, we often recommend solar powered exhaust vents. The general rule of thumb is at least 1 sq. ft. of vent for every 300 sq. ft. of attic floor, but building codes vary, so check with your local building authority.
When is the best time to replace a roof in Massachusetts?
May through September is the optimal installation window. Adhesives and sealants cure correctly above 40°F, and June and September tend to offer the best combination of mild weather, dry conditions and scheduling flexibility. We install new roofs in winter when the weather allows, since cold temperatures under about 40°F can prevent shingles from sealing properly. If your roof is actively leaking, don't wait for peak season, because emergency repairs are available year-round.
Do you pull the building permit?
Yes. We file permits with your local building department for you, and the permit is part of your quote. When you request a custom quote, we include every detail of the project, including labor costs, material costs, permits and waste removal.
Pictures speak more than words, and our craftsmanship shines through.